
- Joined
- Sep 5, 2006
- Location
- San Diego CA
I don't have a hot tank")
Neither do i, however for a fiver, the local machine shop takes care of me.
Hello Guest, welcome to the initial stages of our new platform!
You can find some additional information about where we are in the process of migrating the board and setting up our new software here
Thank you for being a part of our community!
I don't have a hot tank
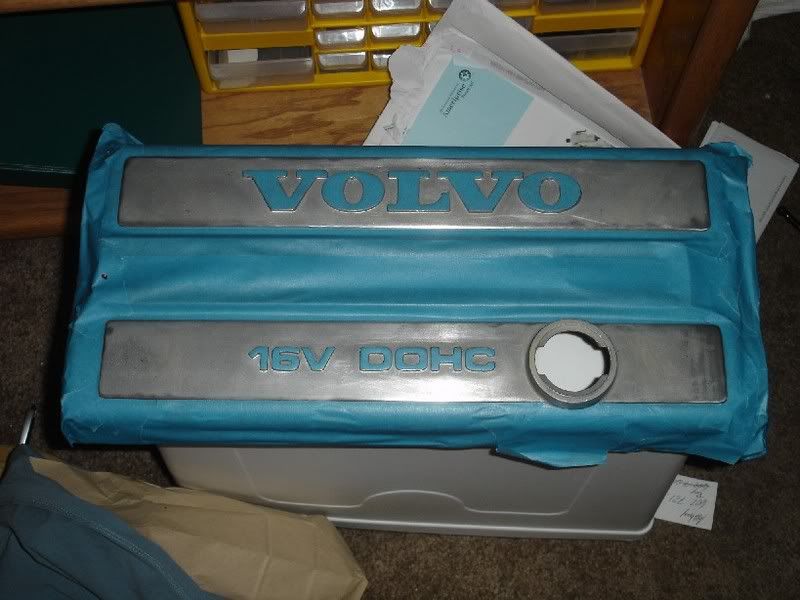
+1, you guys are doing it the hard way. Just paint the whole thing then sand the letters with a block. I put a length of duct tape on either side of the letters in case I slipped or something, but you don't even really need that.i always use a block with sand paper. if your hands are stedy enough to mask those letters off to a T you can sand them sanding takes 5 minutes.
I thought it would be plenty until I started scrubbing it. I didn't feel like going anywhere before work today so I'll get one tonight.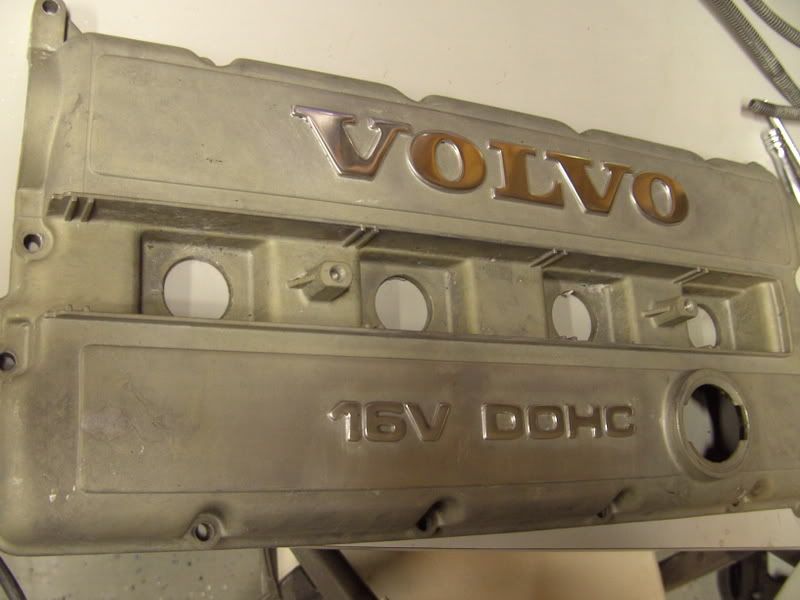

hand polished is awesome but time consuming.
I've got 3 more 16v covers, I've got some ideas for them
I have an older 8V cover that I have started to clean up. (I had a bored moment over Christmas).
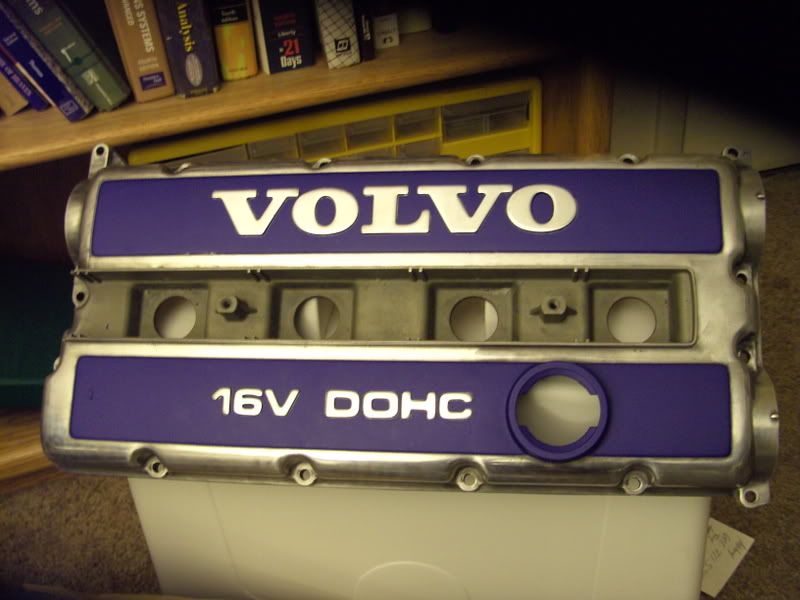
Did your polished cover look realy good before you did the blue bits?
I am going retro style with a B230 in a 67 Amazon.
Alternatively I could go for the Forest green that everything else will be done in and then clean back the letters.
Rob
 Looks the same now as it did when i was done polishing it. I think if I did it over (I broke the valve cover...not sure I can get it fixed) I would clear coat the thing (clear powder coat?) after polish and paint to make sure that gloss never went away.