• Hello Guest, welcome to the initial stages of our new platform!
    You can find some additional information about where we are in the process of migrating the board and setting up our new software here

    Thank you for being a part of our community!

The Buchka 242 Daily Driver

Karl and I made some really good progress yesterday. Engine bay wiring is now 95% complete and looks really tidy, engine and trans are installed, and we started bolting on some ancillary stuff in the engine bay. Still lots of wiring to do inside the car but it feels really good to have the engine and trans in for the last time.

IMG_0243.JPG


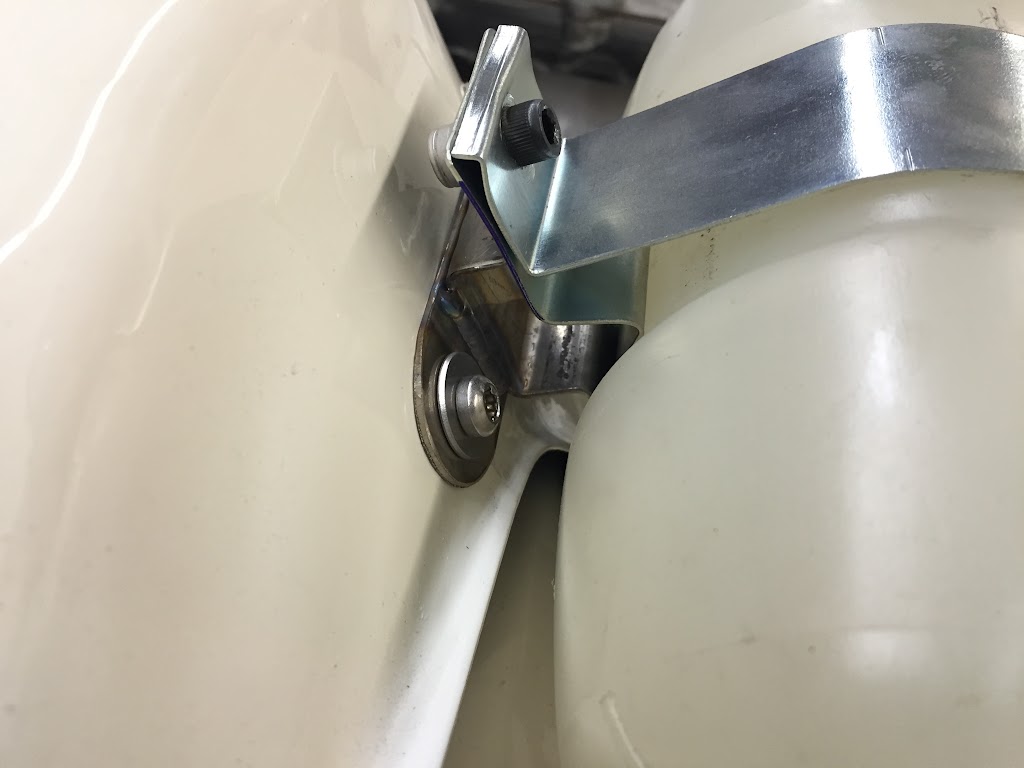
Made a new battery hold-down for the optima out of some stainless sheet and two t-bolt clamps.

001.jpg


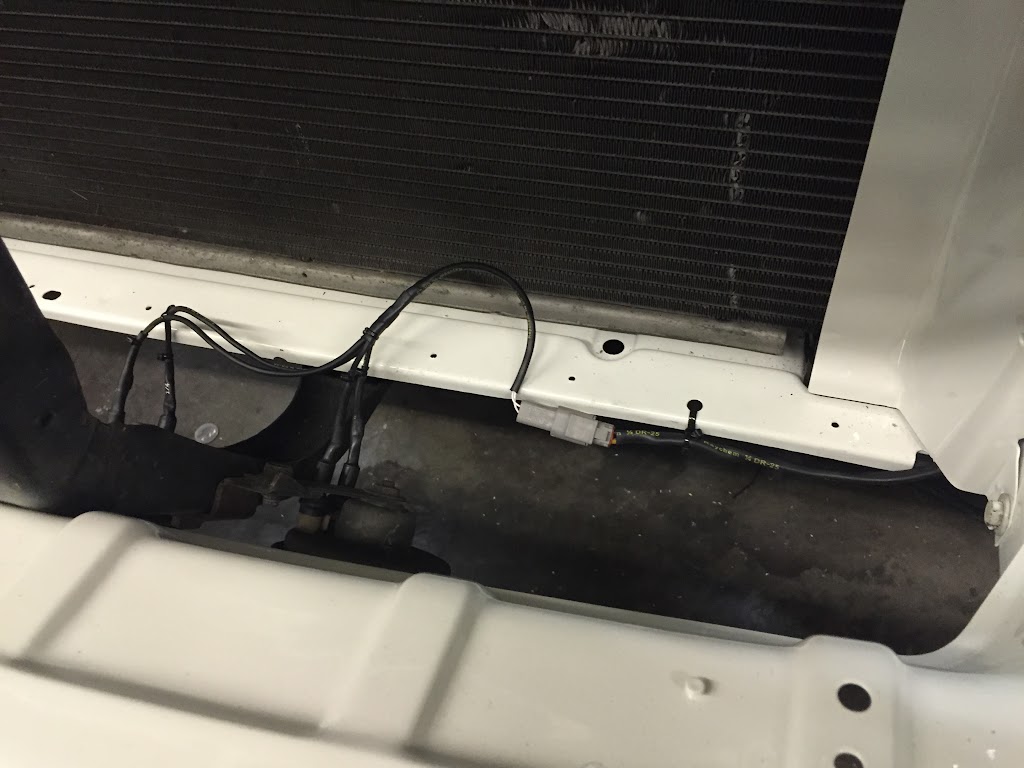
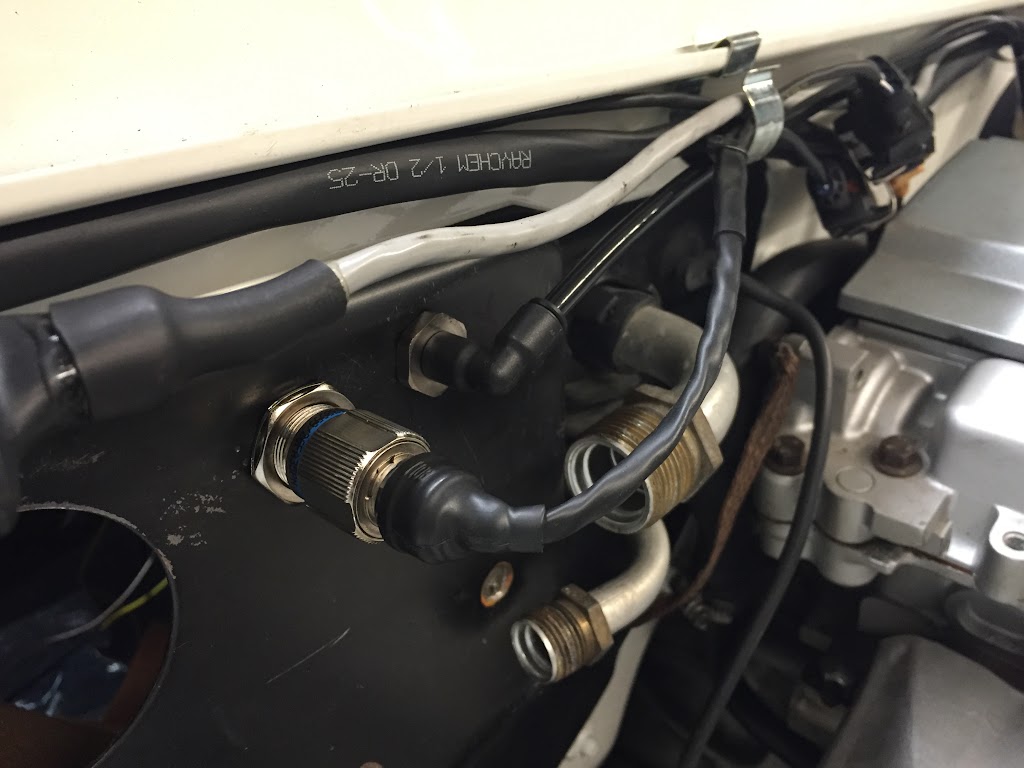
Terminated the engine harness with a 55-contact barrel connector. The receptacle side will go in the old speedo cable hole.

001.jpg


Dropping in the engine.

IMG_0242.JPG


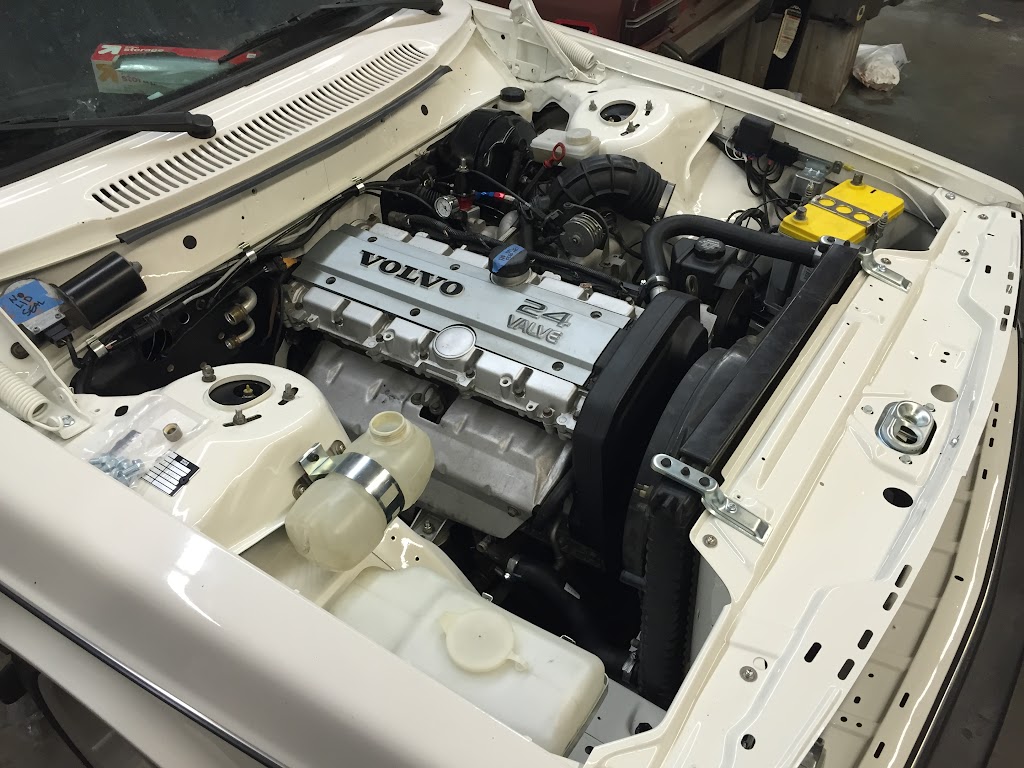
Starting to look more like an engine bay now.

IMG_0246.JPG


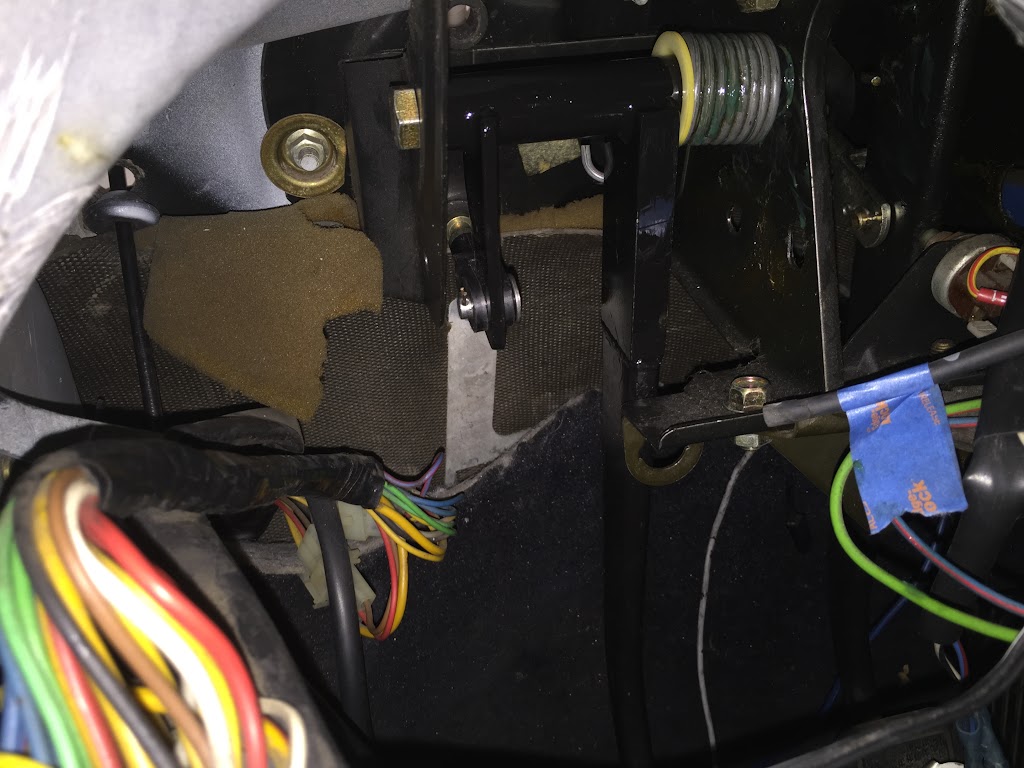
The shifter lines up perfectly and has pretty reasonable throws, really happy with how it turned out.
 
Hey, ya'll gonna stay with that stock intake manifold or make something cool? I never liked the look of it, honestly. It's ugly.
 
All the interior plastic was either replaced with black parts or painted to match

I really like what you've done. An amazing amount of work. Nice change to black interior too. Can you offer more info on the change to black? What paint (SEM?), any special prep and how has it held up?
Dave B

 
I really like what you've done. An amazing amount of work. Nice change to black interior too. Can you offer more info on the change to black? What paint (SEM?), any special prep and how has it held up?
Dave B

We used Dupli-Color Vinyl & Fabric paint:

IMG_2197.JPG


The passenger side door panel was painted about a year ago (several months before the rest of the interior got converted) and it's been holding up great. The only prep was to wipe the door cards clean with acetone. The panels were done in several thin coats. It would usually take three or four coats to get good coverage.
 
I really like what you've done. An amazing amount of work. Nice change to black interior too. Can you offer more info on the change to black? What paint (SEM?), any special prep and how has it held up?
Dave B

Thanks Dave, I appreciate your kind words.

More progress to show. Got all the front end sheet metal bolted on. Some of the more visible fasteners look a little worse for wear so I ordered replacements for them, should be here this week. Mounted the E-Fan relay next to the battery on the headlight bucket and wired it up. It's powered by two wires directly off the battery with an in-line fuse holder.

IMG_0274.JPG


IMG_0275.JPG


The radiator and related hoses have been mounted. It's all stock 960 stuff, including the heater hoses. A few of them just needed a little trimming to fit.

IMG_0276.JPG


Clutch master is mounted along with the new pedal. I took the stock pedal and lengthened it, then added a tab that actuates the pushrod of the master. The area by the tab is really tight so Karl machined a cross-drilled pin for the master that works really well. Also attached and adjusted the throttle cable.

IMG_0277.JPG


IMG_0278.JPG
 
I just love how that inline-6 sits there, like it was meant to be. Nice job on the paintjob and wiring! :nod:
 
I just love how that inline-6 sits there, like it was meant to be. Nice job on the paintjob and wiring! :nod:

Thanks! Yeah it really sits in there well.

More progress. Got the bumper and trim mounted:

001.jpg


Replaced all the coarse thread fasteners on the slam panel with these stainless torx headed things from mcmaster:

001.jpg


Karl made up a sweet little sub-harness for the cam and crank sensors. Also mounted a bulkhead push-to-connect fitting for the map sensor:

001.jpg


Replaced a whole bunch of fasteners in the engine bay with these clear zinc plated flange bolts:

001.jpg


The chassis ID tag is now attached using the proper volvo rivets:

001.jpg


Fitted these ceramic connectors for the headlights:

001.jpg


Made a bracket to mount the 740 coolant overflow bottle:

001.jpg


001.jpg


FPR is mounted and plumbed along with the feed line at the fuel rail:

001.jpg


Hooked up the clutch hose:

001.jpg


I'm running out of jobs to do in the engine bay. Next step is to put it on the lift so we can hook up the fuel lines, driveshaft, clutch hydraulics, some additional wiring, and start building the exhaust.
 
Tips on keeping your engine bay clean.

Compressed air and that air blower I got when there will be your new best friend. Blow it off when you notice dust on it and it's convenient (sitting around the shop).

When you need to wash it, use this diluted to 10:1. http://www.goodspeedmotoring.com/auto-magic-special-cleaner.html
That's my friend's business, so it's safe to order from him also.
Douse the entire engine bay with this and use a light duty pressure washer (cheap electric ones work great) to rinse it. Don't get to carried away or close to items, it's just mostly a heavy rinsing. After rinsed use compressed air to dry it.

Then wash car, then open engine bay again and dry water from washing car that sneaked in.

Welcome to the show car world of 2-3 hrs to wash your car. :-P

Good advice, I appreciate it. Doing the engine bay should only add ~15 minutes to my normal wash routine which is already pretty quick. I hate washing my car so I hustle through it every time.

This is pretty much my dream project. So drool worthy.

Thanks dude. None of this is especially challenging, it's just a butt-load of labor hours and some expenditure.

No photos from yesterday but progress was made. Fuel lines, pump, and filter are all on and 98% done. Just have to figure out a way to connect the hose I have to the existing return line. Also hooked up the power steering pressure and return, got some Earl's power steering line and wrench-on fittings that worked really well.

Clutch is plumbed and ready, just needs to be bled in. Driveshaft is completely bolted in with all new wear parts
 
This thread, this car, this build, the originality are simply amazing.

Chapeau to you sir, chapeau.
 
Coming together quick! We've got a fantastic local hardware store here that has an amazing selection of hardware. When I was really in the assembly phase of my build I was there every Saturday buying a list of stainless hardware. Definitely makes things look good and more pleasant to work with. I spent a fair bit on cap screws! Did not think of the slam panel hardware I'll have to follow that example.
 
Love all the details you're taking time with. A T6 has been my dream swap for a loooong time. Really looking forward to the finished project.
 
Can't wait to check out progress when I get back. Looking awesome dude. I'd have never believed this was the same car that started as a "one wheel in the crusher" non running $1k POS when I bought it in 2012, if I didn't know any better.

It has come an infinitely long way since then.

Infinity is a pretty big number. I've seen bigger, but still.
 
Thanks for the kind words dudes, really encouraging.

Coming together quick! We've got a fantastic local hardware store here that has an amazing selection of hardware. When I was really in the assembly phase of my build I was there every Saturday buying a list of stainless hardware. Definitely makes things look good and more pleasant to work with. I spent a fair bit on cap screws! Did not think of the slam panel hardware I'll have to follow that example.

I bought all my stuff from Bel-Metric and McMaster. Bel-Metric is a great resource for all kinds of oddball and automotive specific metric stuff.

Can't wait to check out progress when I get back. Looking awesome dude. I'd have never believed this was the same car that started as a "one wheel in the crusher" non running $1k POS when I bought it in 2012, if I didn't know any better.

It has come an infinitely long way since then.

Infinity is a pretty big number. I've seen bigger, but still.

I'd say it's somewhere between one brazilian and infinity times better than before. I'm also amazed by how nicely it's turned out, though now all the little flaws stand out that much more which is pretty depressing.

Karl got a photo last night of the power steering line. It's a braided aeroquip hose with wrench-on AN-6 45 degree ends. Ended up fitting really well.

001.jpg
 
Back
Top