M.H. Yount
Active member
- Joined
- Nov 1, 2008
- Location
- Charlotte, NC
I would hate to blow out the rear window with wind pressure.
It's not that fast.
")
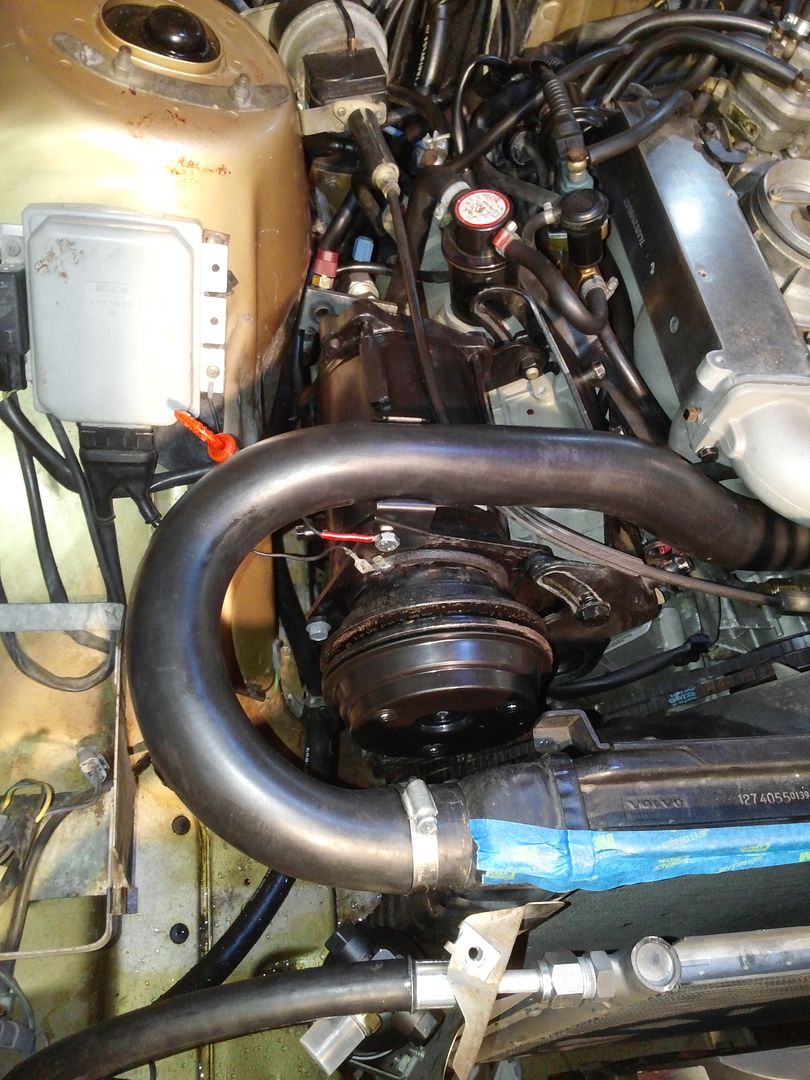
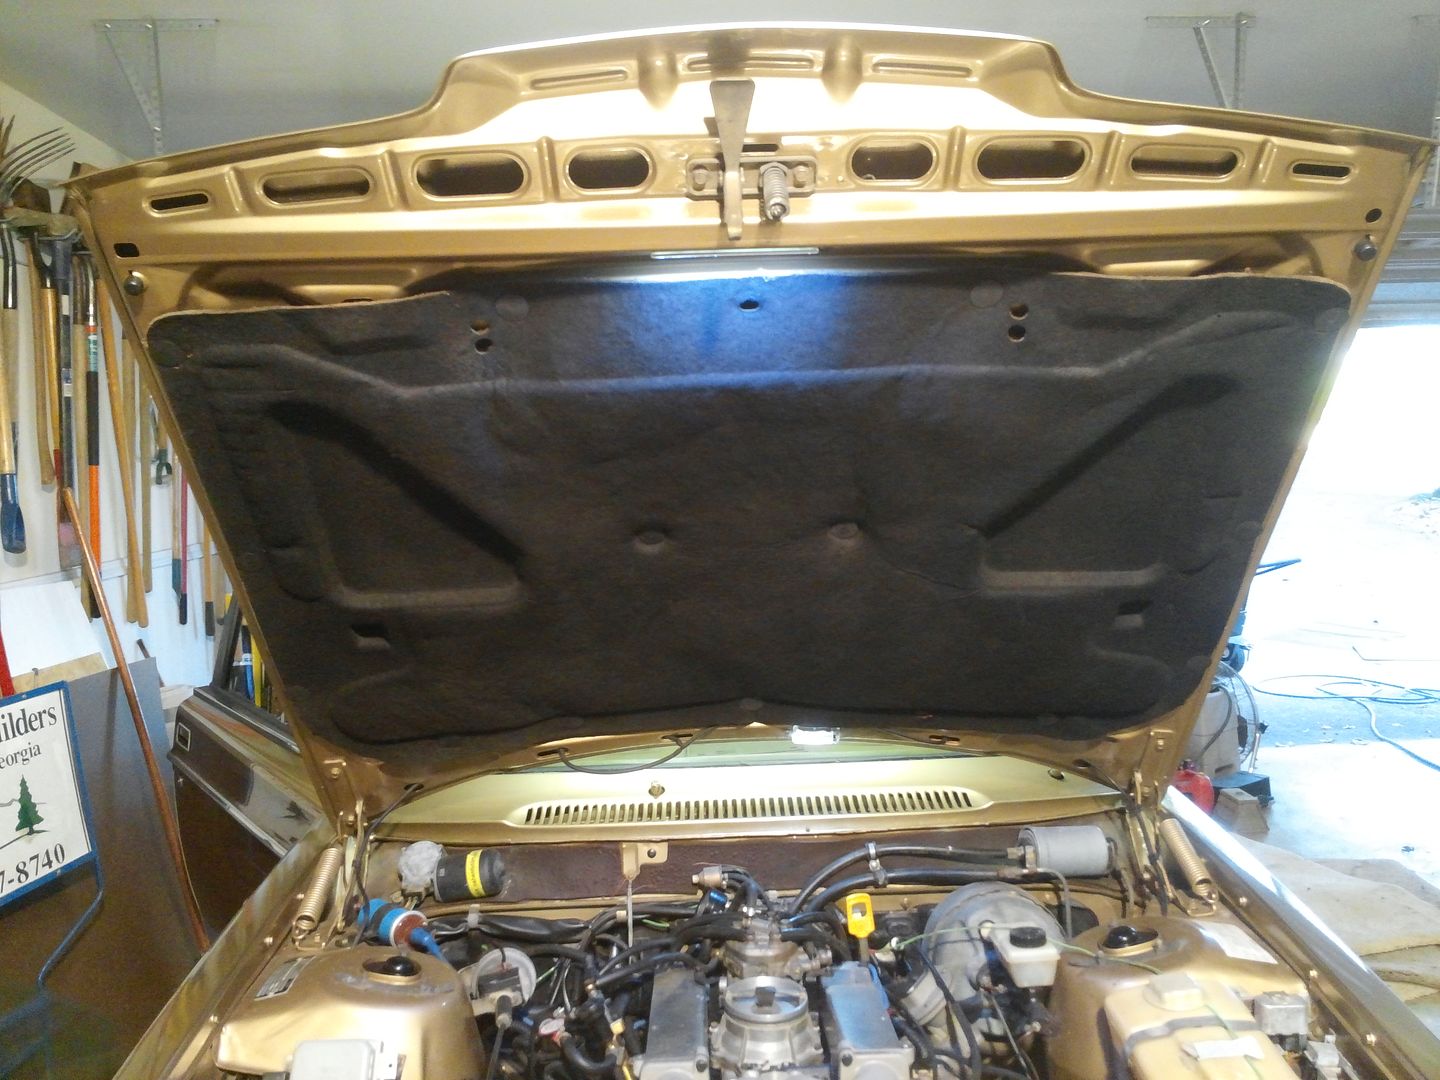
Have you checked out the radiator in this one Tom? Suspect there are decent odds it may have similar problems to the wagon.