
posiden77
New member
- Joined
- Feb 3, 2003
- Location
- Glendale, California
I would love a set of these for my 780
Hello Guest, welcome to the initial stages of our new platform!
You can find some additional information about where we are in the process of migrating the board and setting up our new software here
Thank you for being a part of our community!
awesome, well can't wait to see your production version.
How are you going to mirror the other side?
Simple, make the identical same perimeter pieces, but use the router on the other side. Should come out identical but mirrored.
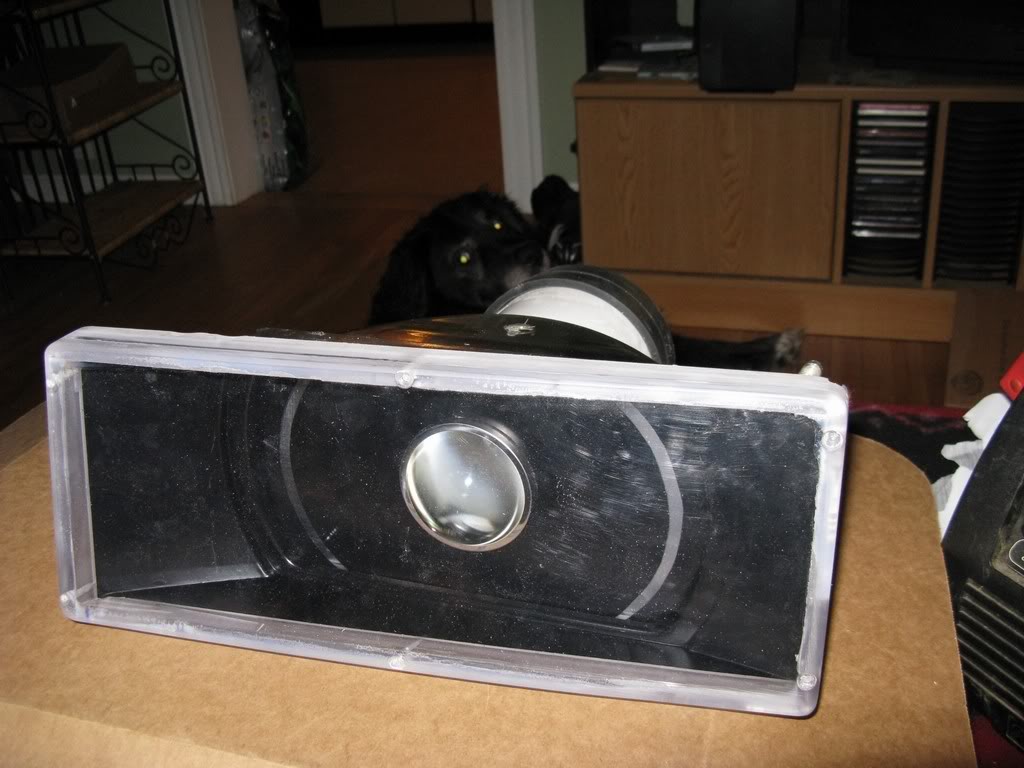
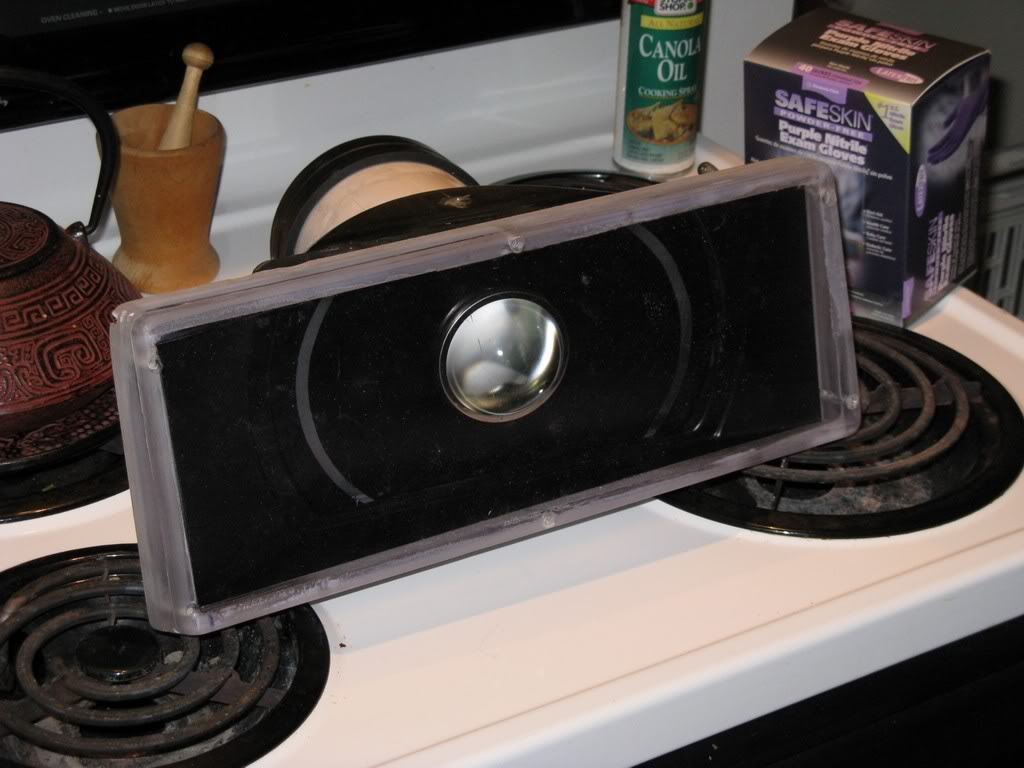
Also today, I used the B&D mouse & my belt sander & knocked off the edges. It's all nice & rounded & smooth.
BUT I also picked up a pair of crappy 780 lenses & I might try my hand at defluting them.
time to get a vacuum table and make them one solid piece...
 That's rather clever. I'll have to read into that. I wonder how strong that material is.
I don't know if your still doing this but I thought you might be interested in this. http://www.alumilite.com/index.php?page=show_info&type=HOWS&id=46


Sorry to distract from the (really great) content of this thread, but where the heck did you actually BUY those Dialights? I cannot seem to get a link to any place from their website that actually allows you to see a price and/or purchase them. I've been thinking on how to do an LED conversion for my car, and they'd be a great starting place.
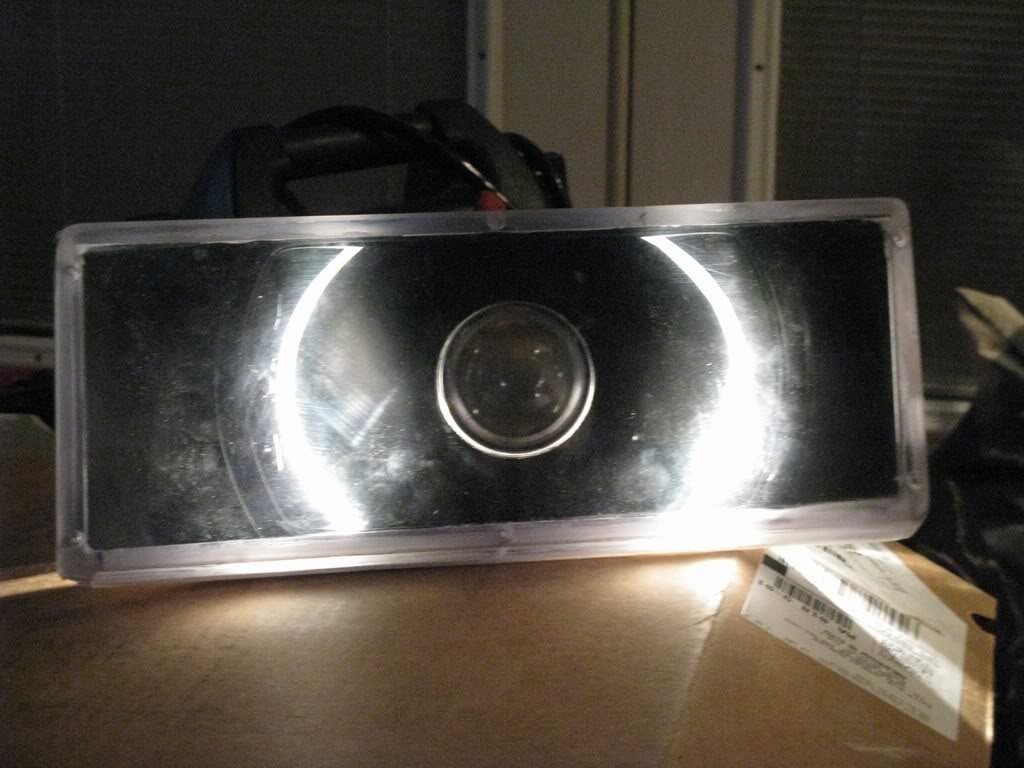
Neat pics and all but the annoying thing about most diy hid is the pattern... what does yours look like?
holy crap, posted as you updated!
anyways, that looks pretty slick.
i'd almost make the "halo" area a tad wider.
wanna make some headlights for my 940? LOL
oh, and get some PLEXUS to polish the lexan when you're all done. will make it nice and shiny.