• Hello Guest, welcome to the initial stages of our new platform!
    You can find some additional information about where we are in the process of migrating the board and setting up our new software here

    Thank you for being a part of our community!

1984 242 TIC Texas

Heck yeah man, I love what you?re doing. Looks like a great weekend project with rapid results!

:zeeall:

I thought I was taking forever 😂

Just put in a rock auto order, $260 worth of belts, tensioners, ignition,cooling hoses, seals, everything serviceable in the engine bay. Now the real hardship starts. I'm praying it's just the pumps that are bad !
 
20200628_225628 by V G, on Flickr

Had a bit of brown weavy material knocking around - more a test of concept than anything, I'll find something more durable/fitting down the line. The vent plastics crumbles away in my hands and I've no speakers to replace the old ones with just yet so a plain wrap was in order.

20200628_225642 by V G, on Flickr

It's a bit thin but nice material and would look nice for a re-trim of back seat to tie in with the beige - the black and white seat covers not so much !

20200629_113727 by V G, on Flickr

Just sitting there until I can find those vents and some speakers - I'm a bit meh about the color now - might go for something plain black.

or use more of that seat cover material :rofl:

20200627_235343 by V G, on Flickr

Center console armrest got two headrest covers :D

20200628_194617 by V G, on Flickr

Then I started making a list !

Then I bought the list!

Screenshot_20200628-221755_Chrome by V G, on Flickr

Hopefully that will get her running - the heat here in Texas is killer, so it may take me a while !
 
20200706_195807 by V G, Flickr에서

Had to do something about the red paint, I know it makes it faster but underhood I just want it a bit more subtle.

Still waiting on my external fuel pump and need to get the bung nut tool to do the in tank pump.
That and a timing belt tool I think I'll save up for next !


20200706_215155 by V G, Flickr에서

Had a bit of por15 lying around so did some painting and rustproofing on the inside lip of the hood - only space I found surface stuff!ldn't get the last elbow of the intake off so it remains red for now !

On the parts list i've fit the distibutor cap, rotor, ht leads, plugs and a new uro relay - my in tank pump is cycling but the in line is dead as disco. So at a standstill till that comes in !

So back to the body:

20200705_201501_002 by V G, Flickr에서

The black trims were quite washed out so a quick dose of vht trim paint and they look about right, wiper arms got a lick of paint and added new wipers too!
 
Nice work. Bringing lots of life back into this one. Love the updates.

Hopefully it'll start when all the mechanical work is done. Still waiting on my external pump, have the bungnut tool inbound from a member on here and just got a new distributor from a member too with new wiring - mine wasn't sending out consistent spark.

I really should do the service items too but really ant to hear it running before I go too far !
 
20200720_161244 by V G, on Flickr

Tank pump time, thanks to the member who sent the bung nut tool, at least that bit was easy ! I had a dog of a time getting the nylon line off and then used a barbed splice piece to tap into it with a fresh piece of hose to the pump for the return.

I did try getting underneath with the 14 and 15 mm spanners to release it from the hardline but it wouldn't budge and a bit of pick my battles kicked in. I'm trying to locate the fuel line from pump to the external pump - hard got it seems. Mine is okay a bit wet looking at the external pump end, so I may just end up replacing the whole thing later if I've to order parts.

20200720_171249 by V G, on Flickr

This is what I was greeted with on taking out the sending unit/pump, insulation on wires shagged, pump sock 1/2 eaten alive and the pickup pipe between pump and fuel line completely gone.

20200720_170929 by V G, on Flickr

I've got the proper submersible line to replace it with. New sending unit on the way from autozone, the uro parts one I believe. I'll hunt down the fuel line today - maybe Napa will have it - 11mm I think?

20200720_170927 by V G, on Flickr
 
20200722_193119 by V G, Flickr에서

Well this is an arsepain of a job - I think I've got like 20 small cuts all over my paws :D

Never again hopefully~

20200722_174708 by V G, Flickr에서

I did forget which way the fuel sock went - so I angled it slightly away from the return line pipe.

Oh and I used my old float - figured it's lasted 36 years and god knows what cheap plastic the new one is made with!

20200722_191638 by V G, Flickr에서

Also replaced the fuel line to the external pump (which I've yet to replace), went with regular fuel line to the external pump - the high pressure stuff was 10 dollars a foot, I figured this tiny tank pump is maybe max delivering 2-3 psi?

Checked all the wiring was correct, submersible fuel line fitted between pump and outlet pipe and proper hardware, new bung nut and volvo seal and threw it all back in, at least now one of the pumps is delivering fuel !
 
So I've a single, solitary spark from the coil but none at the distributor. Had a look inside it before and one of the trigger pins seems to be raised vs the others. Got a distributor from a member on here with a new harness as it was going realtively cheap and sprayed some kroil into the mount and general vicinity. Couldn't even rotate it on the mount after removing the bolt for love nor money!

20200801_180313 by V G, on Flickr

Finally received my bentley and haynes manuals so started with the process of checking the system, teseted my coil which was a bit suspect, replaced it with new, same deal.

checked the resistence of the ballast resistor - crusty looking but all good, cleaned the connections but then the harness is always a possibility.

Hitting the pause button for now, save for a new harness before I really take to removing the distibutor, covid has things tight so it may be a while !

Also I know once I have it running I'll want to put tyres and everything else on it so saving a bit more might be a good way to go :D

20200802_164110 by V G, on Flickr
 
Do you ever run out of steam on a project? The weather here in Texas has been cruel - finally getting down to regular temps to work outside but enjoying the evenings at the lake or in the park for a change !

20201007_180233 by V G, on Flickr

When I got the car the washer bottle was in the trunk, I bench tested the old pump and it just got really hot and not much happened, so a new generic one was sought - partially because the wiring harness for it was fubarred anyways so I was going to be using spade ends !

20200912_171254 by V G, on Flickr

20200924_184719 by V G, on Flickr

20200924_195528 by V G, on Flickr

And that's where I stopped with that - the wiring for the car has been fecked around with so much I am not quite sure which wires hook to this washer unit. I've narrowed it down to four...

Then my friend crashed his car so I got to distract myself a wee bit !

20200916_173633 by V G, on Flickr

20200916_174722 by V G, on Flickr

20200916_180747 by V G, on Flickr

20200916_135909 by V G, on Flickr

20200916_180748 by V G, on Flickr

20200916_195500 by V G, on Flickr

A welcome reprieve from the wiring issues (I hate electrical stuff so much!!!)

20200926_140439 by V G, on Flickr

20200926_140425 by V G, on Flickr

A good lot of stuff just hanging there - it's a wonder it was cranking at all in fairness!


Picked up what looks like a nos dave barton harness on the turbobricks for sale forums for a decent price and have it sitting waiting to go!

20200928_091948 by V G, on Flickr

I'm suffering from severe procrastination as my benz, running as it is has a bit of lifer tick going on and that's the priority - the lifers may need some attention and that's outside my wheelhouse! so $$$ will be diverted to the living car for now !

20200917_161944 by V G, on Flickr

20200917_162127 by V G, on Flickr

I did get some bits from IPD volvo before the benz started vying for my attention - side trim kit and window scrapers and the all important external fuel pump and filter!!!

In theory I now have everything to run the car, just need the motivation to do it :D

2020-10-08_10-43-12 by V G, on Flickr
 
Long time no update!

Finally got the notion of getting the wiring harness done this weekend!

20201122_165816 by V G, on Flickr

A bit of a pain to get the intake bolts off and when I took off the intake I saw the socket to thermal switch in pieces. I'm terrified of replacing it - it's still in the block and I may be able to get some wires onto it and use epoxy or something to do until I can afford a new one/ wait for one to arrive!

20201122_193610 by V G, on Flickr

What I was really surprised at was that a whole bunch of wires were already disconnected - especially under the intake but even starter wires were unhooked.

20201102_171924 by V G, on Flickr

I also threw together a bracket for the expansion tank.

20201122_193642 by V G, on Flickr

Inspecting the harness further it was pretty obvious it was cremated!
 
These vacuum lines are kicking my ass. A lot missing from the equation!

687dedff93601bacab802cd04d772cdd.jpg
ae9694b003355258f5a107461bdcea7c.jpg
6b45aa9d6a578fc1c9fbcea10ee3a5df.jpg
a462d51a83f37b5f140d4641aeeed2c7.jpg
33c242e20277c4454e40a173a6de51fb.jpg
c1f2c9f61f1565235b2b6c5713d94ea3.jpg
 
Main fuel pump time, relatively easy !

Had to redo some of the wiring. Kicking myself for not testing if power was getting to it but seems to be sending fuel to the filter underhood.

The filter is a total pain in my ample ass to remove. Not like I can break out the torch ! So it has got some wd-40 over night ! And hopefully I can get the damn thing out tomorrow.

Haven't tried starting yet, want to change the oil and filters first, the oil stinks !

036468e1c1ef93571f0d82d8bcb21ece.jpg
9a9fc66af54eb3d5f7868e070f0536d8.jpg
eaf77334a24eaabca121b54dd34439d0.jpg
20051fdcc42d6429fee570062321c370.jpg
3b3d8a5a65931e32b5378d5ea8fc650d.jpg
8cdcbdda1e943d73240c294249b3cfdc.jpg
50fd68dca8d05ac872bf00dbca163048.jpg
 
Next on the list are all the service bits and pieces. Oil, filter, coolant flush too!

There's congealed crap in the header tank but no milkshake so hopefully can avoid a headgasket.

I have the timing belt, water pump etc but I do want to hear it run before going through all of that !
cb826c631bdd2afbc5ae97ff2f17588d.jpg


I actually had to break out the impact on a wobbly extension to remove this but on the fuel filter. Someone had used red loctite on the threads by looks of it !

7156c94a37a8e5c6fb359823f2d78a8d.jpg
 
I must've fecked up the fuel line when doing the filter. I guess it's good to know it's getting fuel to the damn thing at least. Ordered the smallest size (5/16) nylon line at AutoZone and forgot to buy a heat gun to fit the thing !

Tried starting today. It's not happy !

I replaced the fuel pump relay but they don't cycle on turning on and off the key, I jumped the pump fuses and I think I'm hearing both. They're both new anyways.

I cracked off the fuel line into the k jet fuel distributor, it's getting gas, then did the same for each of the fuel lines out of it. All showing clean fuel present. No visible leaks out of them despite the outer parts looking pretty cracked to hell!

I tried cranking again after loosening off the injector steel lines and nothing there, I was expecting something at least ???

At a bit of a loss now, I'll replace the fuel line once I get the bits and maybe fire in the spare ecu I've got to see if that'll wake things up a bit?

Confused, thoroughly!

I whipped off the intake from intercooler to throttle body and fired in some easy start, was rewarded with a pop or two and a lot of smoke ;)


So I went to harbor freight to console myself and prep myself for the ball joints on the w124 !

8282ff1e7a1334600fc3c44fe51967ab.jpg
a9744c1f0e7fc35311cdb9b5c9a5a164.jpg
0644e26fc26e0481a88203fd132215ae.jpg
 
So the bastarbing fuel line was leaking,
I must have linked it at some stage.

$25 / 10ft worth of nylon 5/8"fuel line ordered.

Not knicking the barbs on the fittings was taken care of by burning off the old line.

Then just heated the barbs and the line to get them together. All seems to be leak free now thankfully!

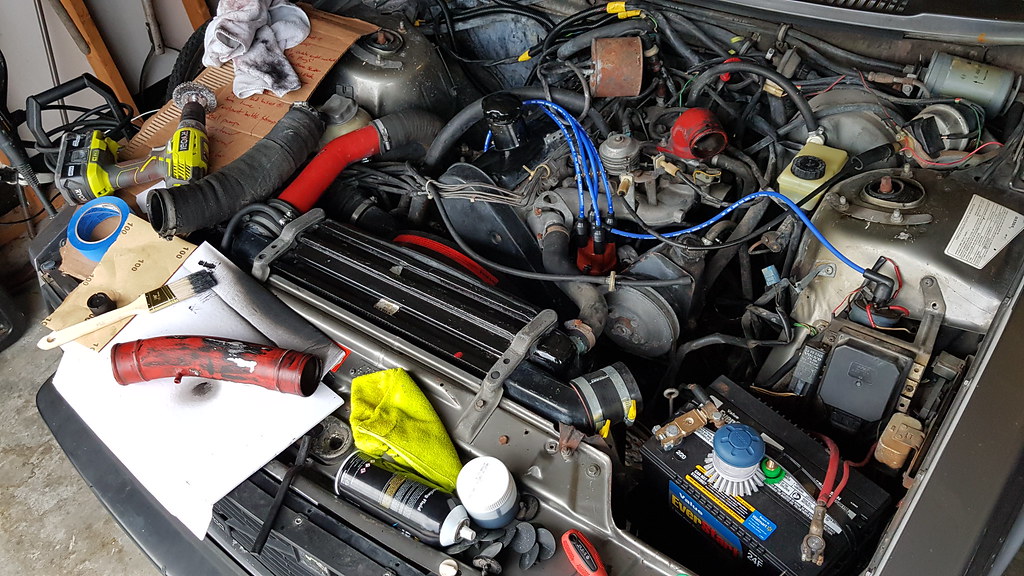
What seems like an infinity later, I'm very well acquainted with everything leaking under the car.

Somehow I ended up with an extra 4 inches (TWSS) of fuel line and did a quick loop and additional bracket ;)

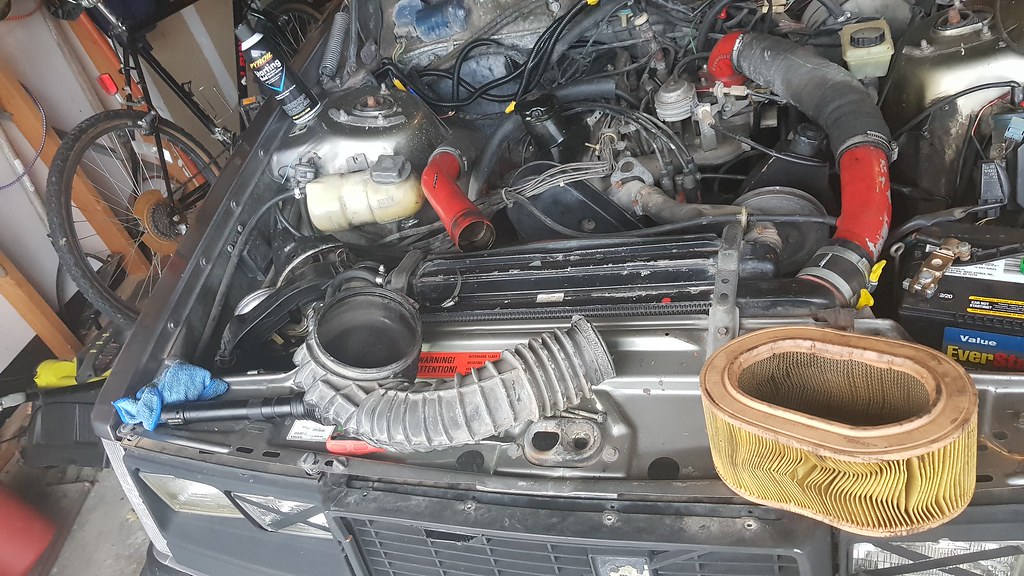
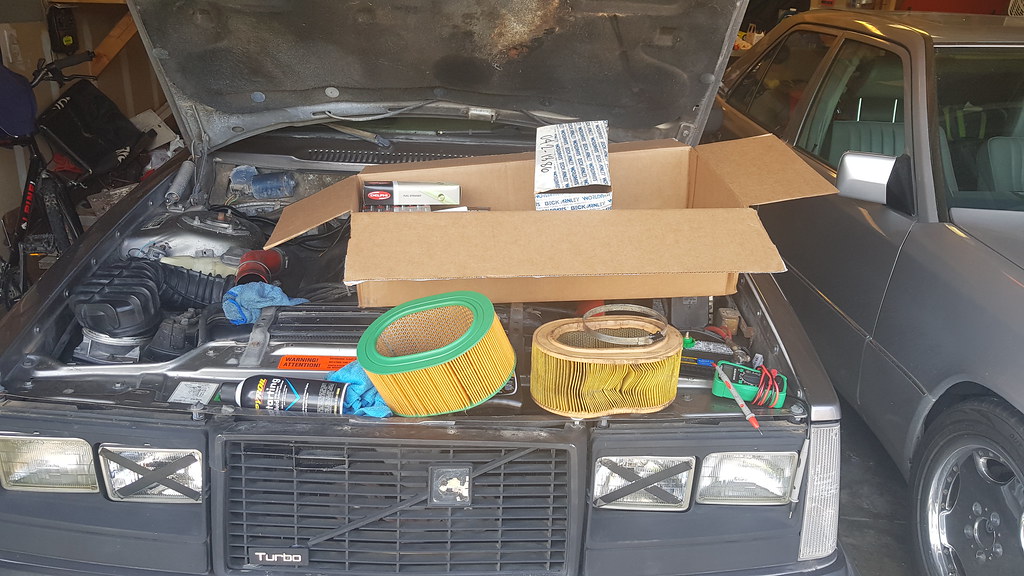
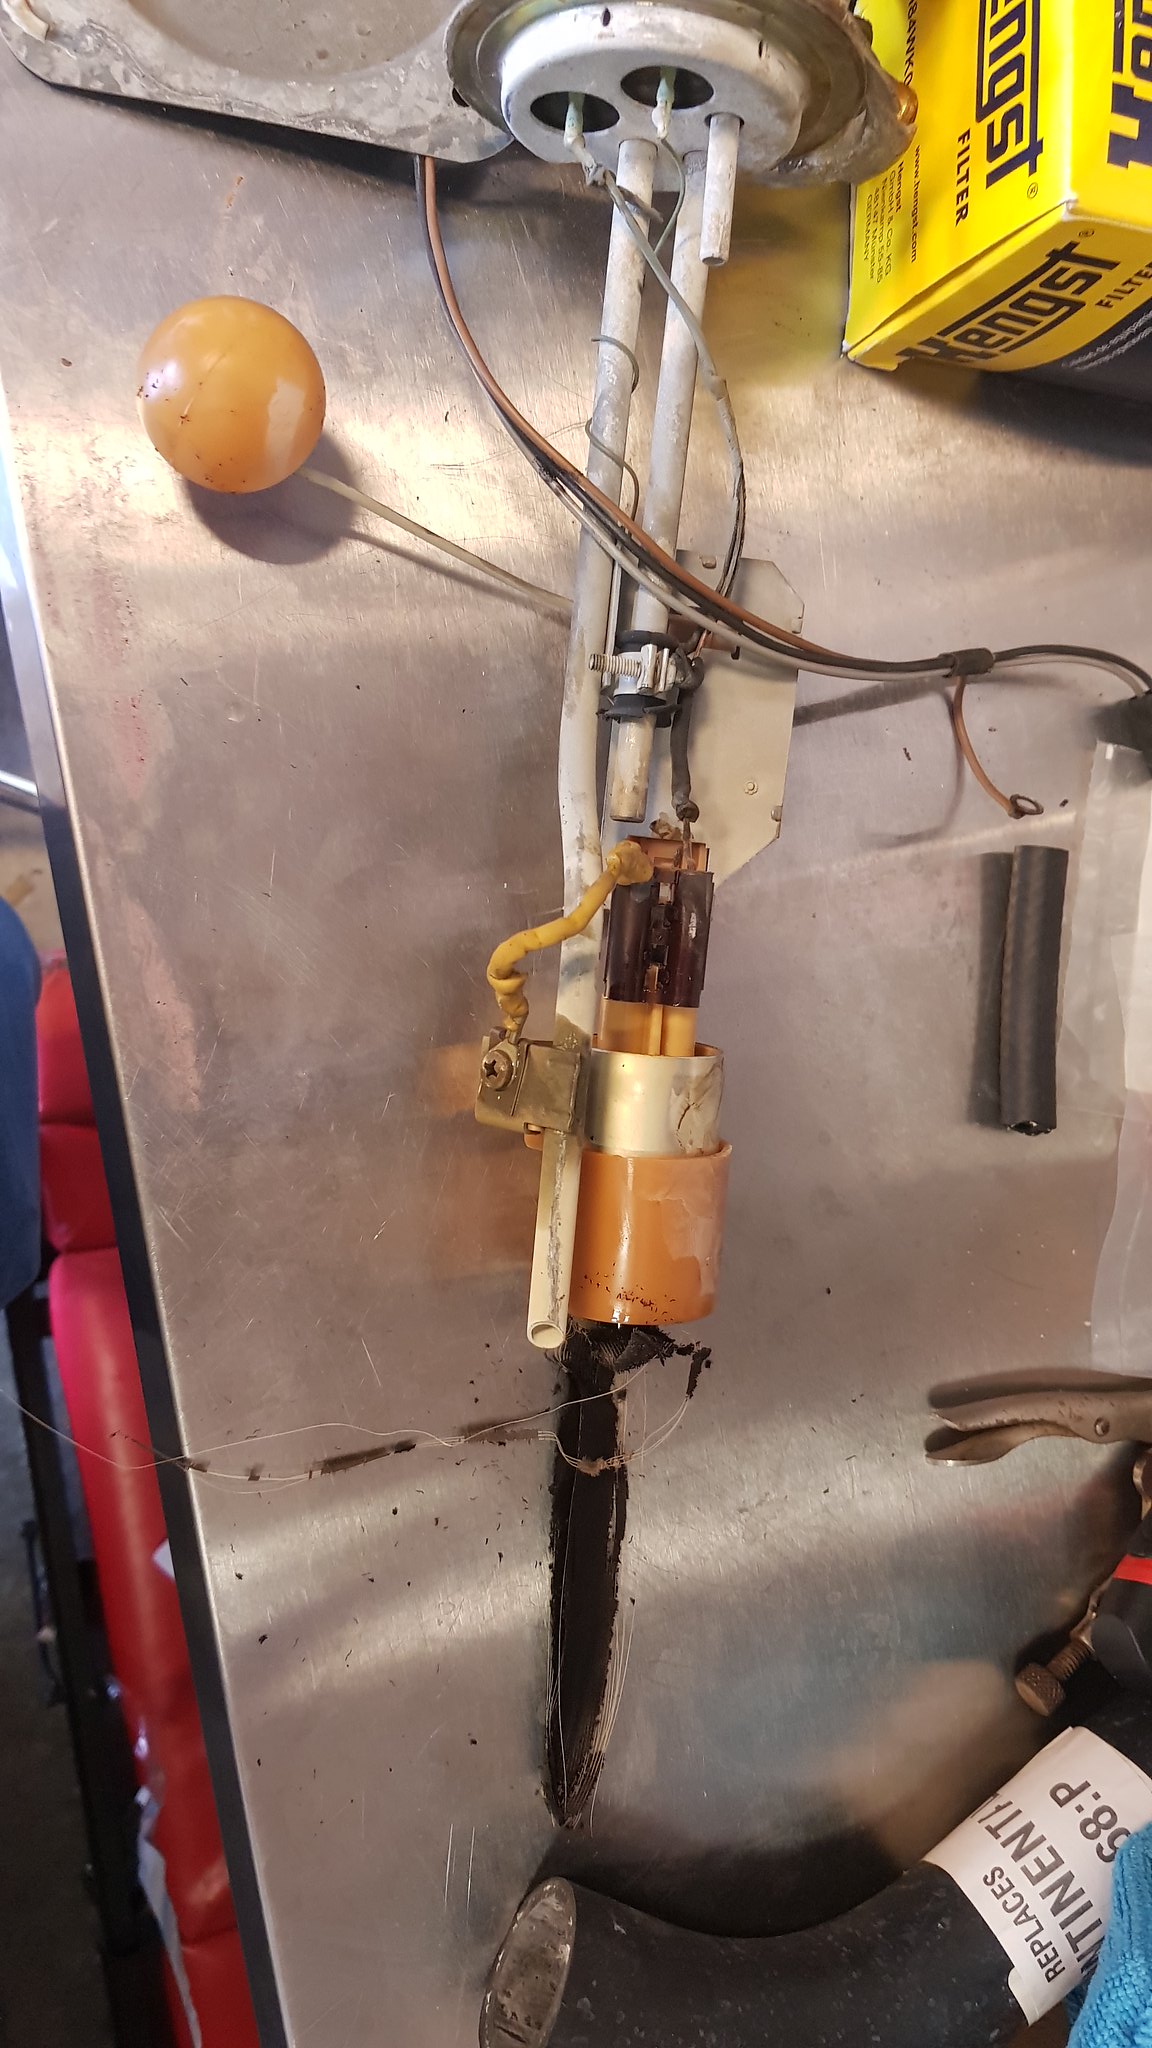
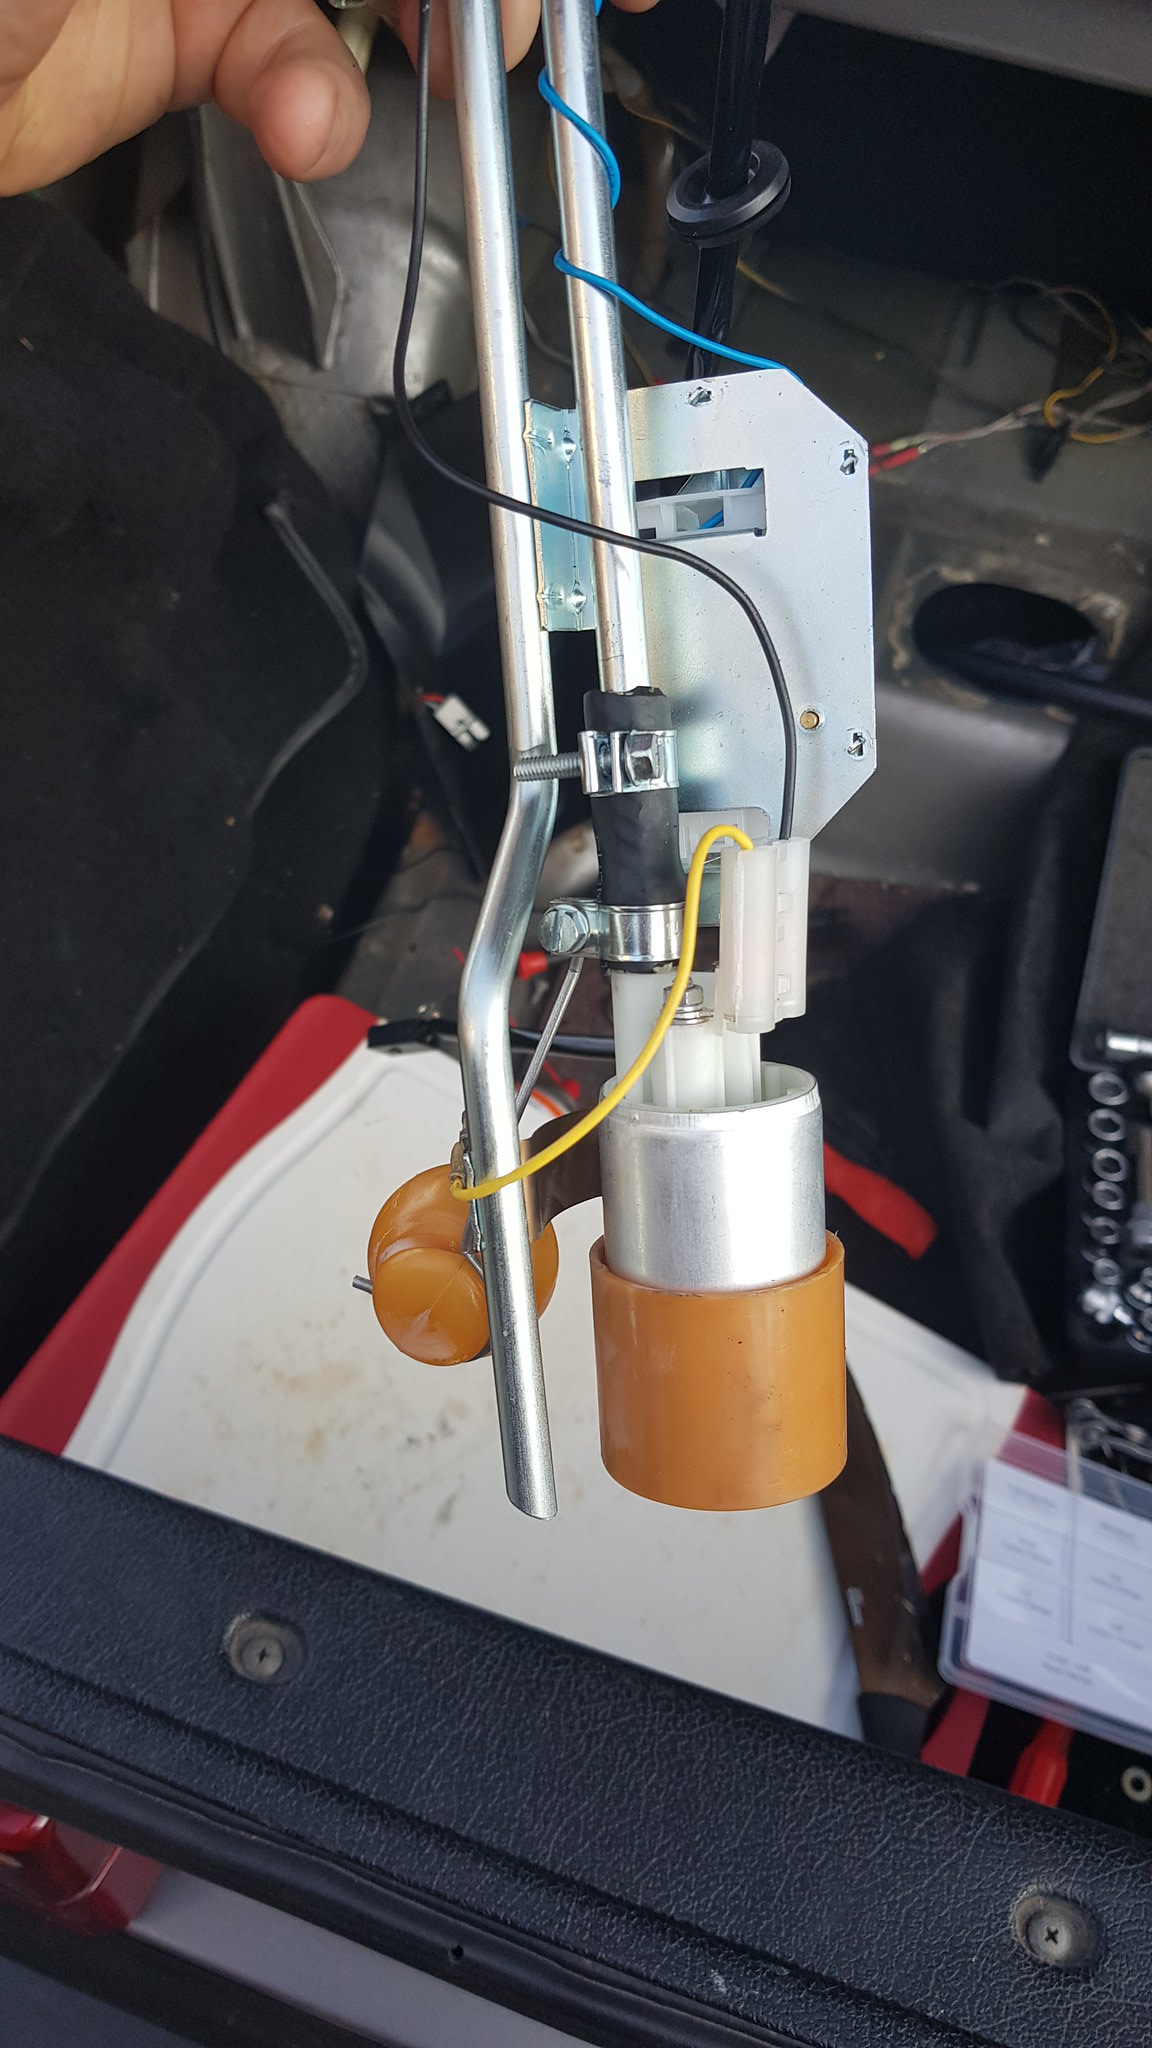
A job I hope to never do again. It's not in tank fuel pump bad but I have crud in pretty much every orifice!

Great thing is that there's no visible crud/ varnish in the fuel up to the filter at least.
7549f75f48de23b5cc2f93809ef67533.jpg
1171723cacb7eddc6f1c288e69c82c97.jpg
5f8e8285b6b1510d21fc474a6e8d57ee.jpg
9abd243c66359907c1fce4512f82793a.jpg
894453a34daf9590f4bf862a6fe56c90.jpg
1f6640cf033f600b549686244ace1111.jpg
430ecc840a09cd037bef01793080db9d.jpg
a087844bf9fce3cee9148104f2a40075.jpg


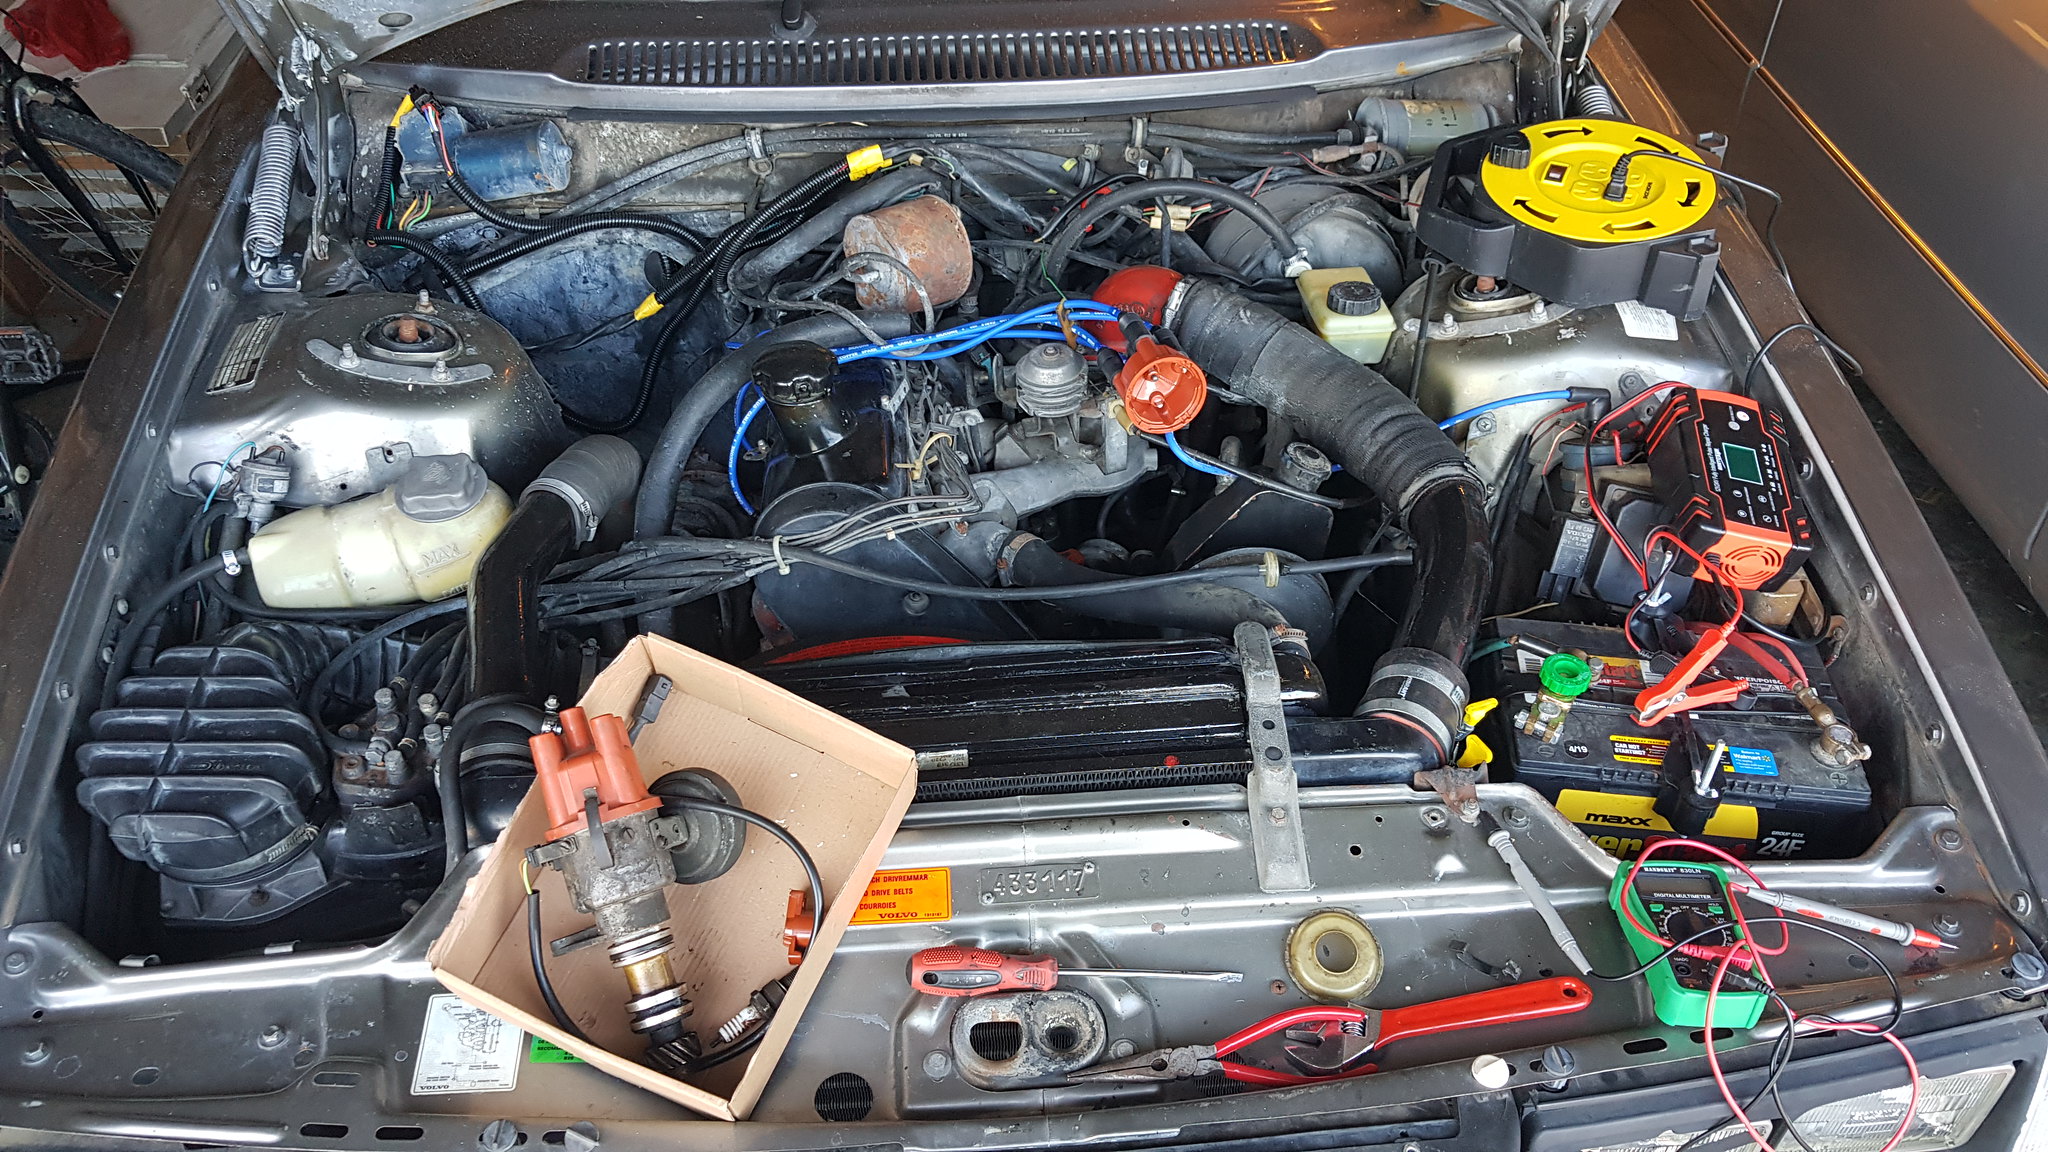
I ran some bigger fuel hose over it to sheath it around the engine bay, just kept it away from top so I could see the leaks if any !

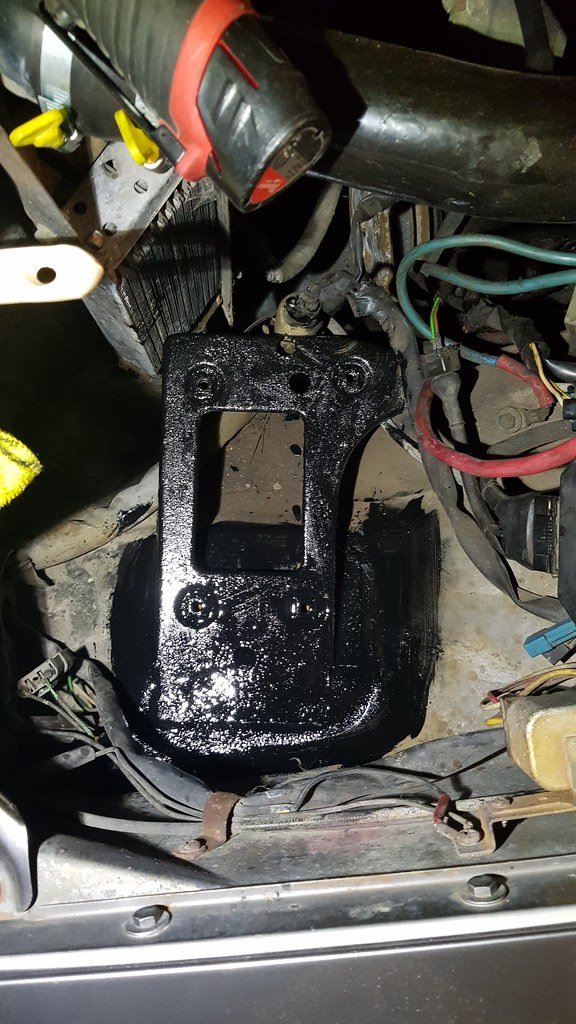
The little 8mm bolt that holds the sheathing on entrance to the Bay was a bit of a pain in the face !

But done, hopefully forever!
 
Back
Top