
-
Hello Guest, welcome to the initial stages of our new platform!
You can find some additional information about where we are in the process of migrating the board and setting up our new software hereThank you for being a part of our community!
You are using an out of date browser. It may not display this or other websites correctly.
You should upgrade or use an alternative browser.
You should upgrade or use an alternative browser.
Brand new '81 262C Bertone Coupe . . .
- Thread starter TestPoint
- Start date
Nordic Turbobrick
New member
- Joined
- Feb 25, 2015
- Location
- Norway
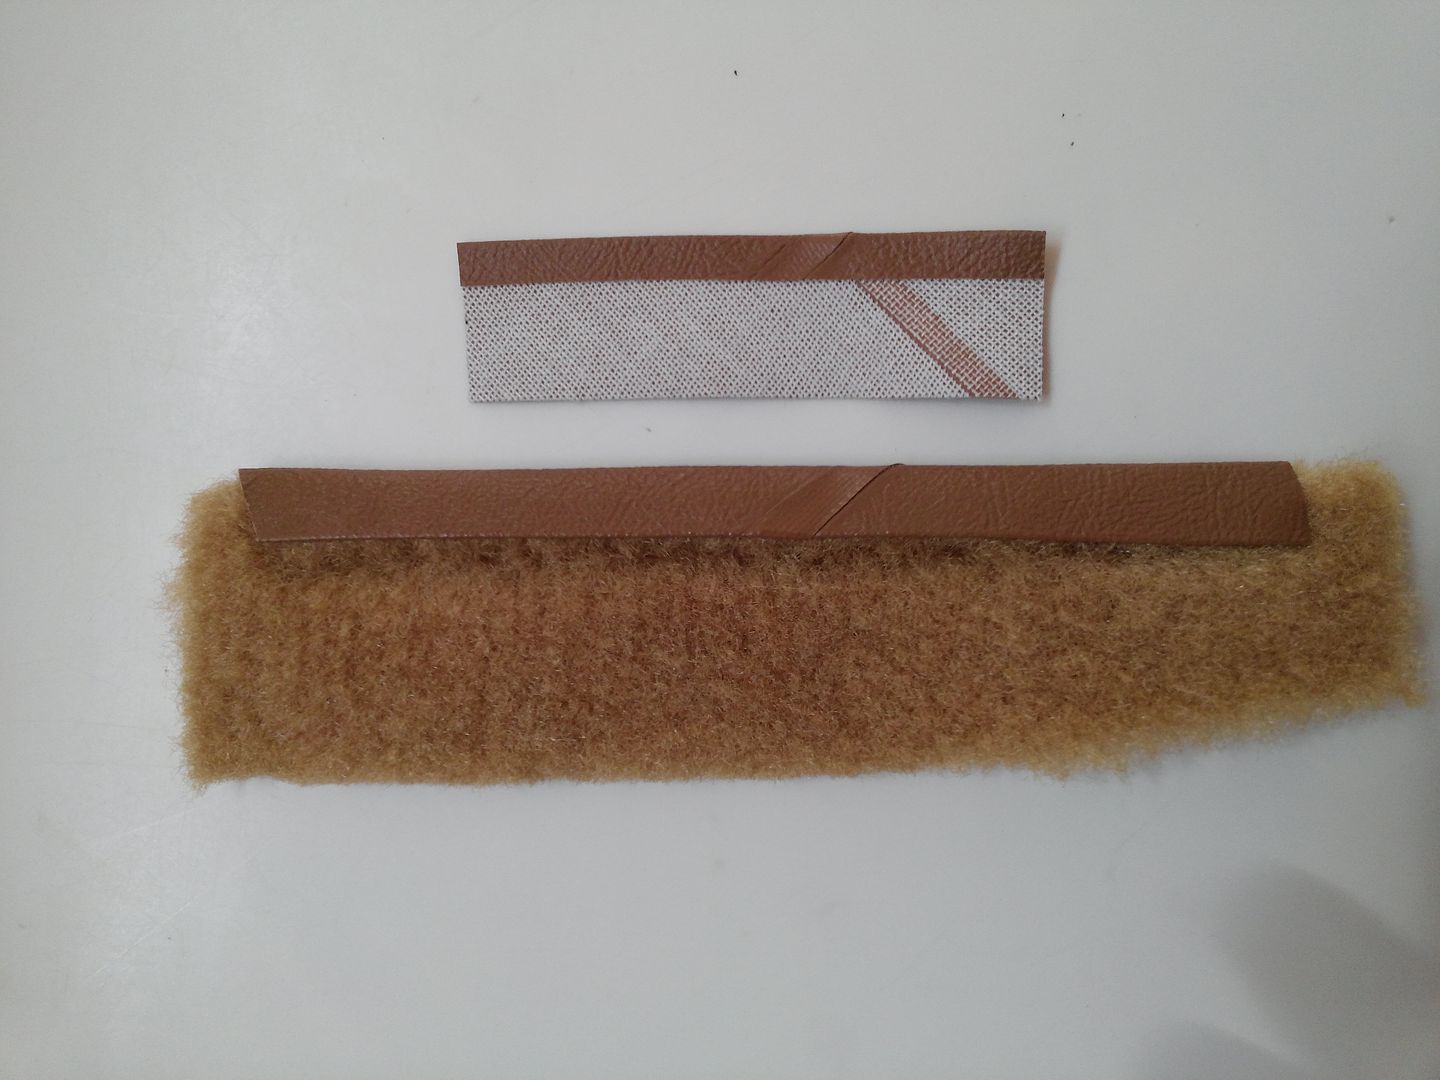
I think Smokeyfan1000 wants to see pics of these 2 pcs. of carpet installed.
<a href="http://s253.photobucket.com/albums/hh77/nel6211/?action=view¤t=carpetleft.jpg" target="_blank"><img src="http://i253.photobucket.com/albums/hh77/nel6211/carpetleft.jpg" border="0" alt="Photobucket"></a>
<a href="http://s253.photobucket.com/albums/hh77/nel6211/?action=view¤t=carpetright.jpg" target="_blank"><img src="http://i253.photobucket.com/albums/hh77/nel6211/carpetright.jpg" border="0" alt="Photobucket"></a>
I don't think I've ever seen a 240 with those carpets around that pillar on the wheel arch.
Do you have patterns? To print out if one were to make their own?
Really nice project you got going on, reading your thread right now. Good someone takes care of these 262's


Nordic Turbobrick
New member
- Joined
- Feb 25, 2015
- Location
- Norway
Nordic Turbobrick, all 262c Bertones had a fully carpeted trunk. The silver/black top ones had black carpets. No, I don't patterns but I guess i could trace something out. The hard part is cutting it on a "curve' so that it hugs the "trunk humps".
Oh, I see. That makes sence, since I haven't seen those carpets in a 240 before in real life.
Yea, I see your point, it curves so that's a tricky part. You don't have to but it would be cool to try to make one, the leather on the edge is not too tricky, it should be doable
Oops . . . .
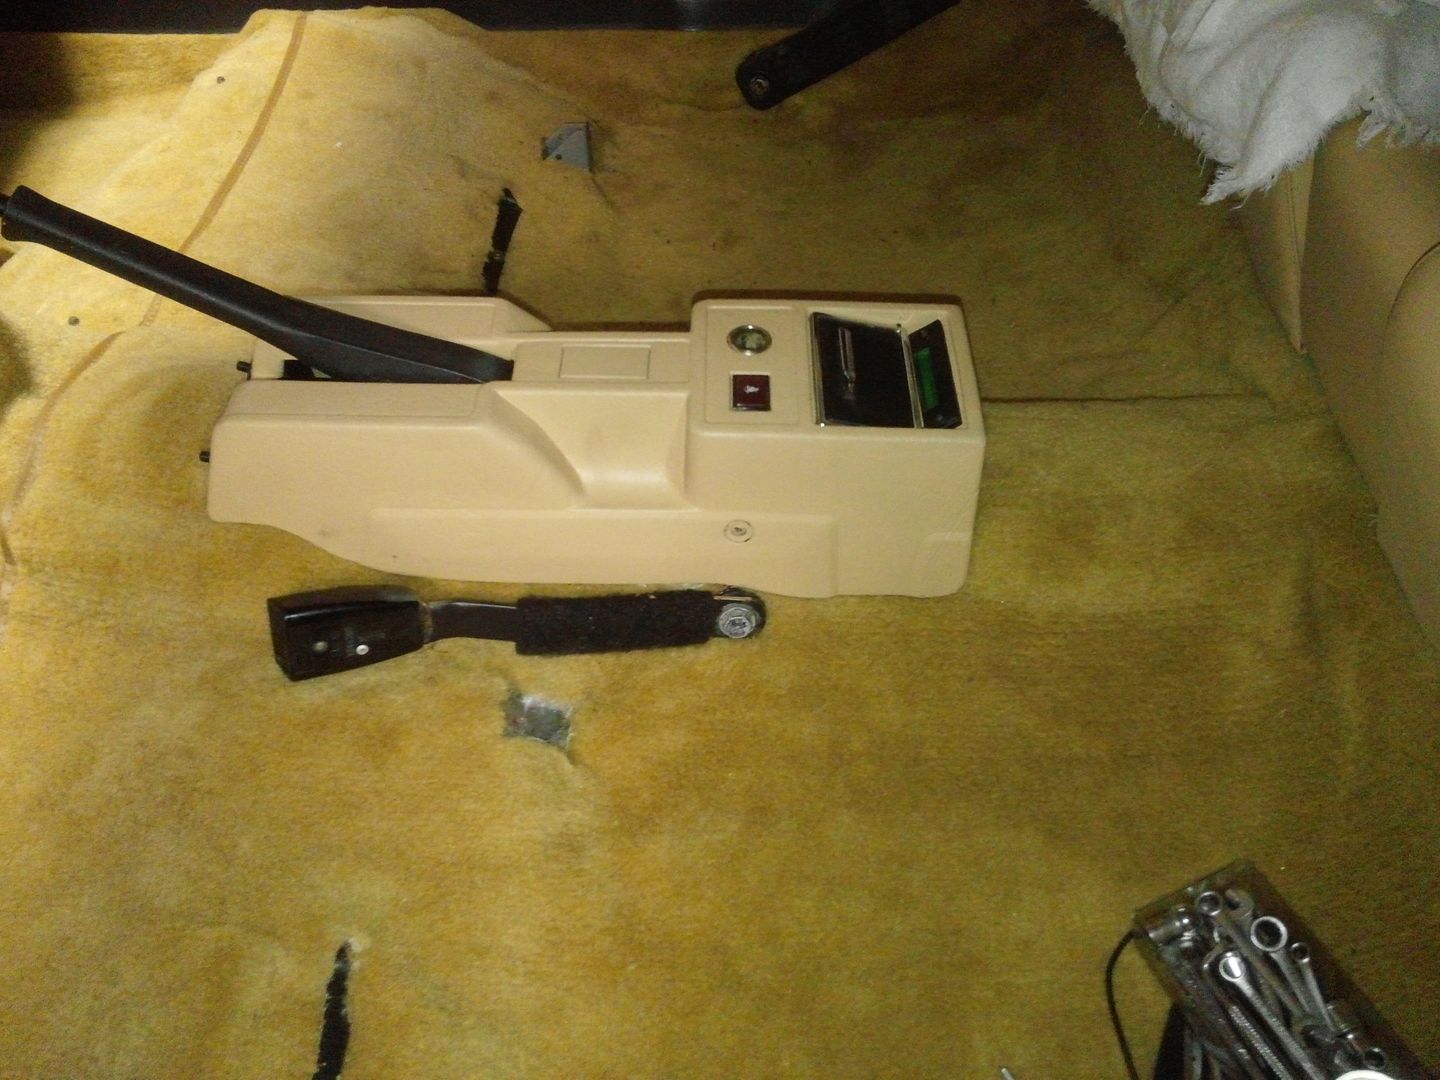
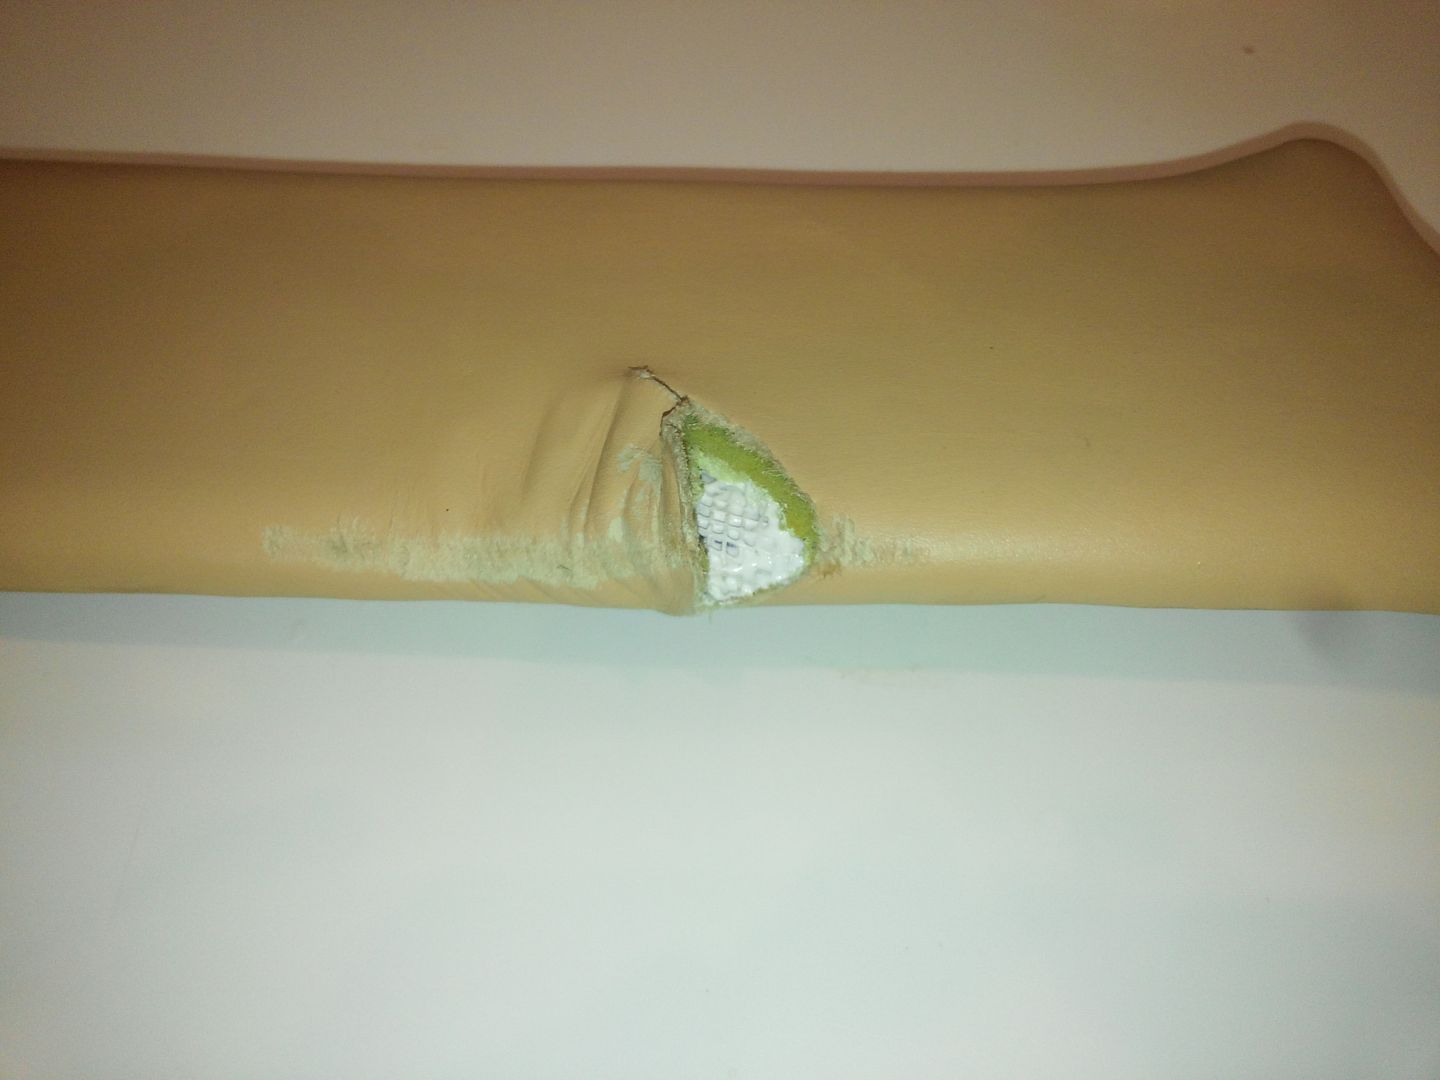
Got ready to reinstall the seats and found this.
Only I could have done that as the area was very nicely refinished. Must have dropped it against the sharp edge of a table. Fortunately, it is on the lower inside edge of the passenger seat next to the center console so if I put a piece of duct tape over it no one would ever see it.
Not me. Gotta try to refinish it best I can. Found some fiberglass reinforcing tape in my drywall repair kit that will hold the tear together if I can select the best adhesive to hold it all together. Right now liquid nails is my first choice. Second is contact cement.
The leather is glued to the metal backing with contact cement and has pulled off nicely without damage. That give me complete access to the back of the leather to pull this off.
Just more entertainment.
Speaking of entertainment . . . large rain storm at the range, washed leaves and junk to clog the under road pipes in 3 places, overflowed onto the roadway. Significant grading and gravel required.
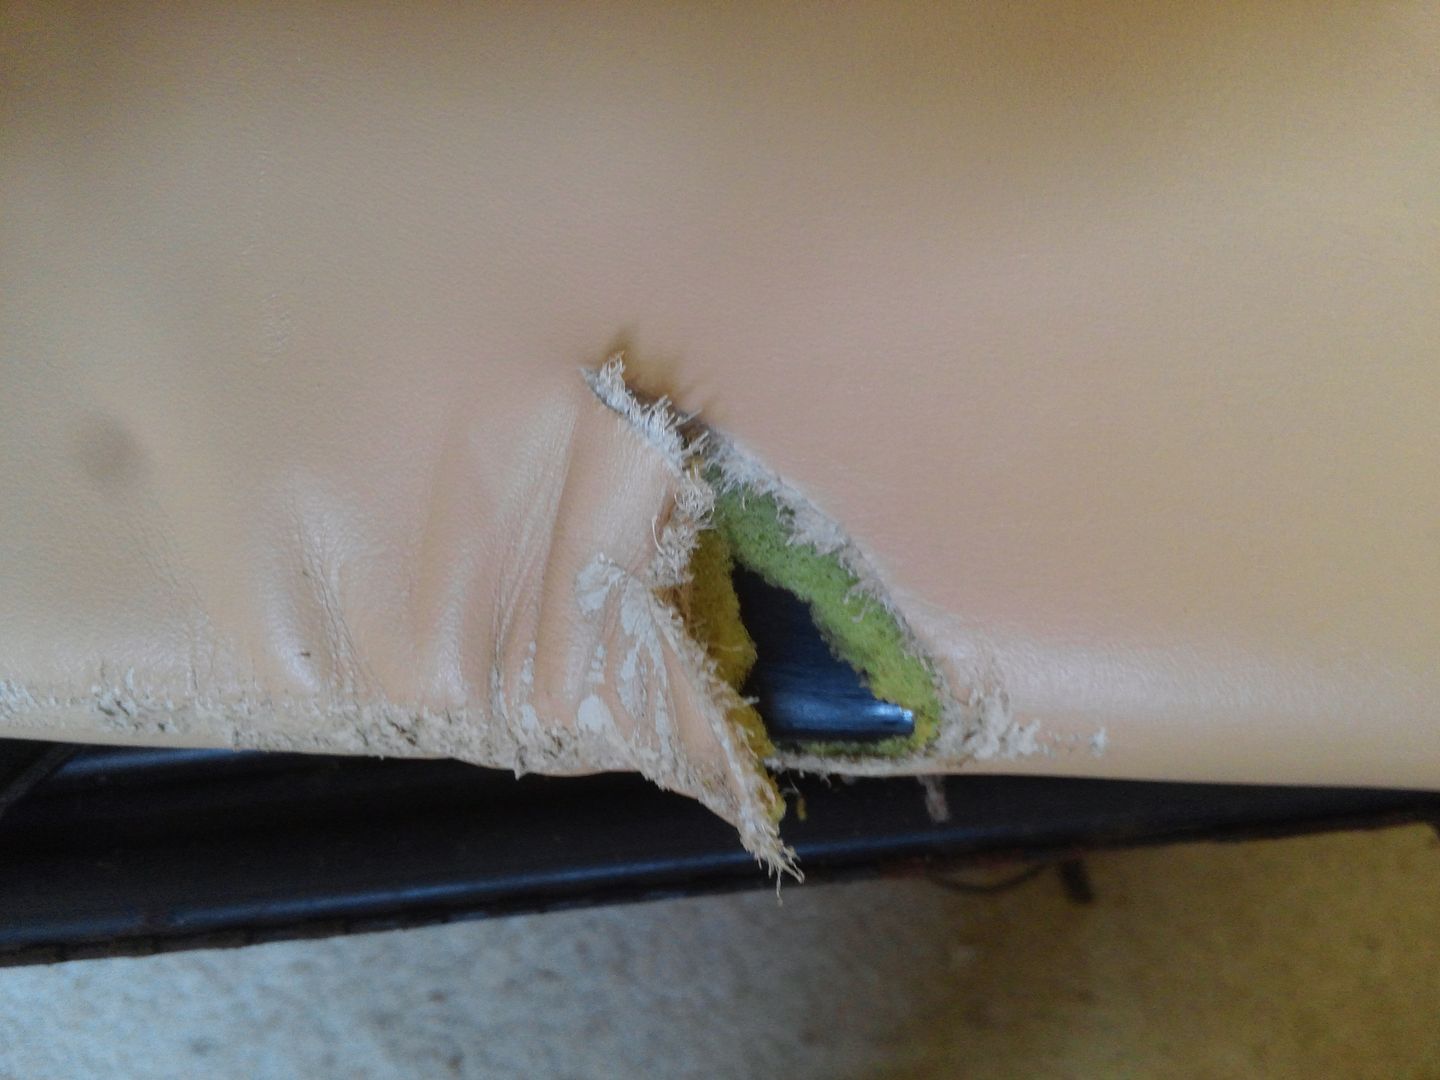
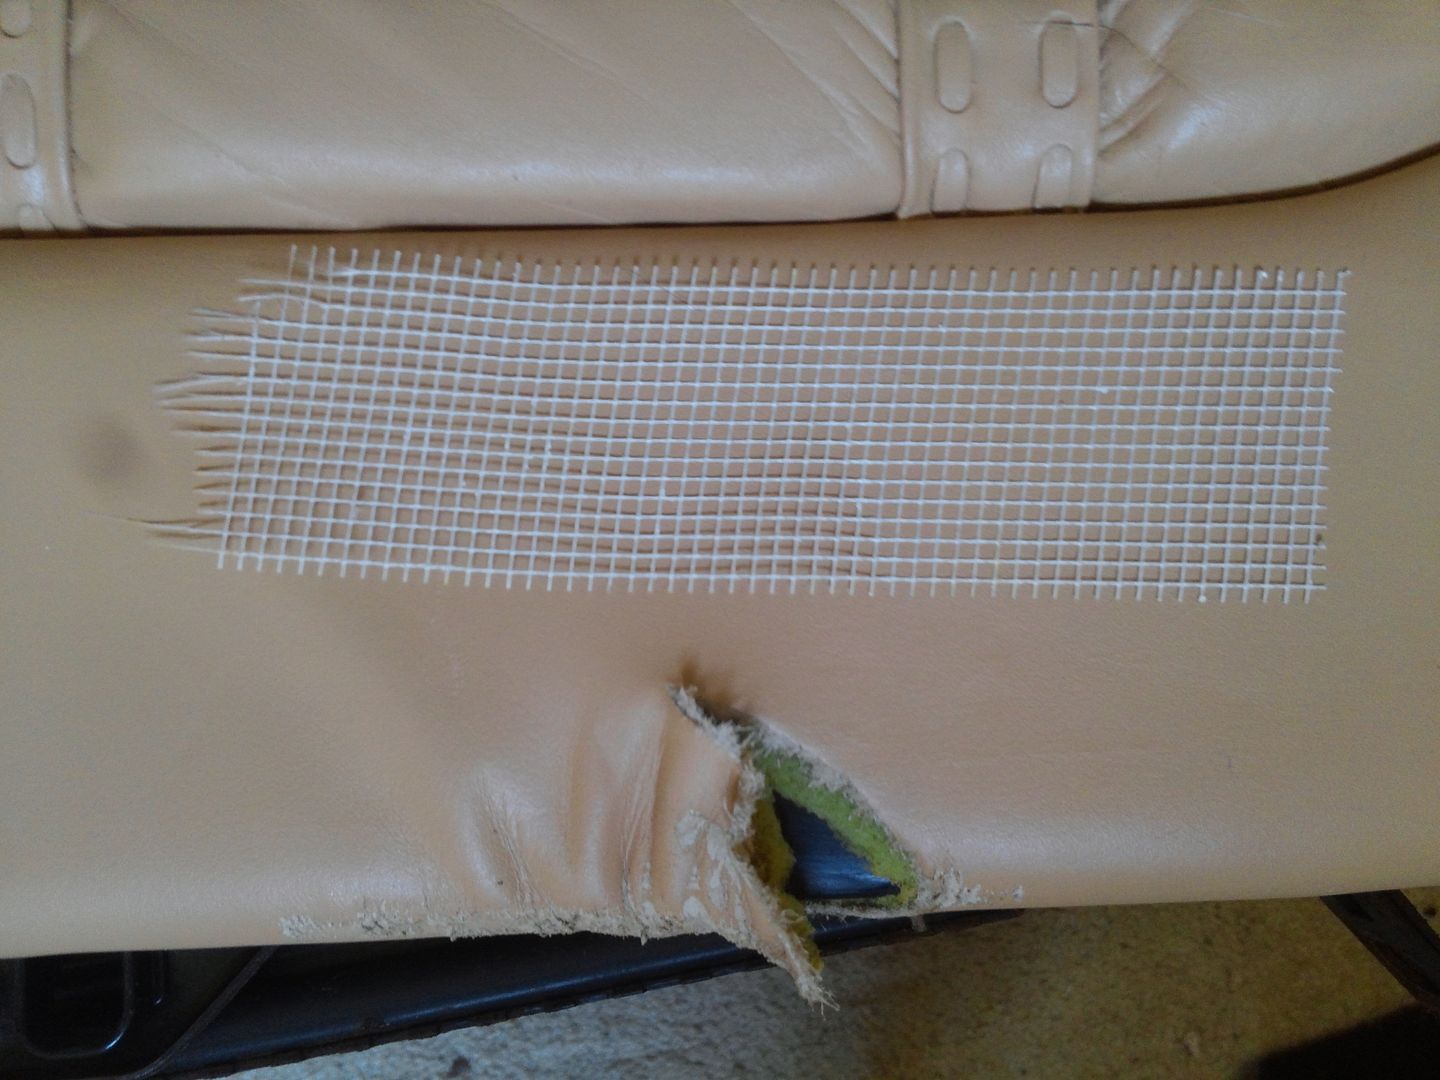
The newly found injury to the lower seat cover pane got some attention today.
Used some Liquid Nails adhesive to set the fiberglass mat onto the steel frame. Tomorrow I will try to stretch the leather smoothly over the substrate.
Oldest Grandson graduates from college tomorrow. Next one in December. Damn, I am getting old.
Used some Liquid Nails adhesive to set the fiberglass mat onto the steel frame. Tomorrow I will try to stretch the leather smoothly over the substrate.
Oldest Grandson graduates from college tomorrow. Next one in December. Damn, I am getting old.
Been busy with other things . . . .
Put the radio back in. That only took about 2 hours. The wire connector needs to be outside of the mounting tray and it is VERY difficult to get through the small hole. Of course the radio itself and the length of the wiring pigtail prevent much hand access.
Got ready to put the passenger seat back in and realized that the bottom of the seat slide was very rusty. It was not going on my new carpet like that. A minute with my trusty 3M locking disk and everything is all bright again.
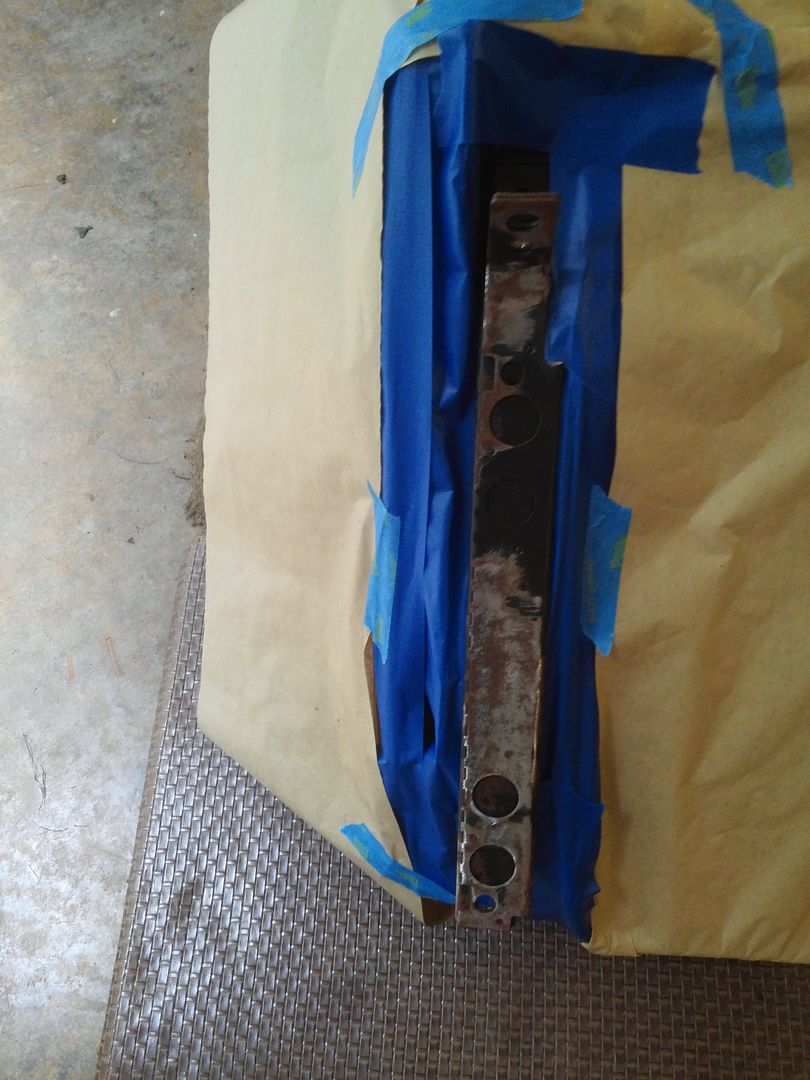
If you do not have a set of the twist lock grinding pads you are missing a great product.
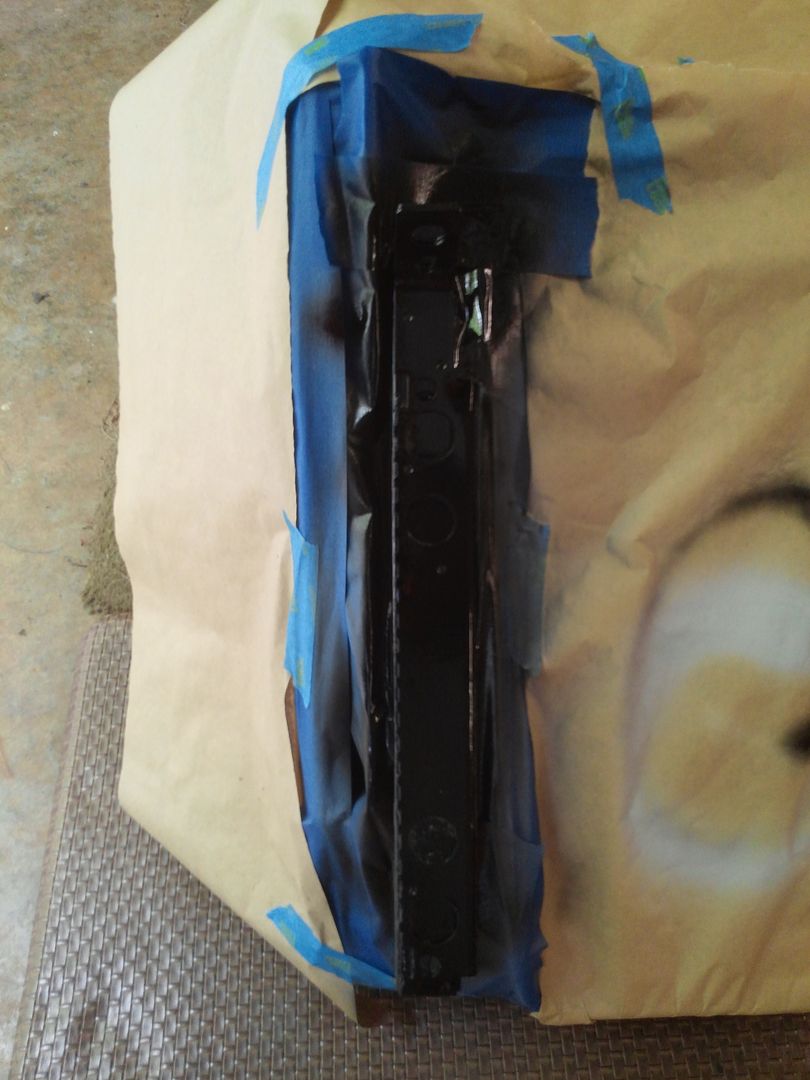
A little zinc primer:

and some black trim paint:
Grandson's college graduation:

Put the radio back in. That only took about 2 hours. The wire connector needs to be outside of the mounting tray and it is VERY difficult to get through the small hole. Of course the radio itself and the length of the wiring pigtail prevent much hand access.
Got ready to put the passenger seat back in and realized that the bottom of the seat slide was very rusty. It was not going on my new carpet like that. A minute with my trusty 3M locking disk and everything is all bright again.
If you do not have a set of the twist lock grinding pads you are missing a great product.
A little zinc primer:
and some black trim paint:
Grandson's college graduation:
Unfaithful
I have been off cavorting with other threads on specific issues that had me stumped.
First, the ignition/starter switch would not engage the starter but power to the firewall test lead would. If you are interested in the details:
http://forums.turbobricks.com/showthread.php?t=324283
Turned out to be a bad ignition/starter switch. Found a NOS one for $70 where all the new ones were $110 and up.
Second, the fuel pump relay would not activate the pumps. Out of the three used relays in my possession none worked which caused me to question relay or other. Turned out to be relay. A new $50 one got the pumps running, fuel pressure up and the engine tried to start. For details:
http://forums.turbobricks.com/showthread.php?t=324603
At the moment the engine tries to start indicating spark but I know I have to go through the the O2 adjustment, verify that the frequency valve works, confirm that the CPR works as intended, verify that the spark advance is correct and then see what is left.
I have to remind myself that this car ran while in my possession as I have driven it about 30 miles. There is nothing I am aware of that I could have done that would cause the ignition/starter switch to stop working or the fuel pump relay to quit working just because I took it all apart.
Break's over, back on my head.