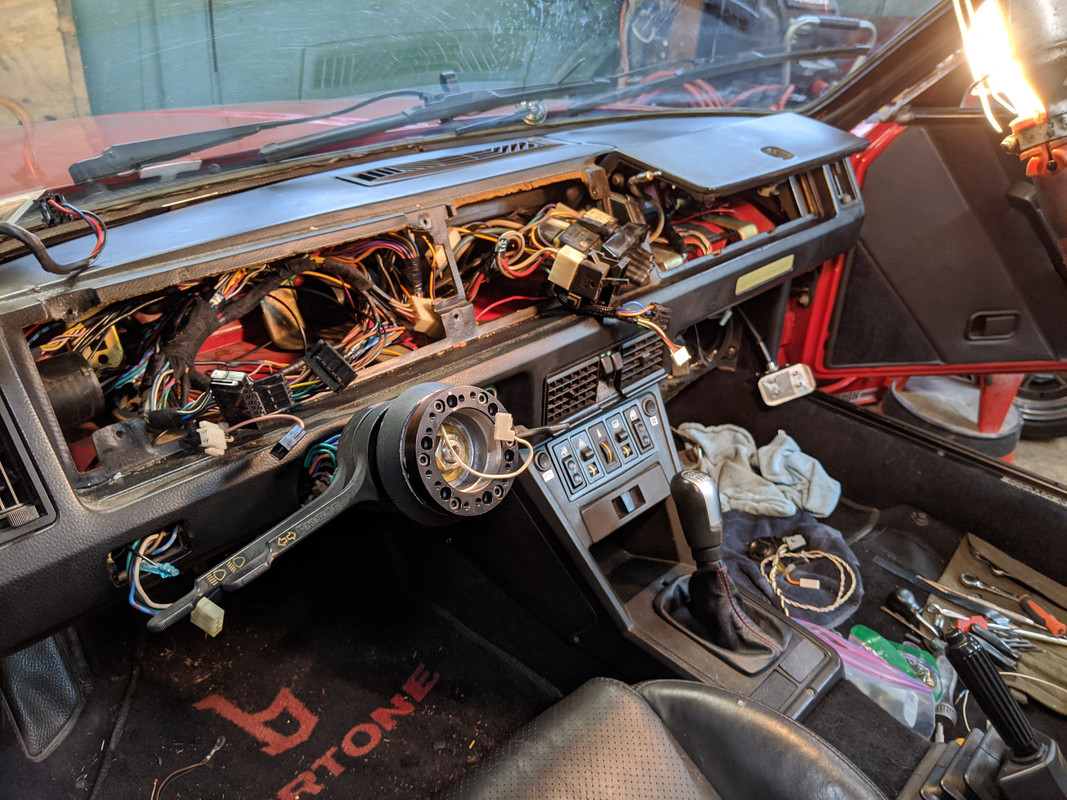
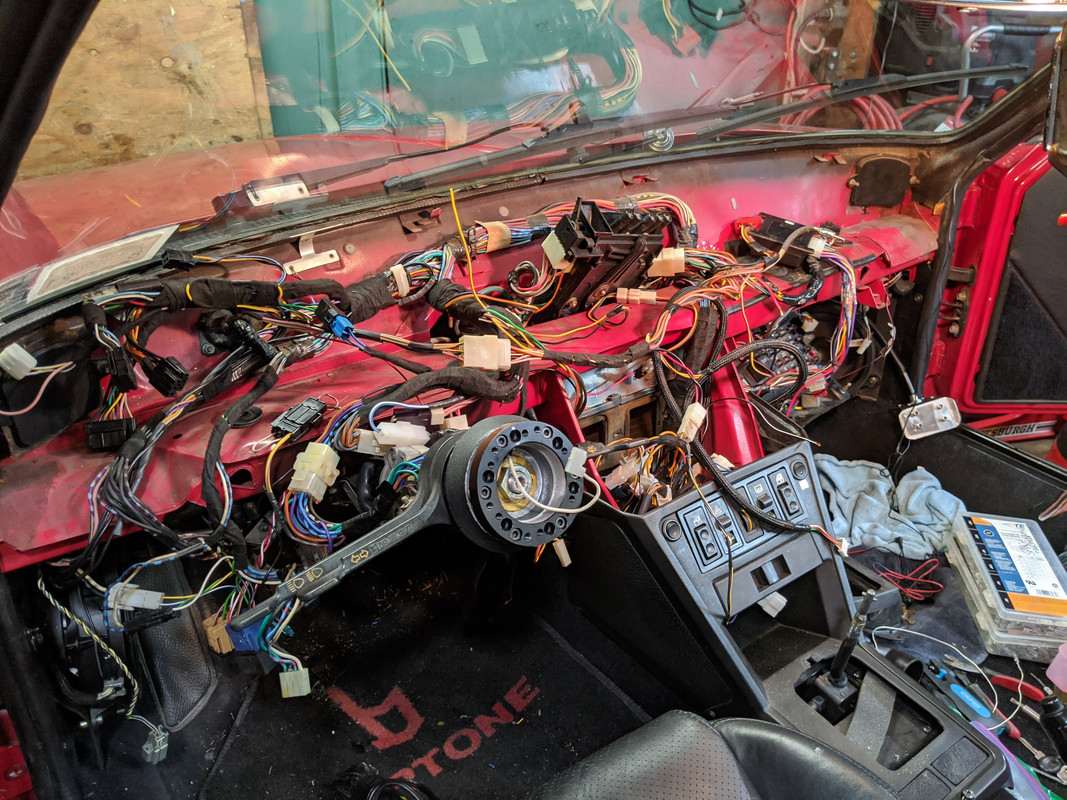
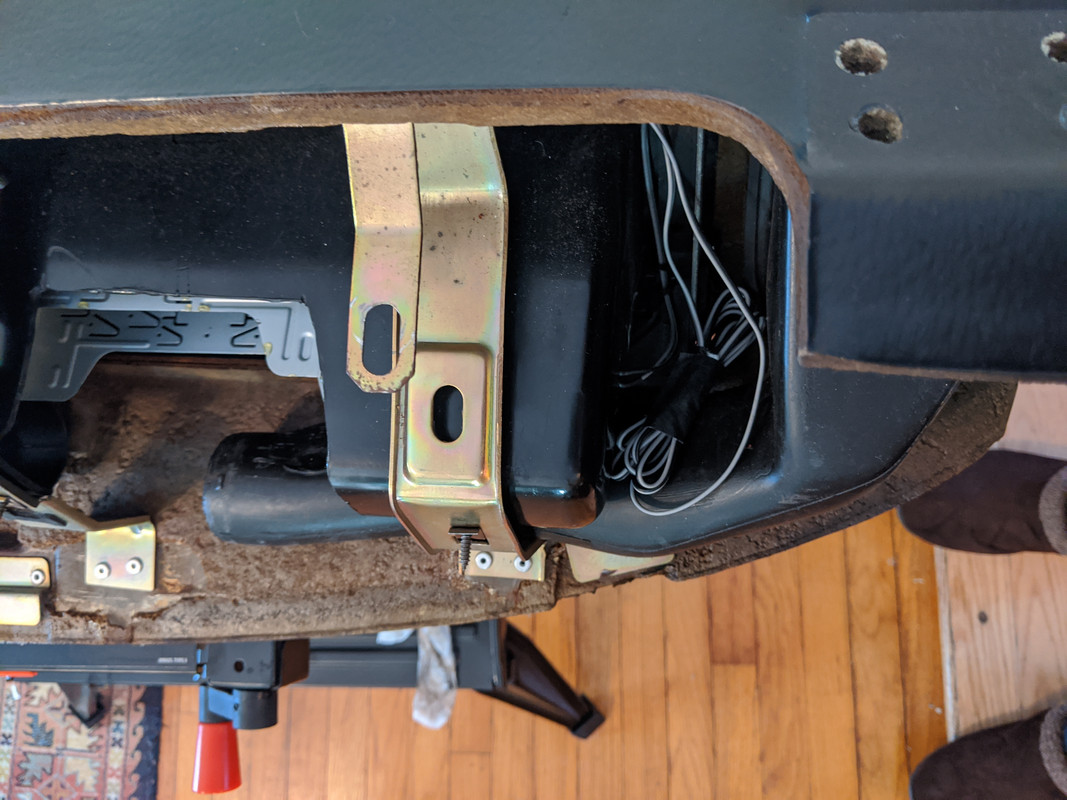
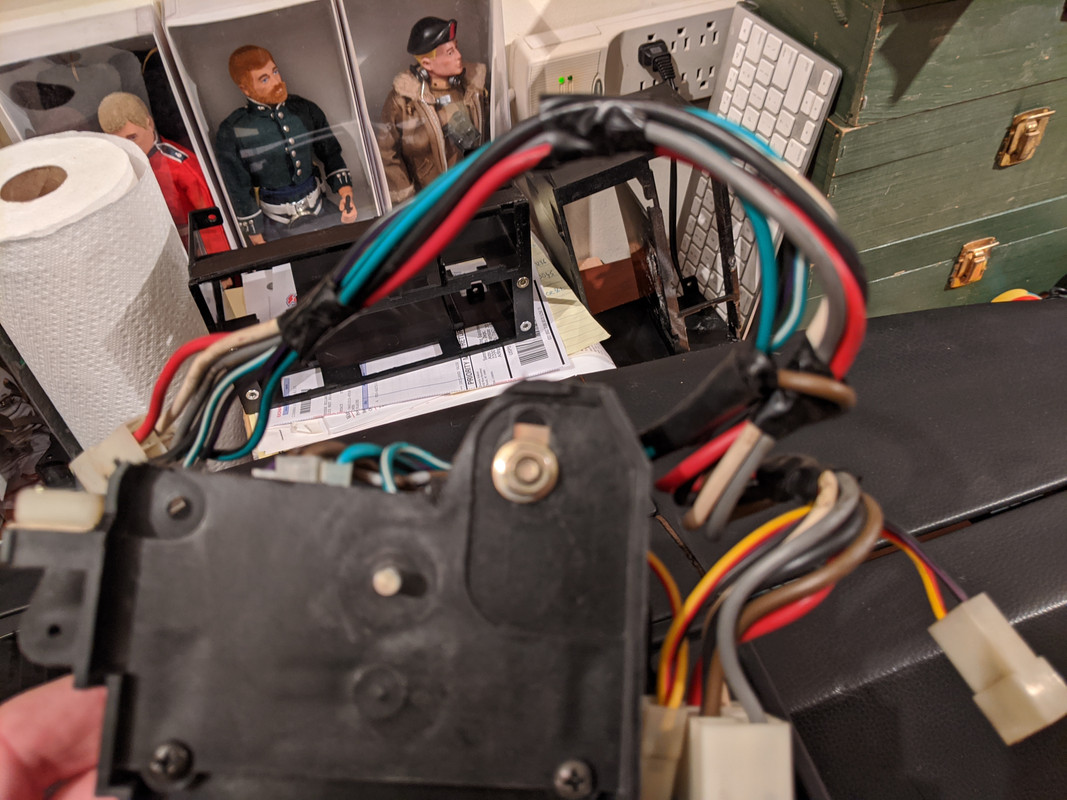
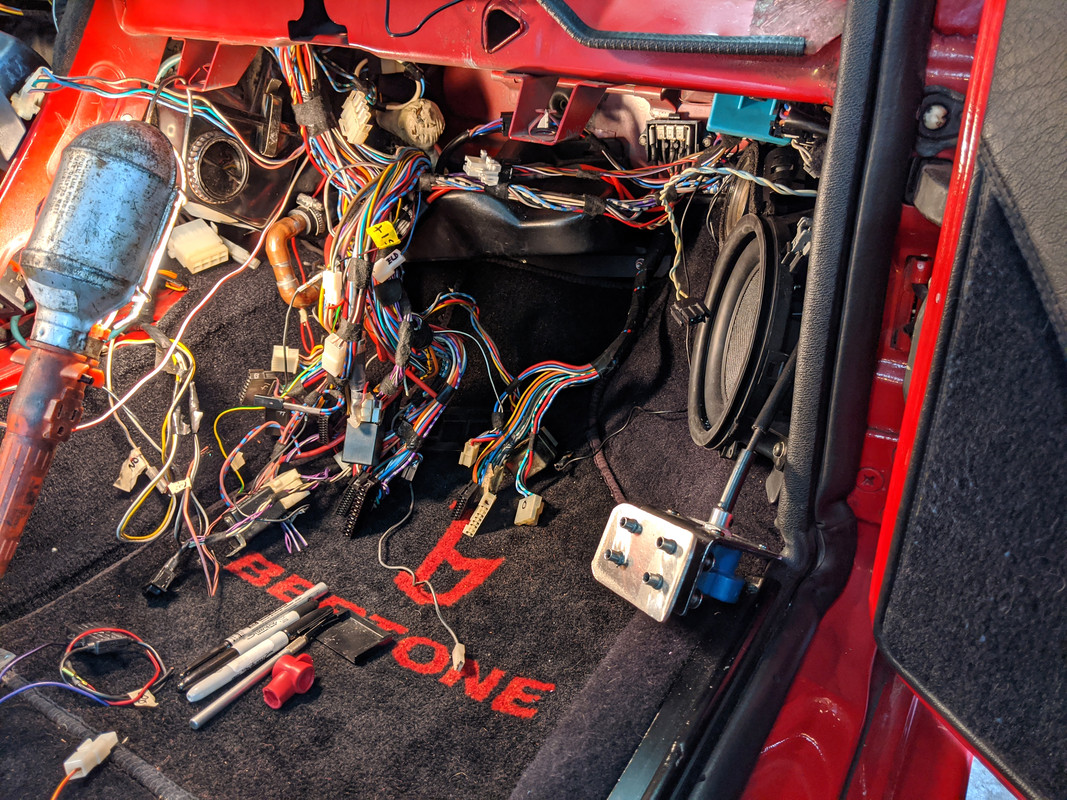
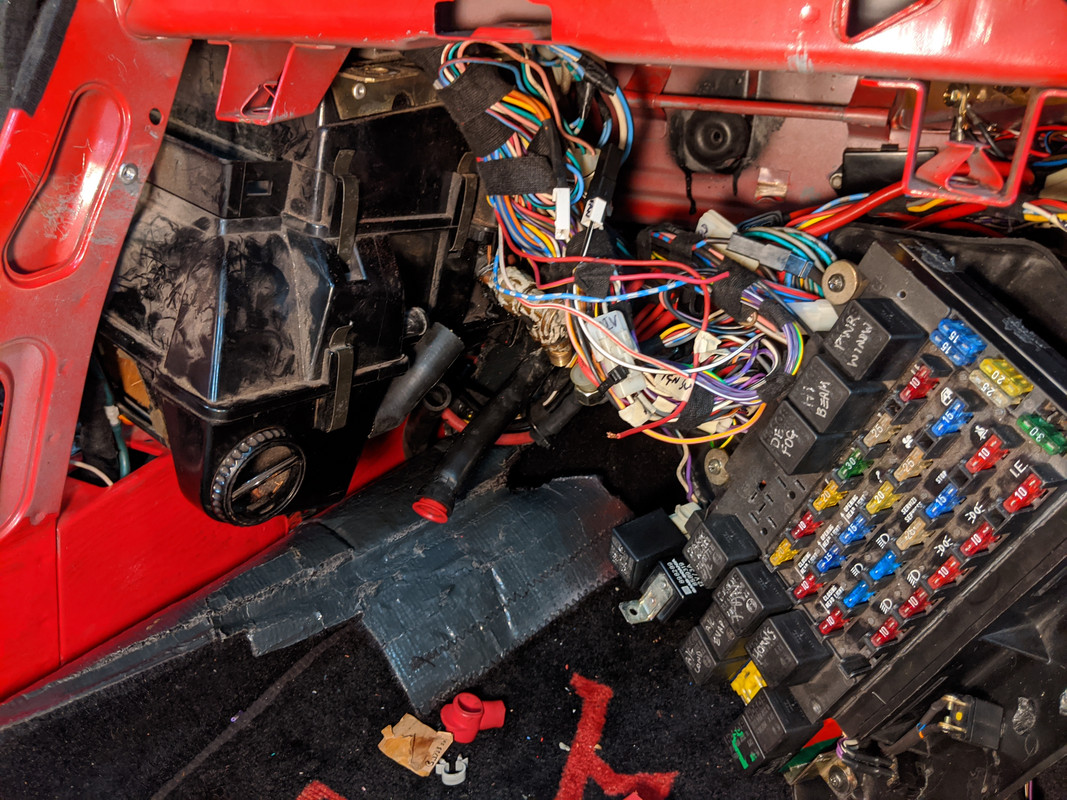
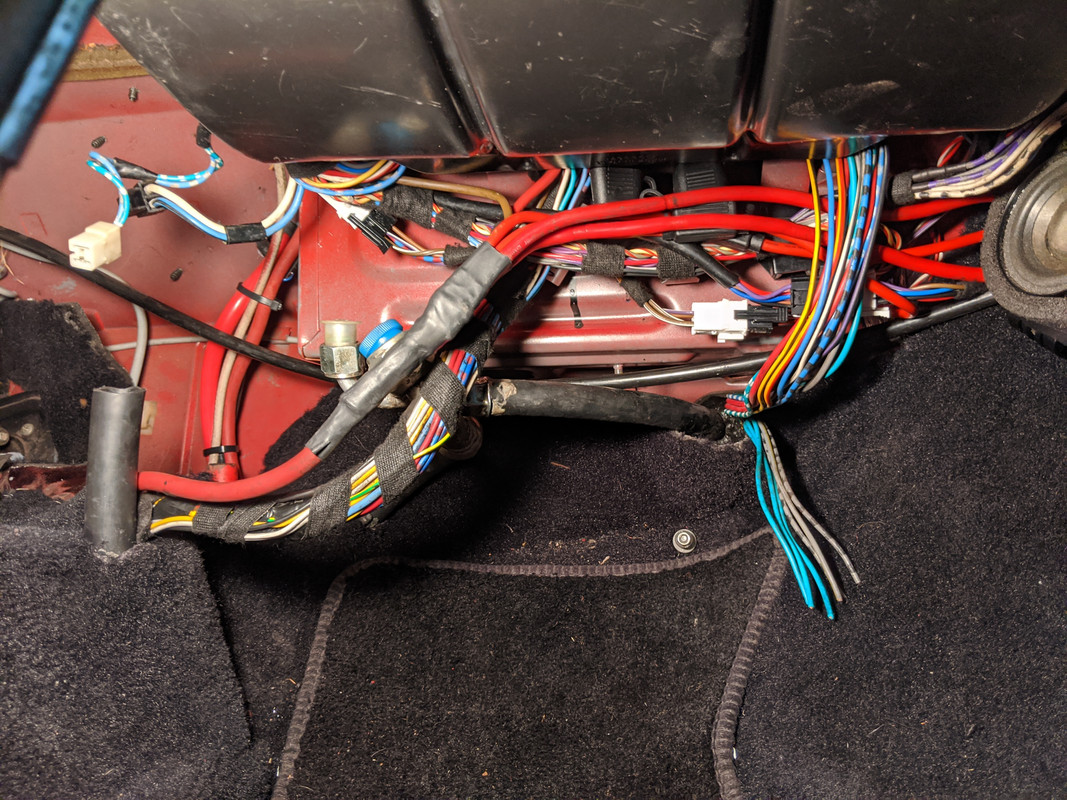
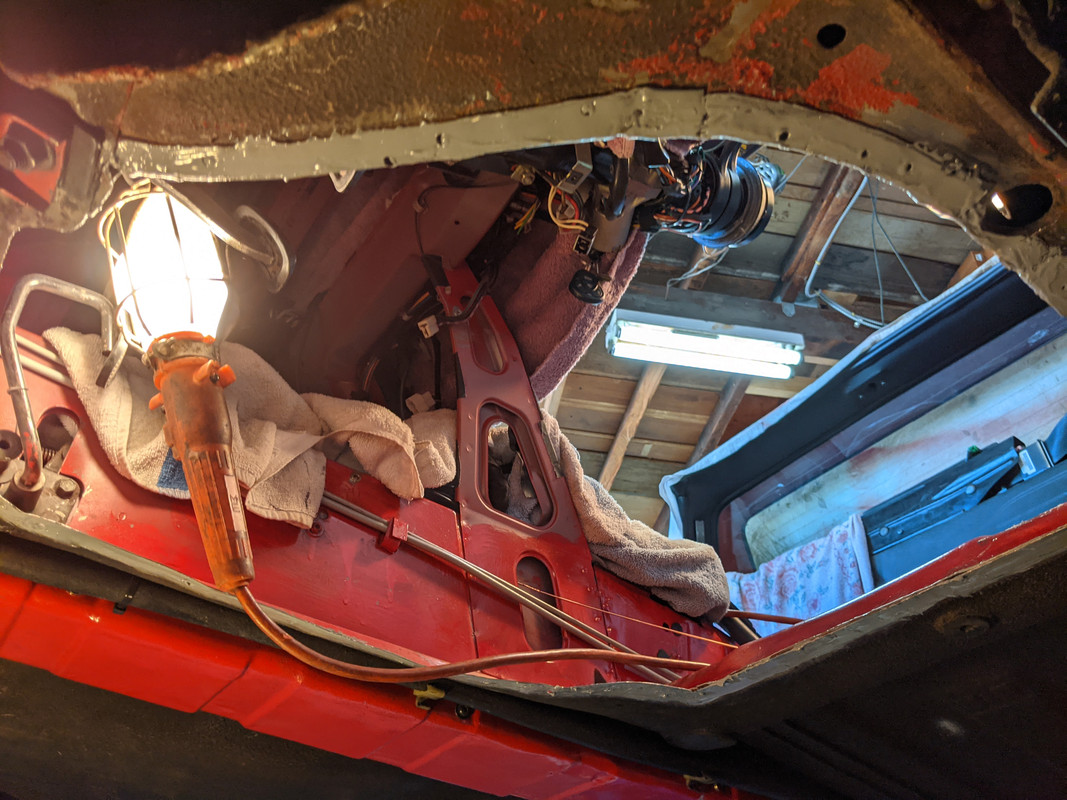
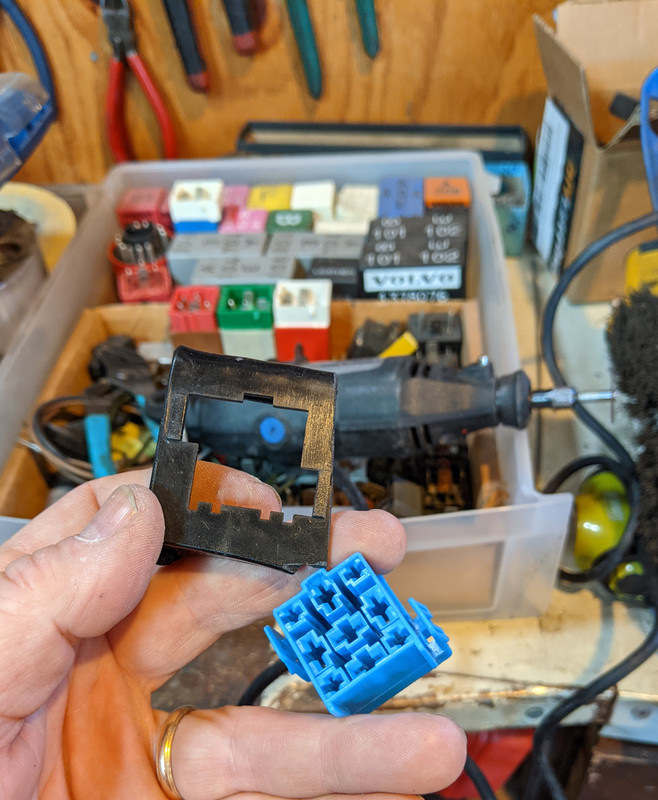
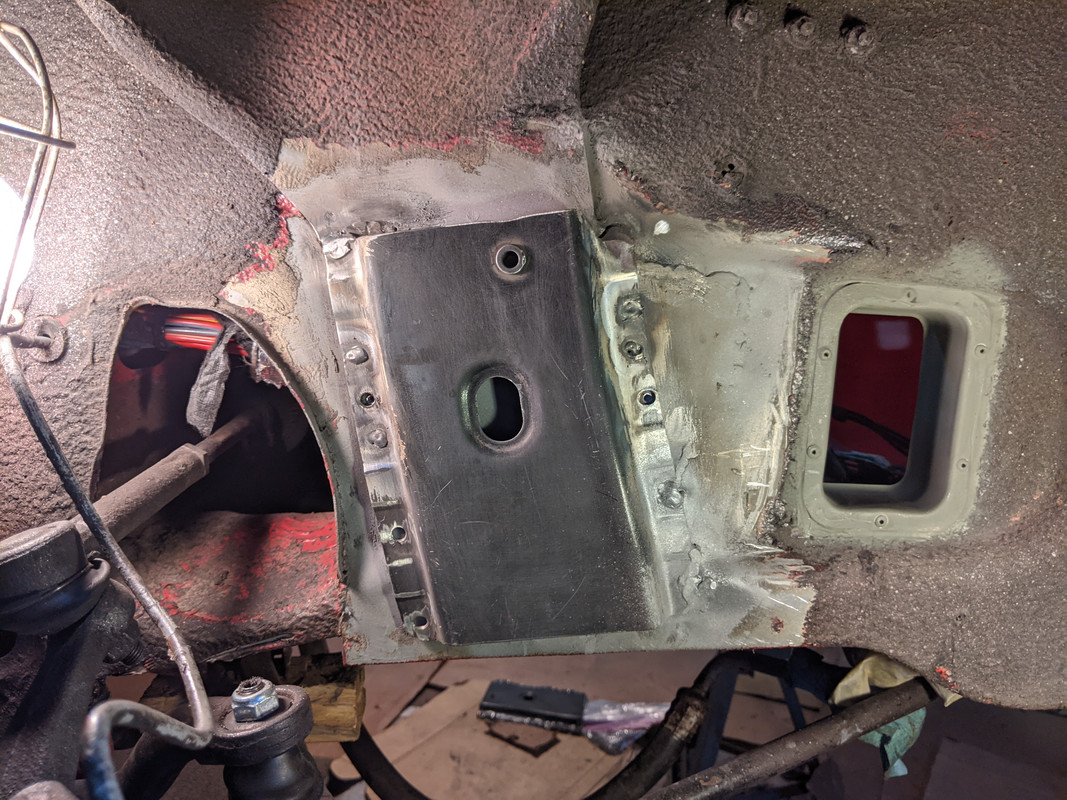
Put the ductwork back in to check harness routing, had to rewire center console harness (again) to allow it all to be pulled back when servicing the console switch housing.
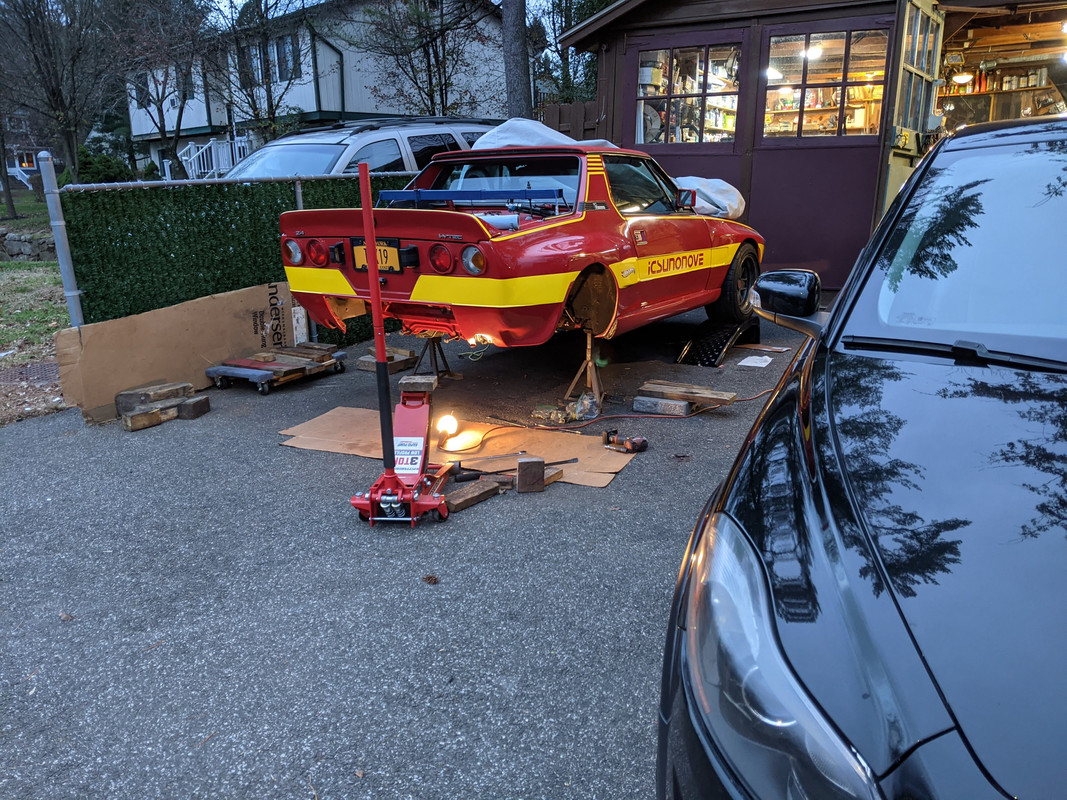
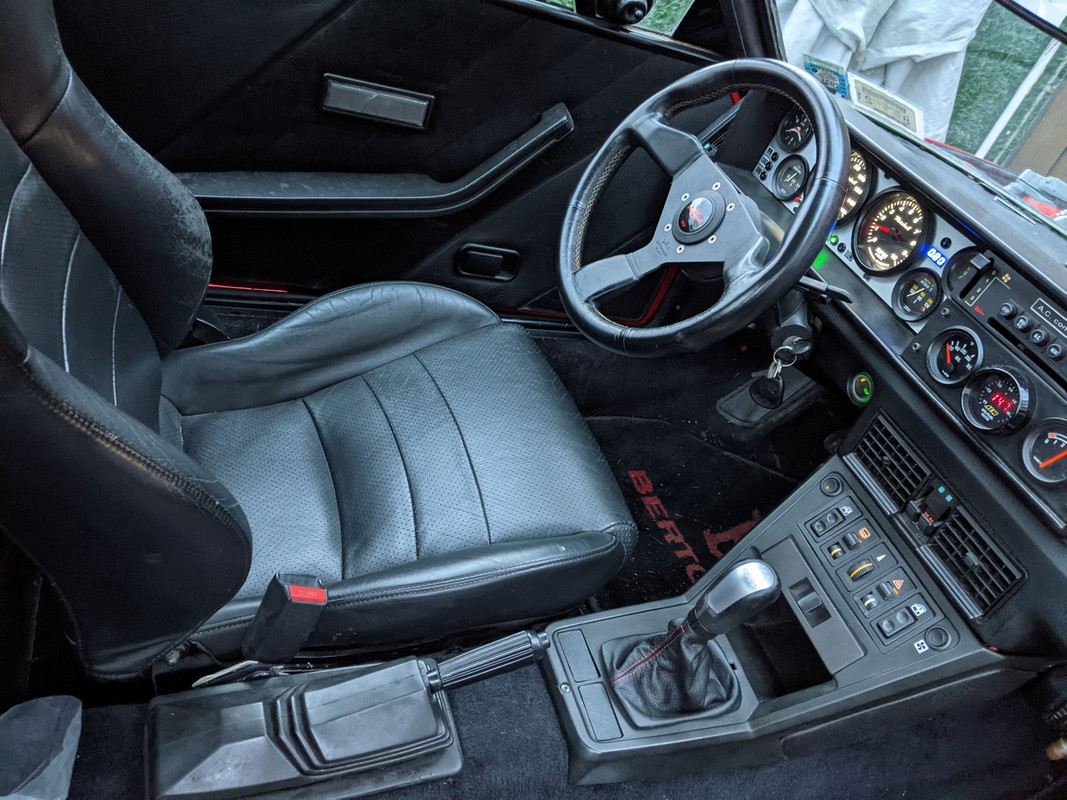
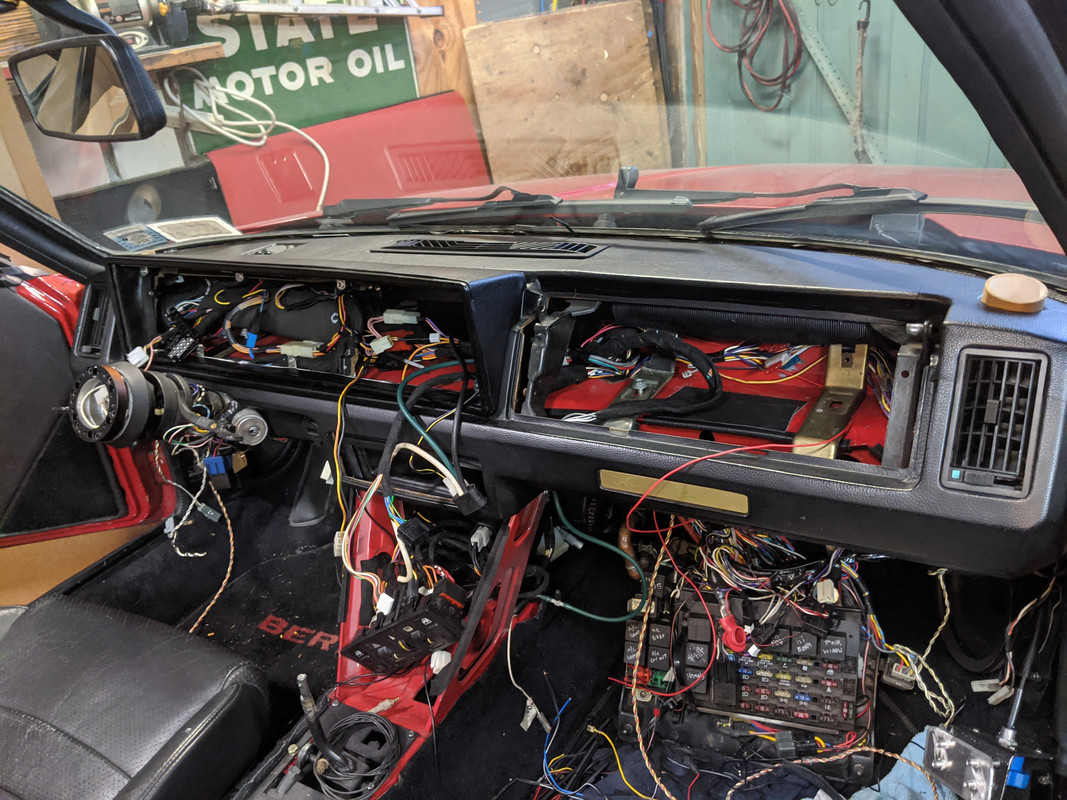
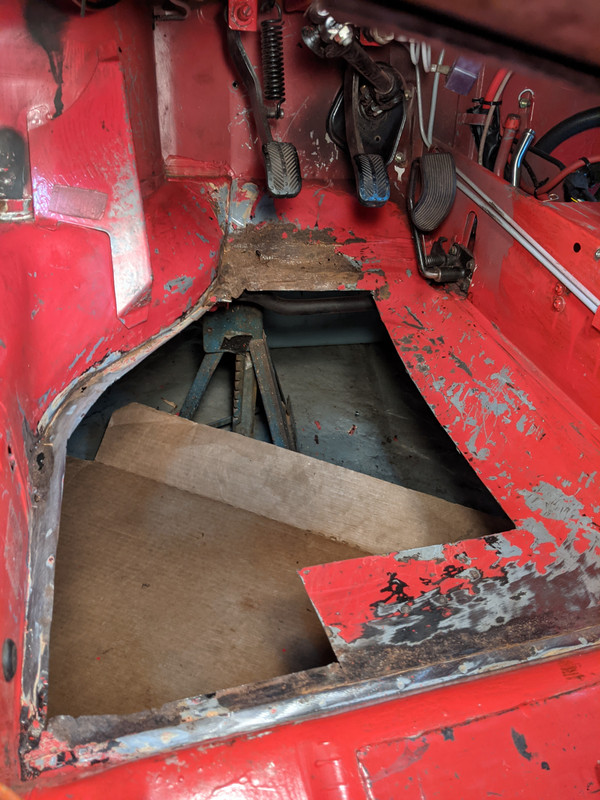
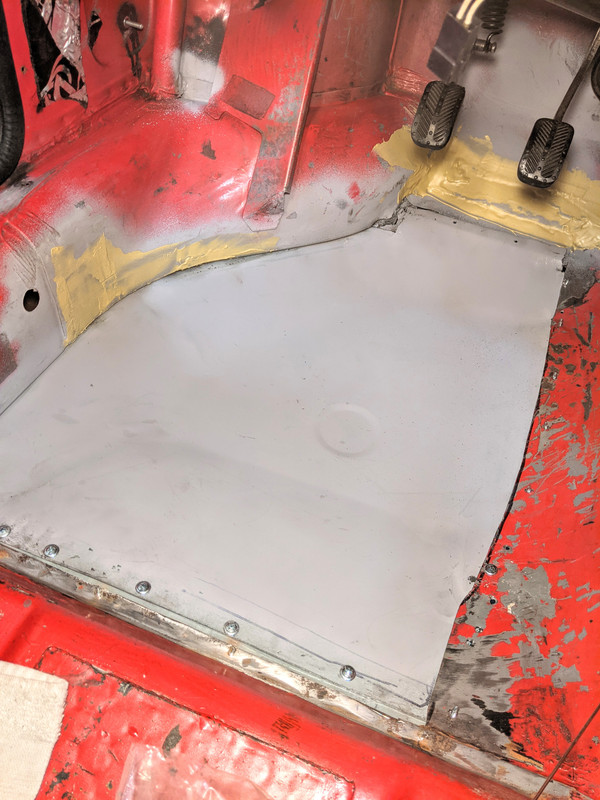
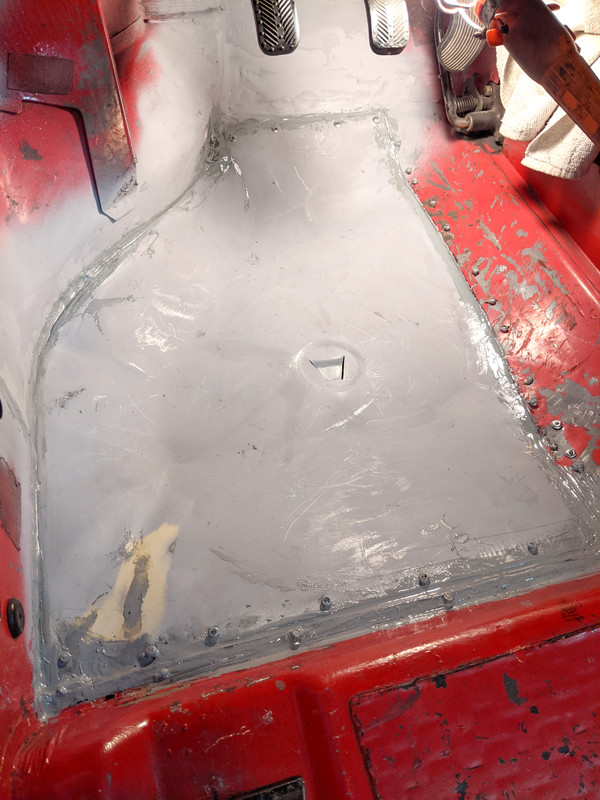
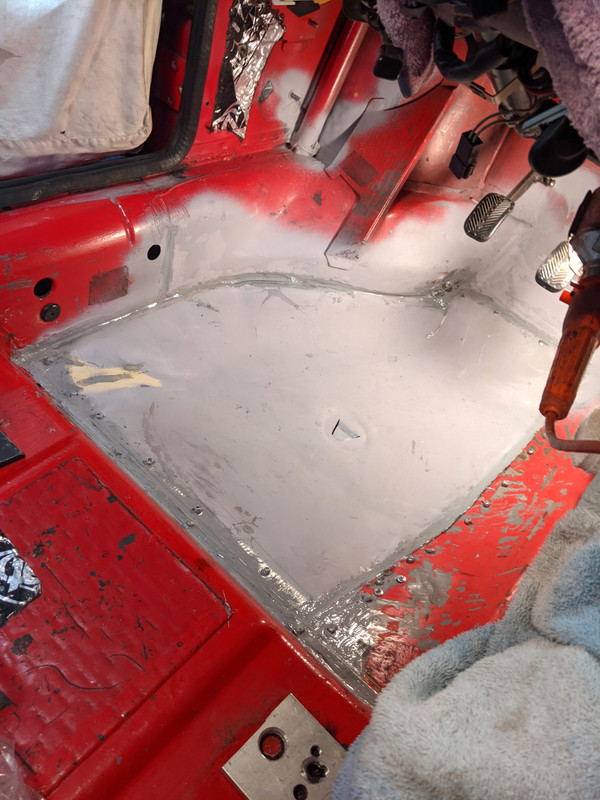
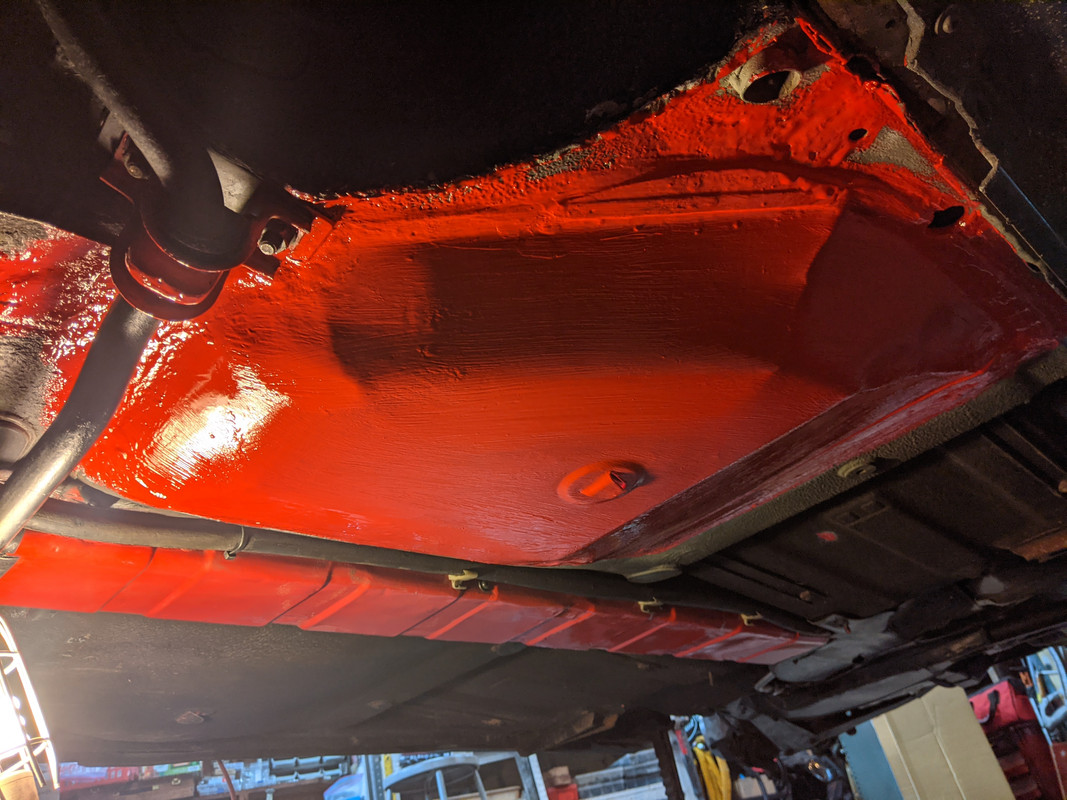
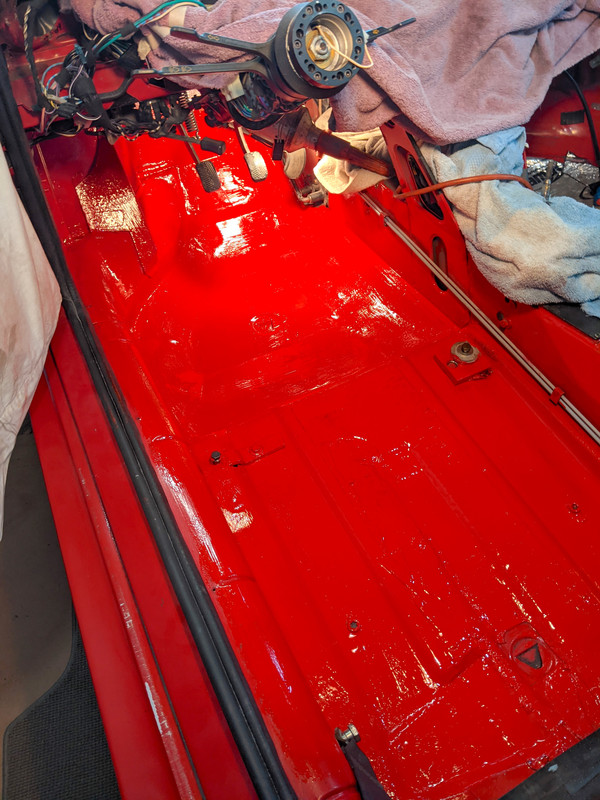
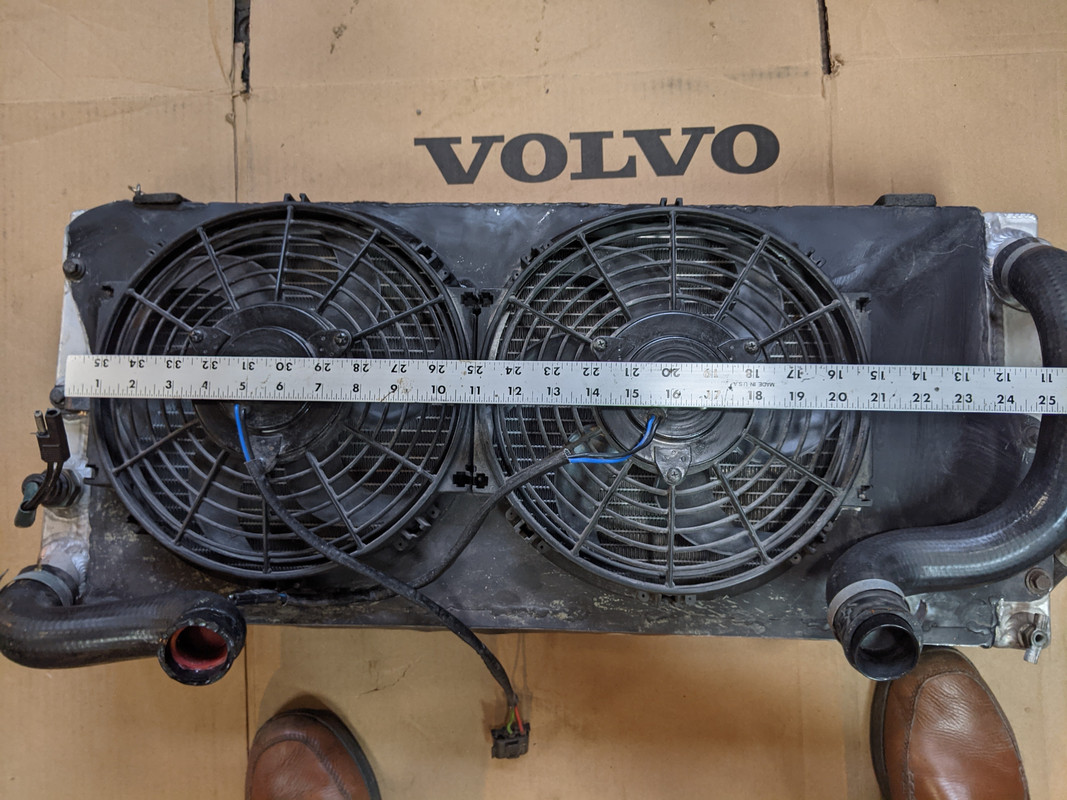
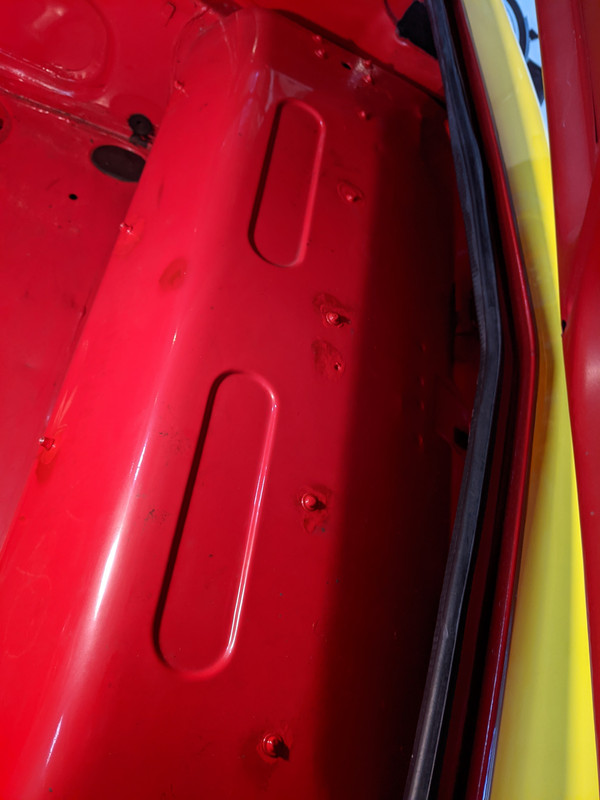
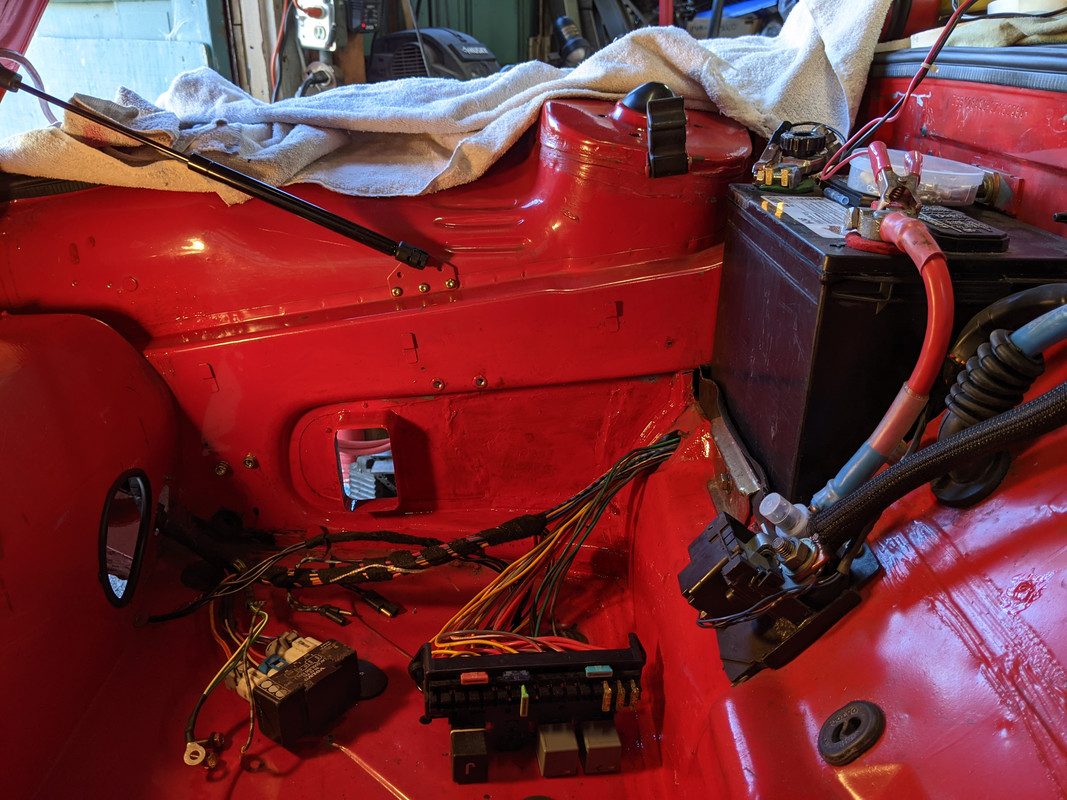
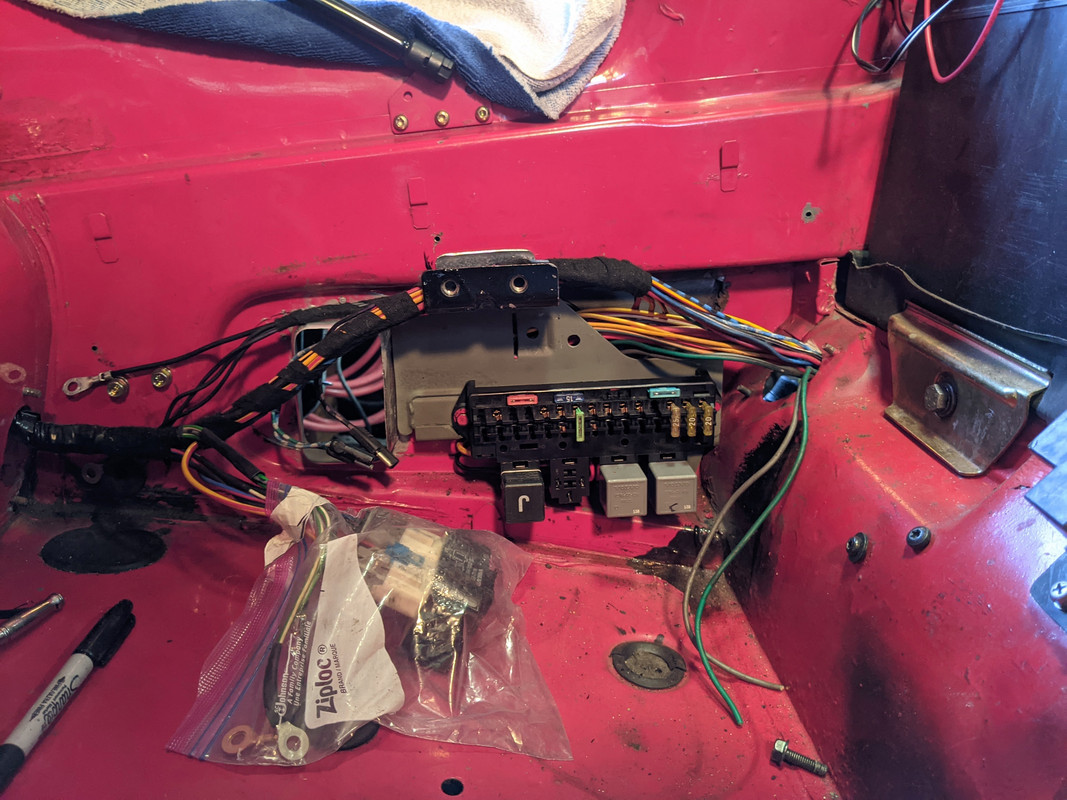
This is where I left off, temps dropped into the teens, too cold to work out there
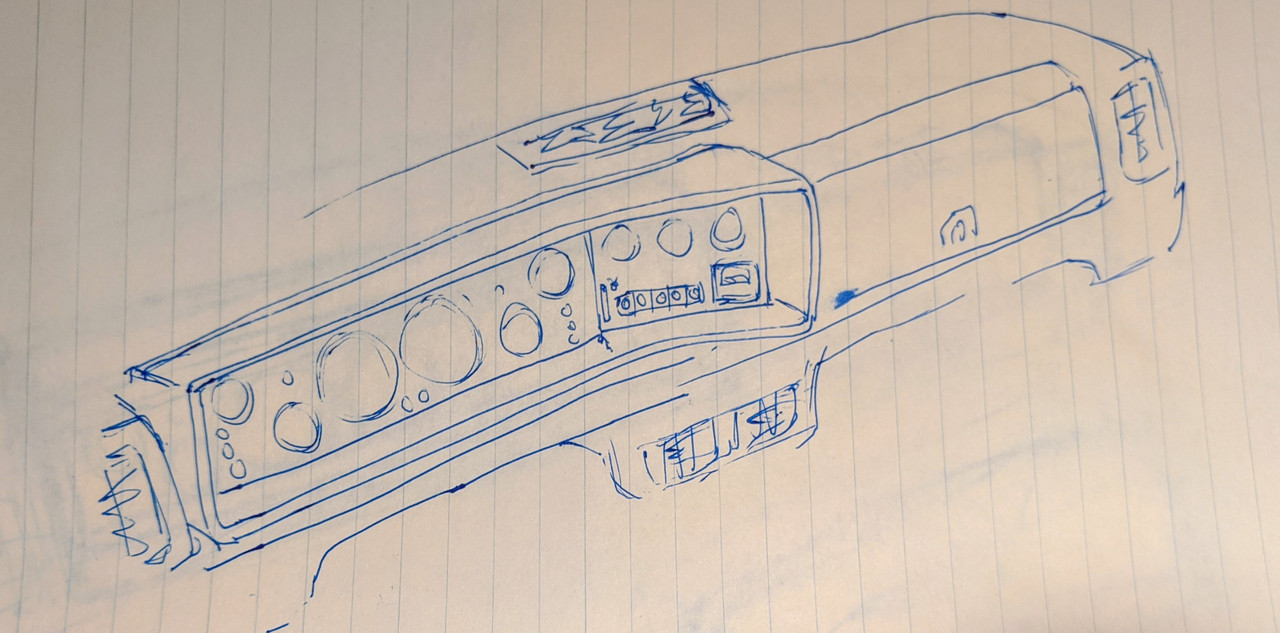
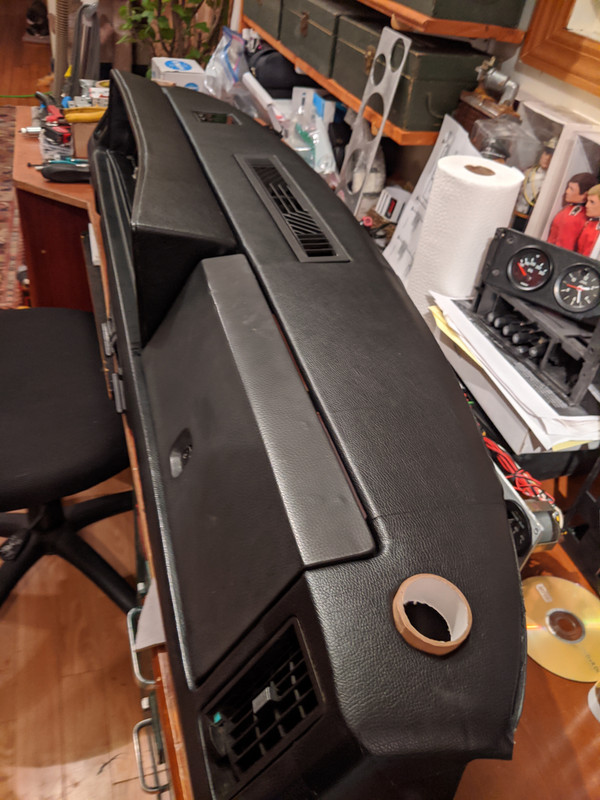
Decided to work on the dash / cluster layout, since that I can do in the house & basement
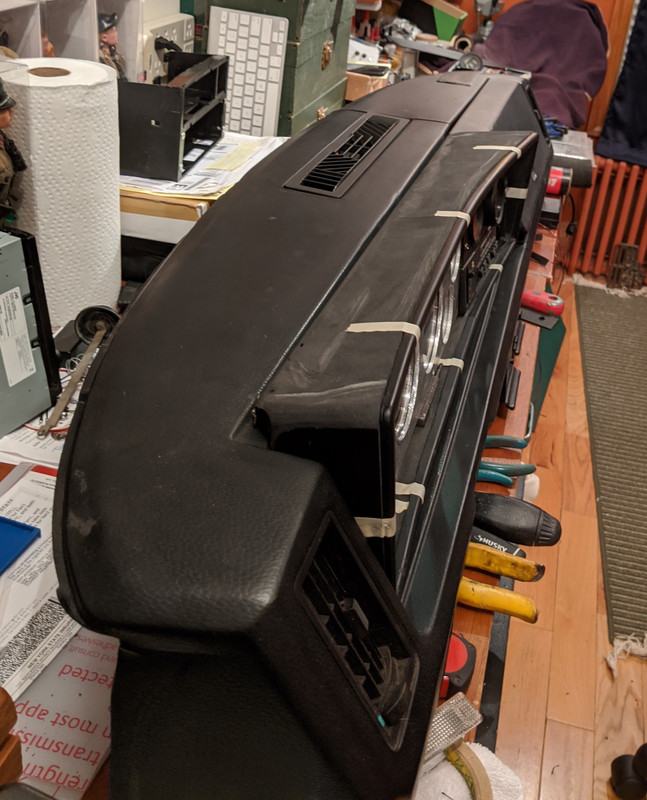
Went through several incremental revisions of the binnacle - which is a typical 80's Bertone layout - really boxy design.
When Bertone designed this revision, they moved the entire cluster several inches closer to the driver, which cuts off visibility of the gauges. They did this to allow for the AC side dash vents to pass behind. Sloppy work, as they could have spent time making the layout more efficient & not add so much space between the bulkhead & IP
pass side
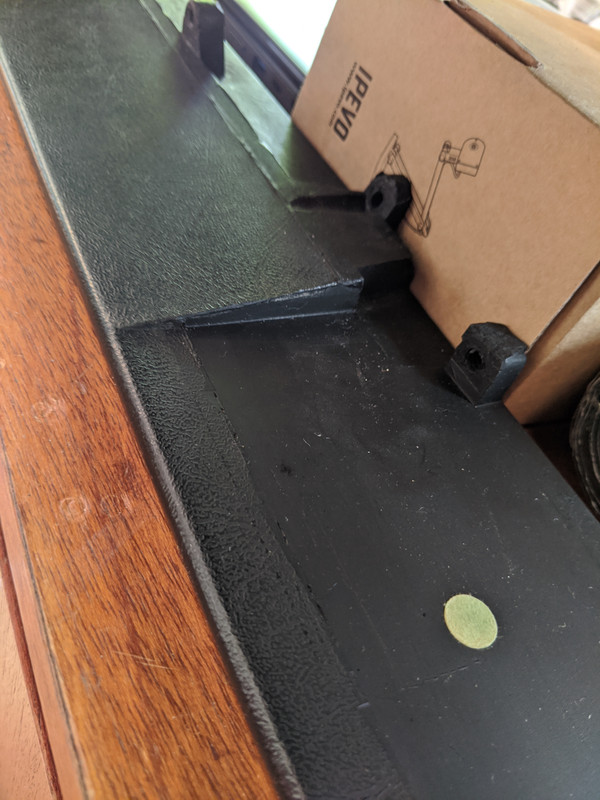
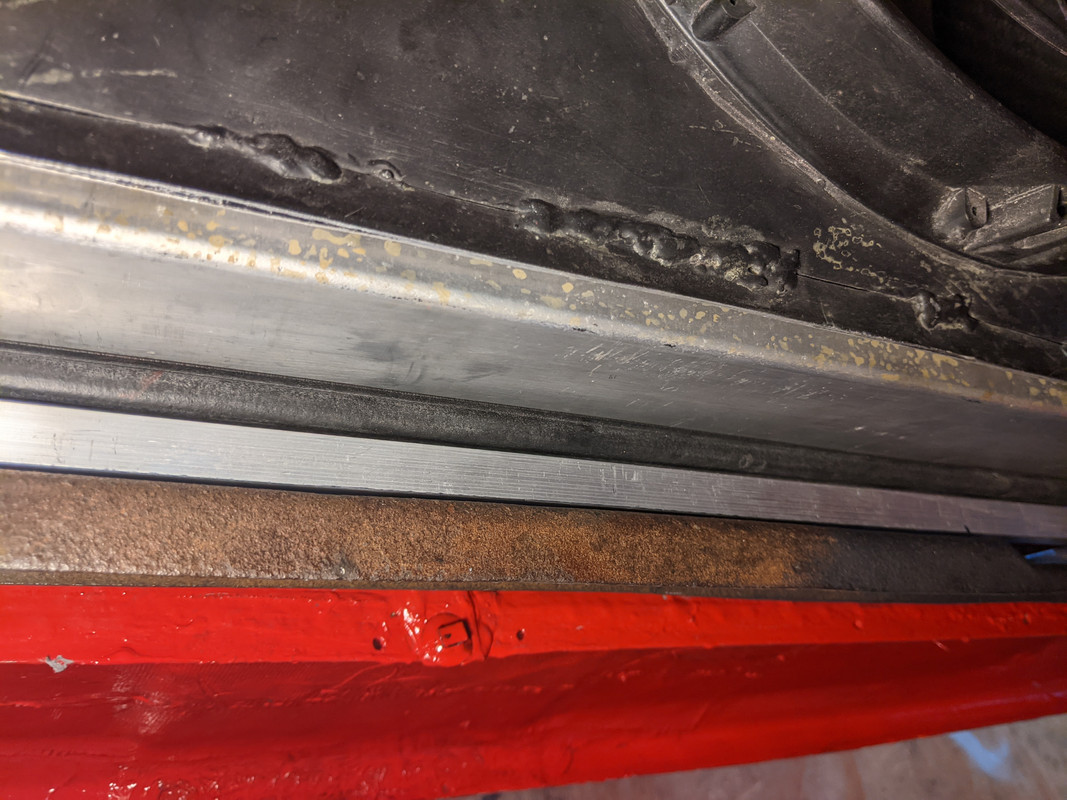
driver's side - you can see the offset of the fixed tube could have easily been angled to allow at a couple inches of more of additional space here
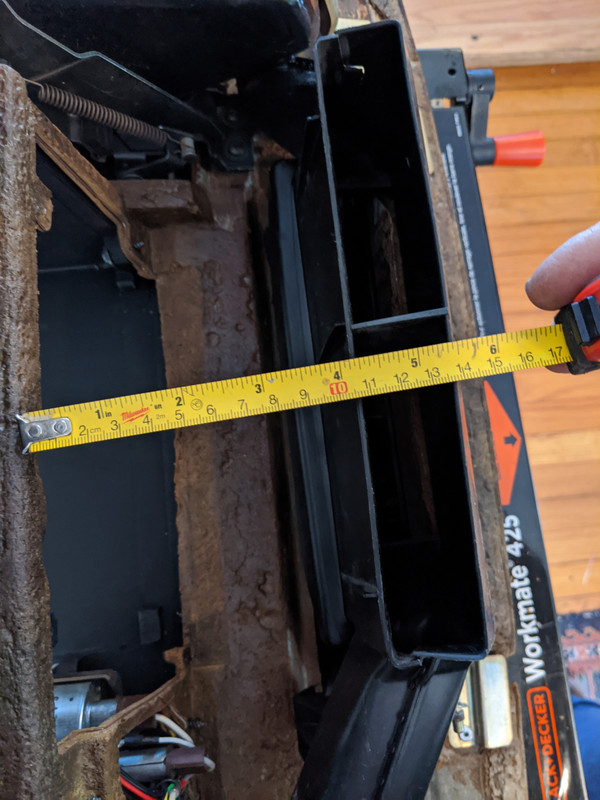
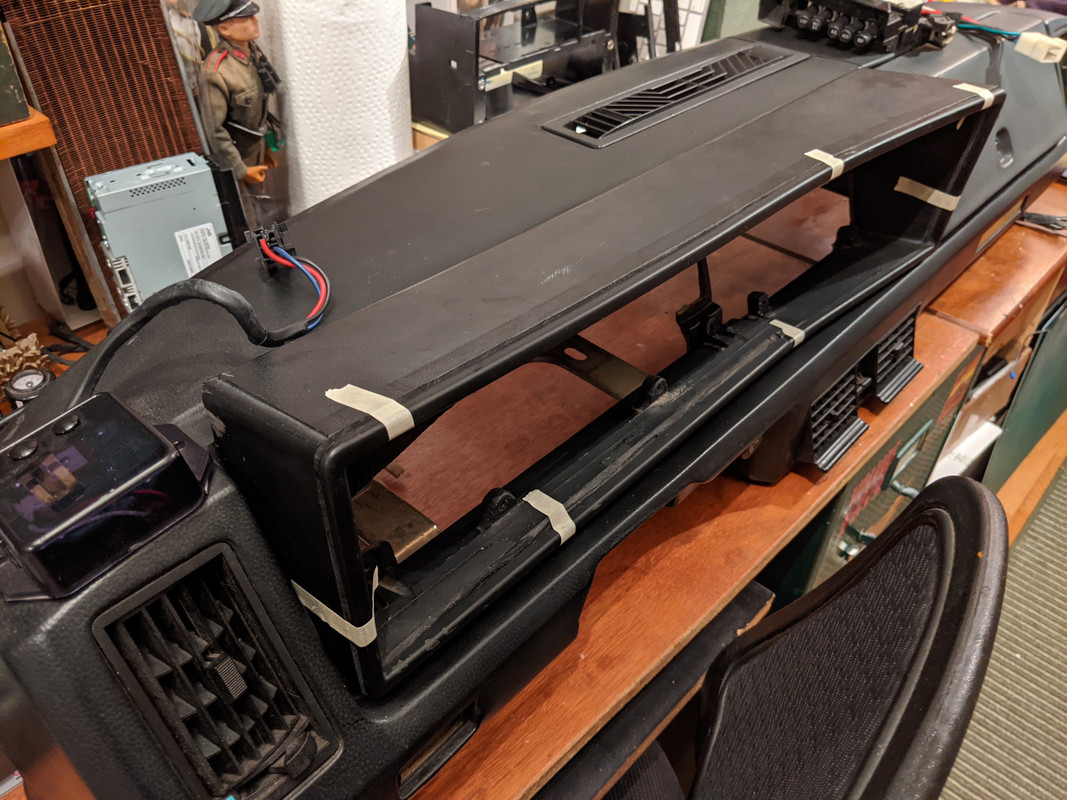
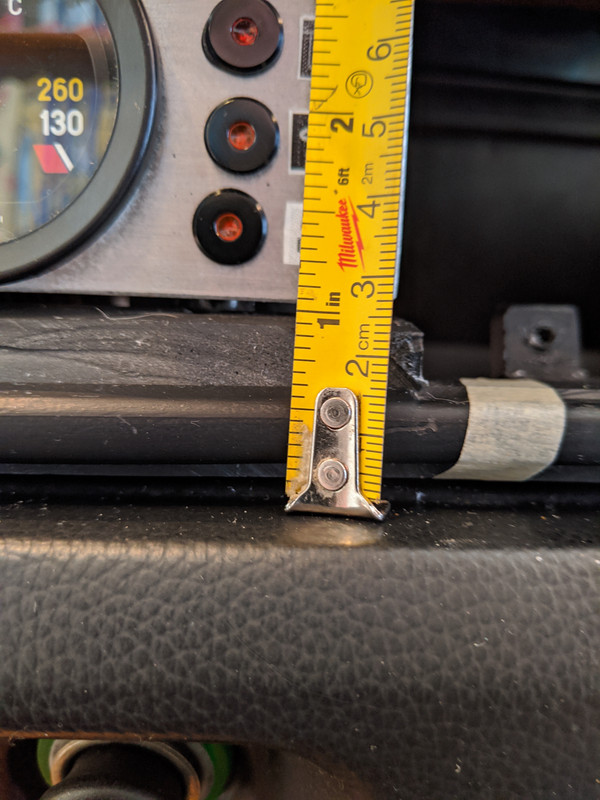
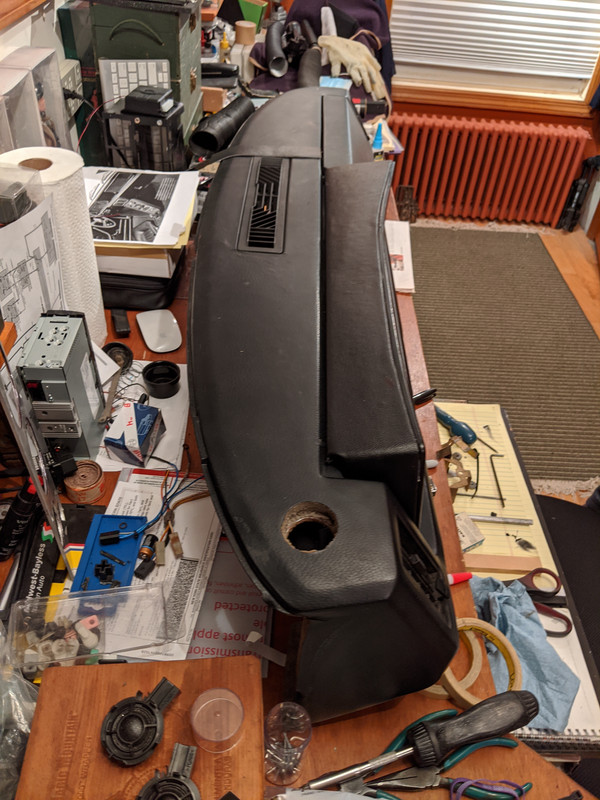
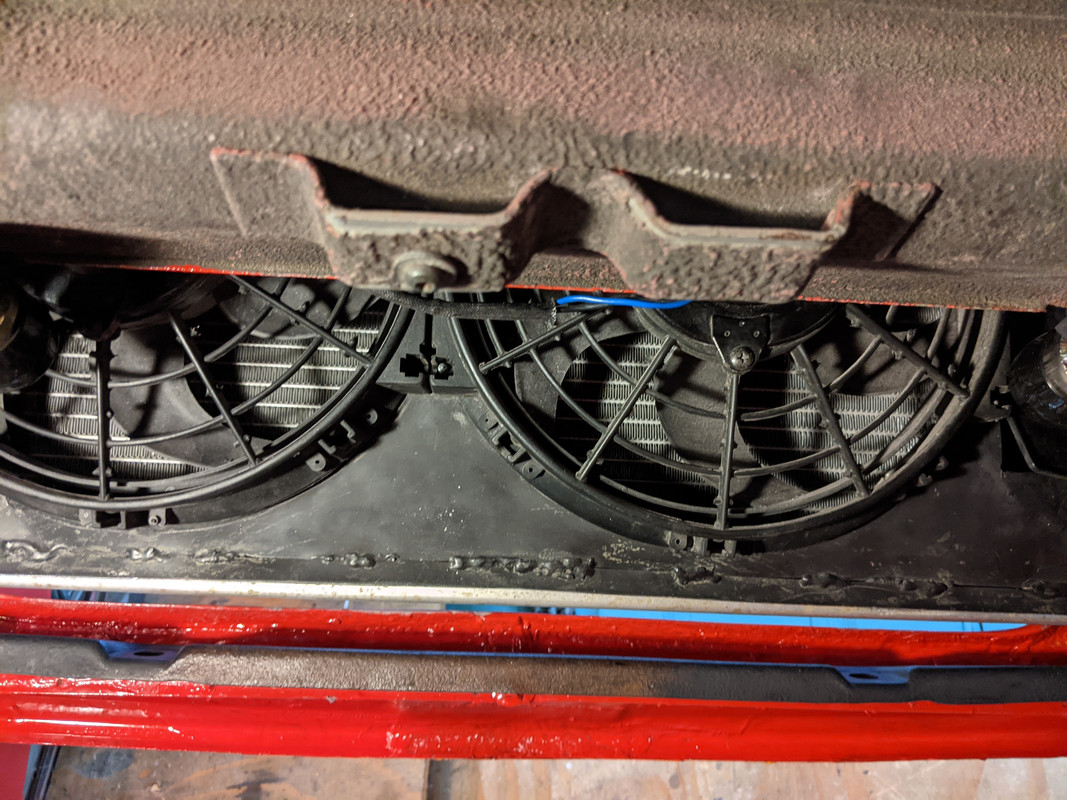
Depth from dash to center vent - this is where the AC panel has to fit, so space is more critical
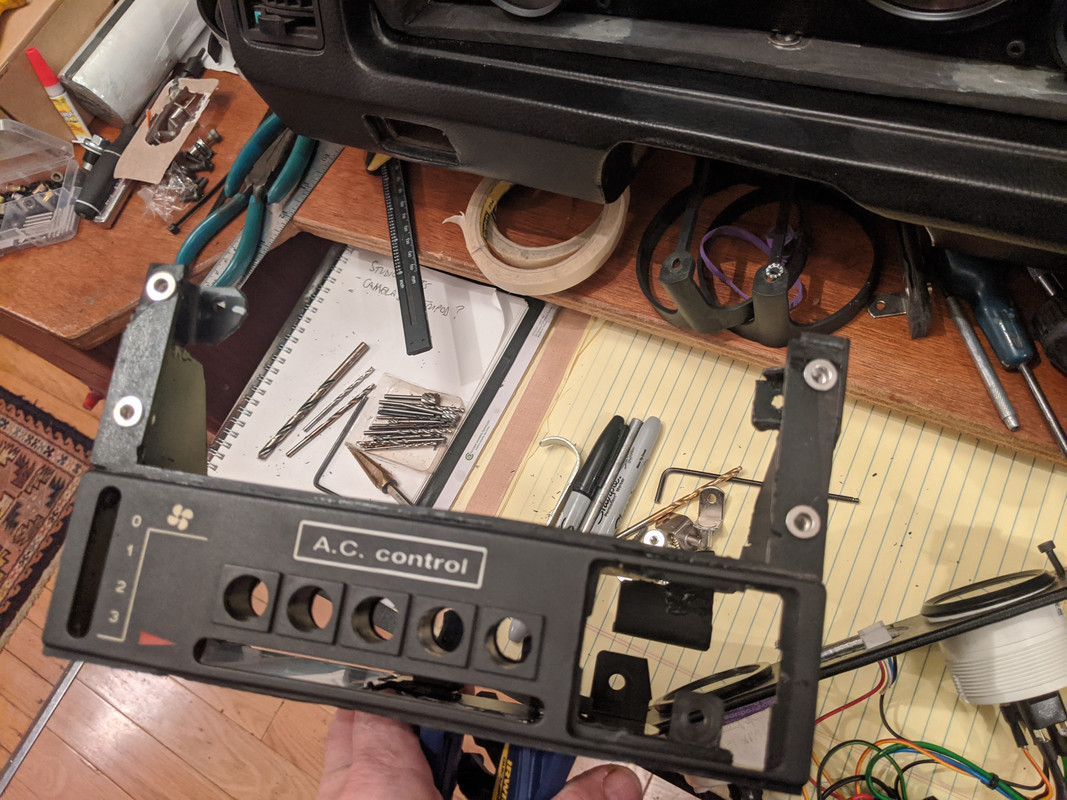
chopped a couple inches off the back of the control panel, to allow it to sit back and on an angle
Initial plan - eliminate some of the binnacle to reduce the overhang & angle the center panel toward the driver
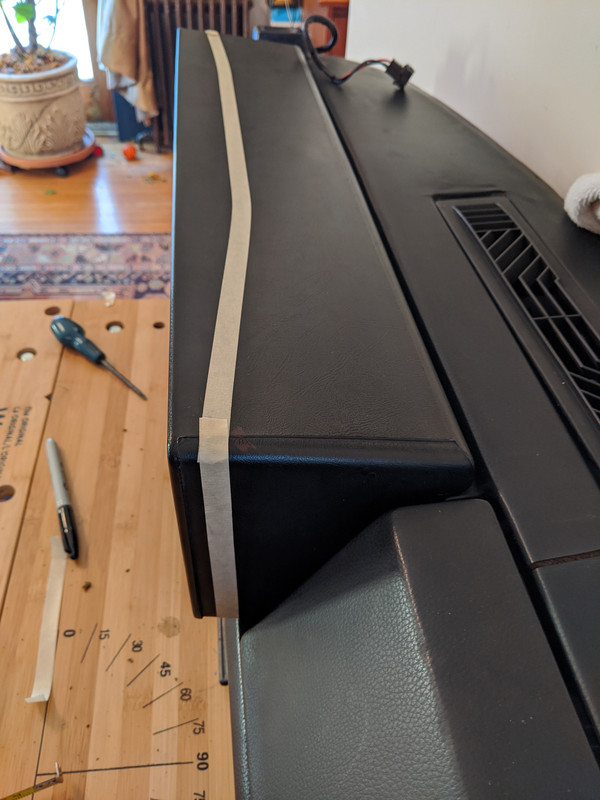
After 1st cuts - what I did was cut off the outer 1/2" lip of the binnacle first, to then attach it later once the work is done, hence the masking tape here
Comparison with original binnacle ( I cut up the spare from my parts car)
It appears the binnacle is solid rubber, or a rubber-compound, it cuts & smells just like old tires
In cutting the binnacle, I also realized the cluster is elevated relative to the main dash, more obvious with the tapered exterior chopped back. This also doesn't help with gauge visibility, so I will address that also
you can see the 'ramp' here
chopped another section off the binnacle, and reduced the thickness of the lower ledge about 1/2" or so
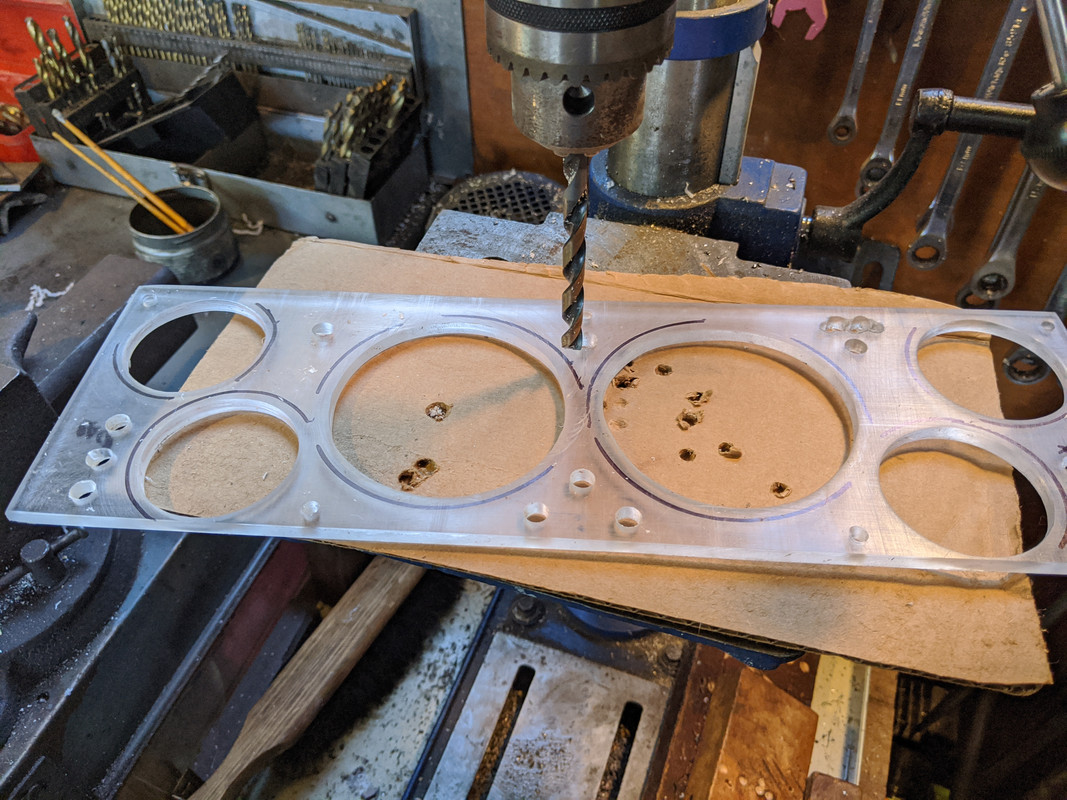
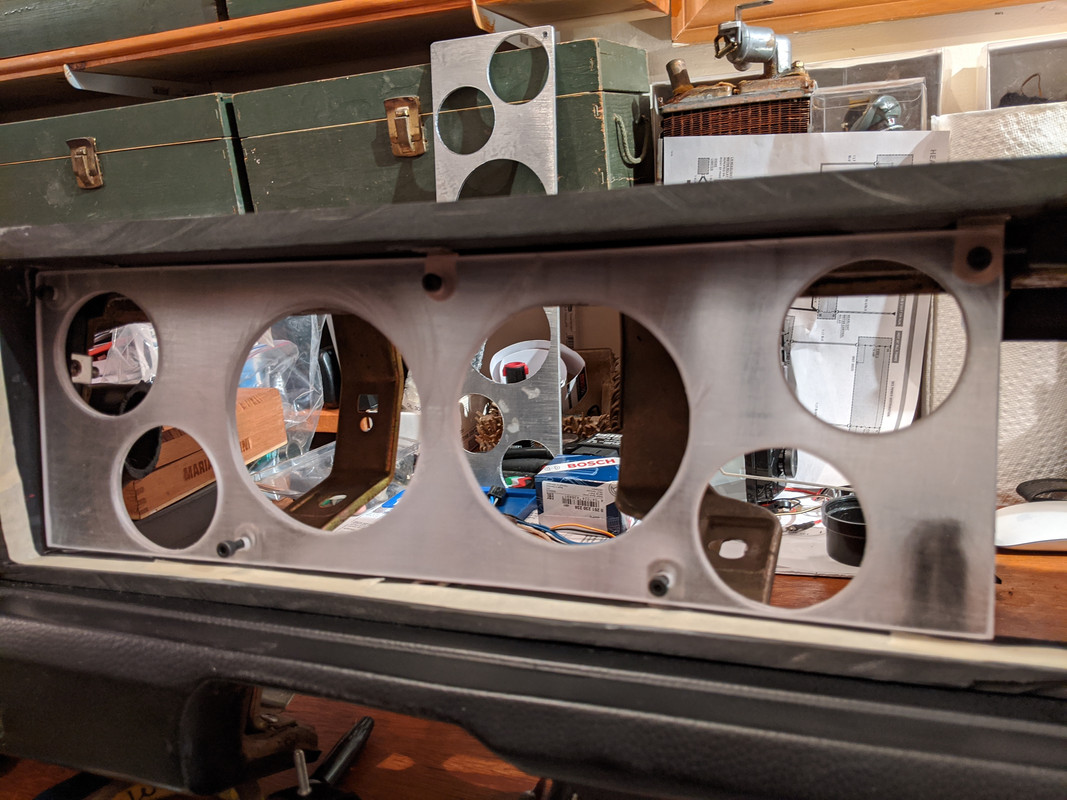
Having dropped the cluster base, I had to remake the face panel for the gauges. Will be covered in vinyl
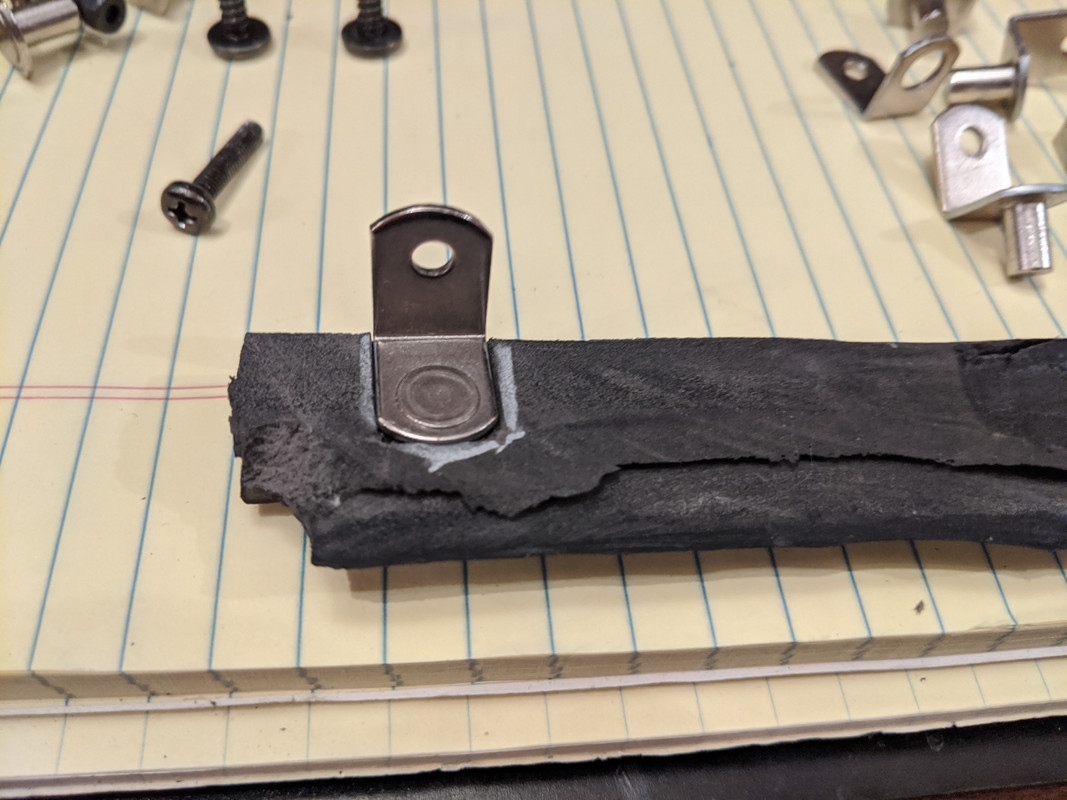
I had also chopped off all the stock cluster mounts, so I had to figure out a new system. What I ended up with, are those generic household shelving brackets - I drilled installed M4 rivnuts in them to secure the panel, and drilled through the rubber to utilize the existing peg mount
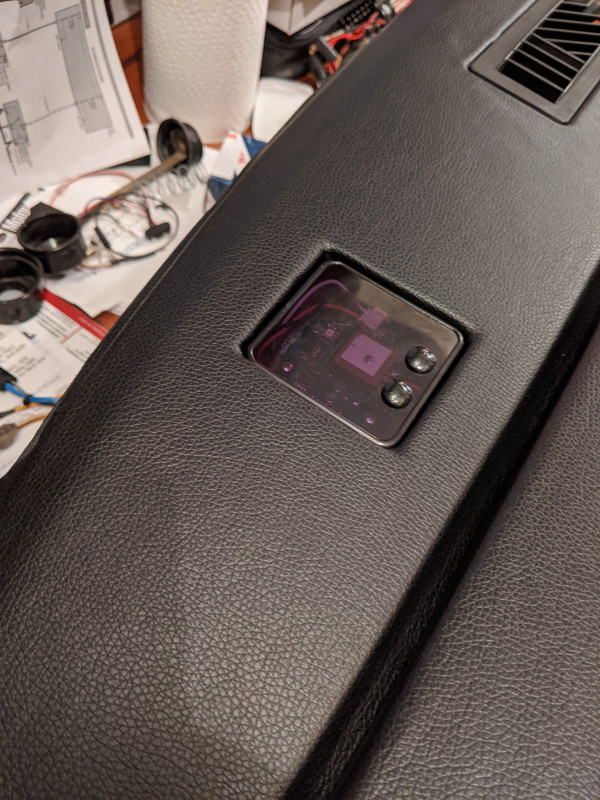
test on scrap - recessed the flange into the rubber
Five mounts in place - detail
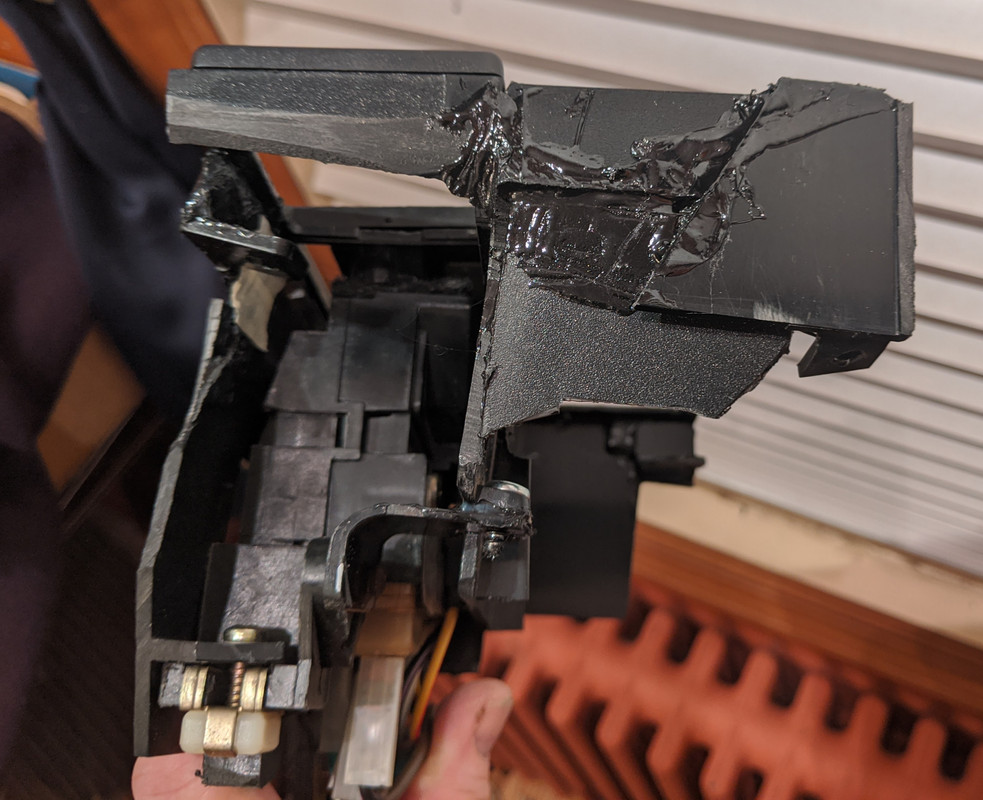
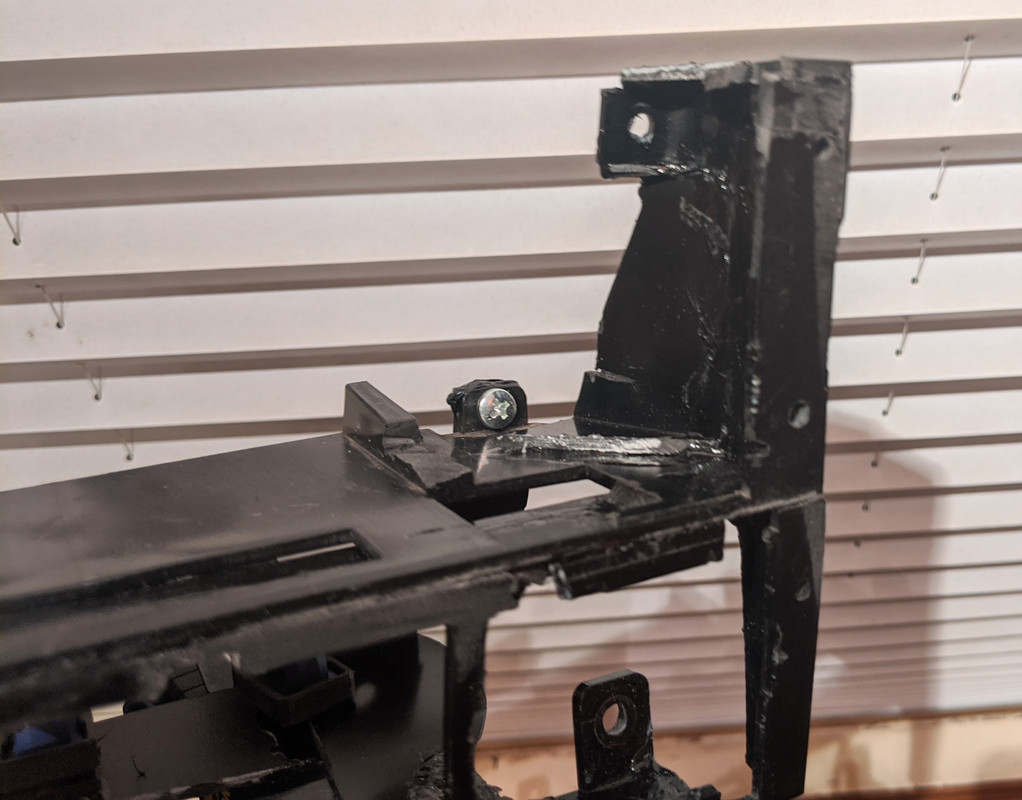
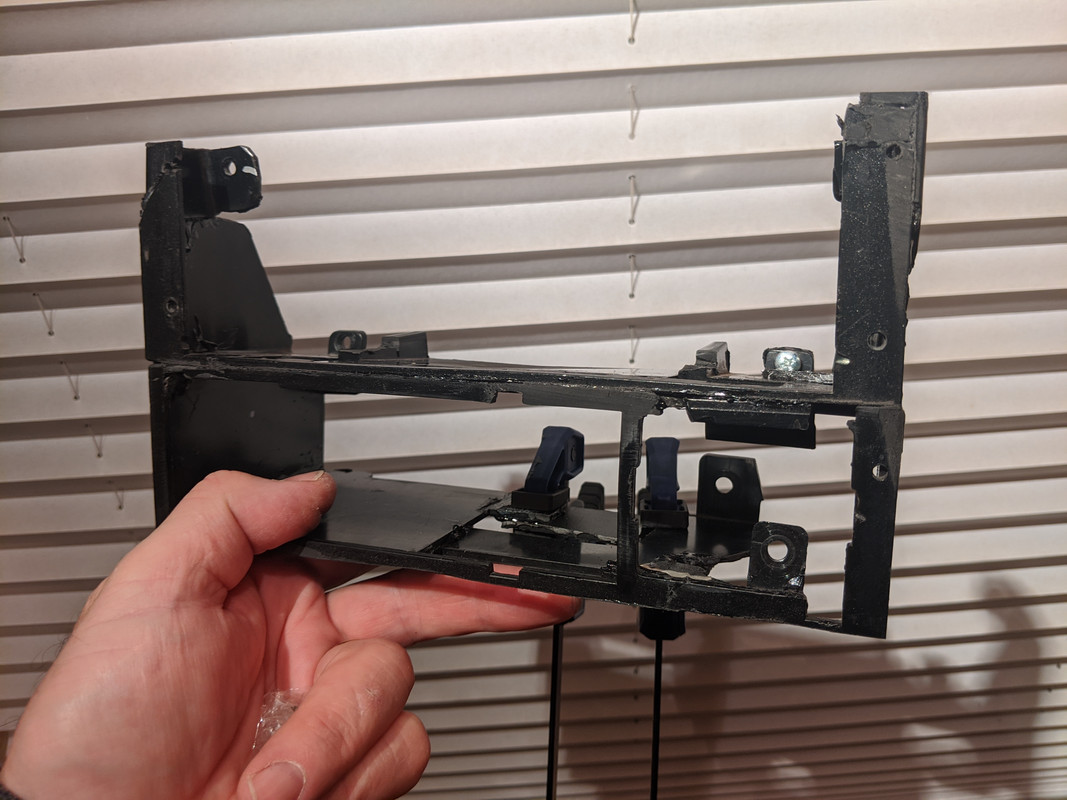
seat-of-the-pants rebuild of the center support panel for the AC controls & extra gauges (used to be the radio location). Reversed locations - AC on bottom, gauges one top. I use ABS plumbing cement here. Patch it together to align with available dash mount points (3)
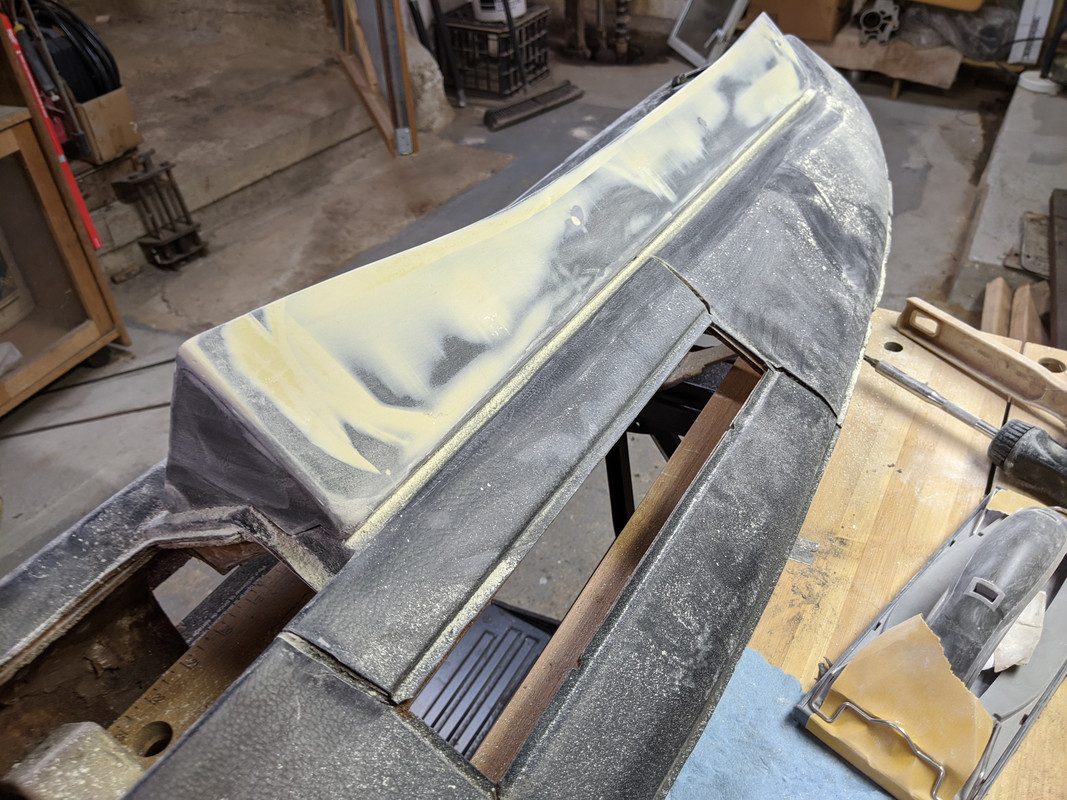
a little UPOL Gold to fill the imperfections where I chopped apron 3/8" off the top of the binnacle
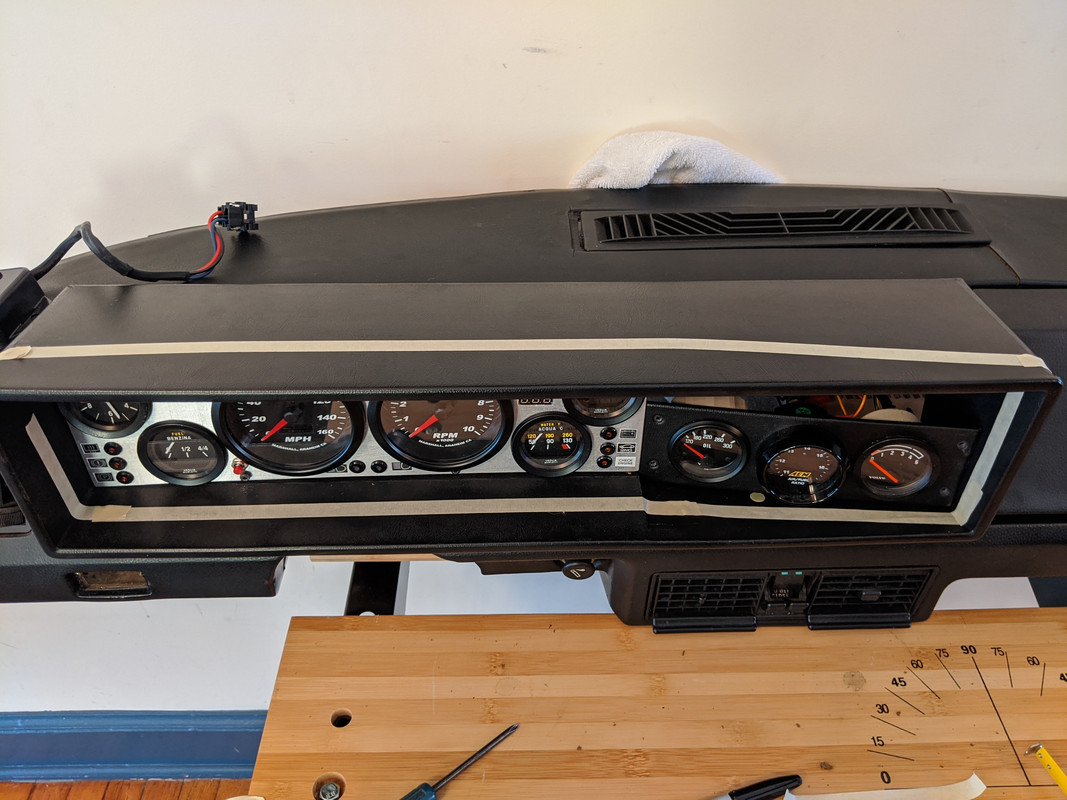
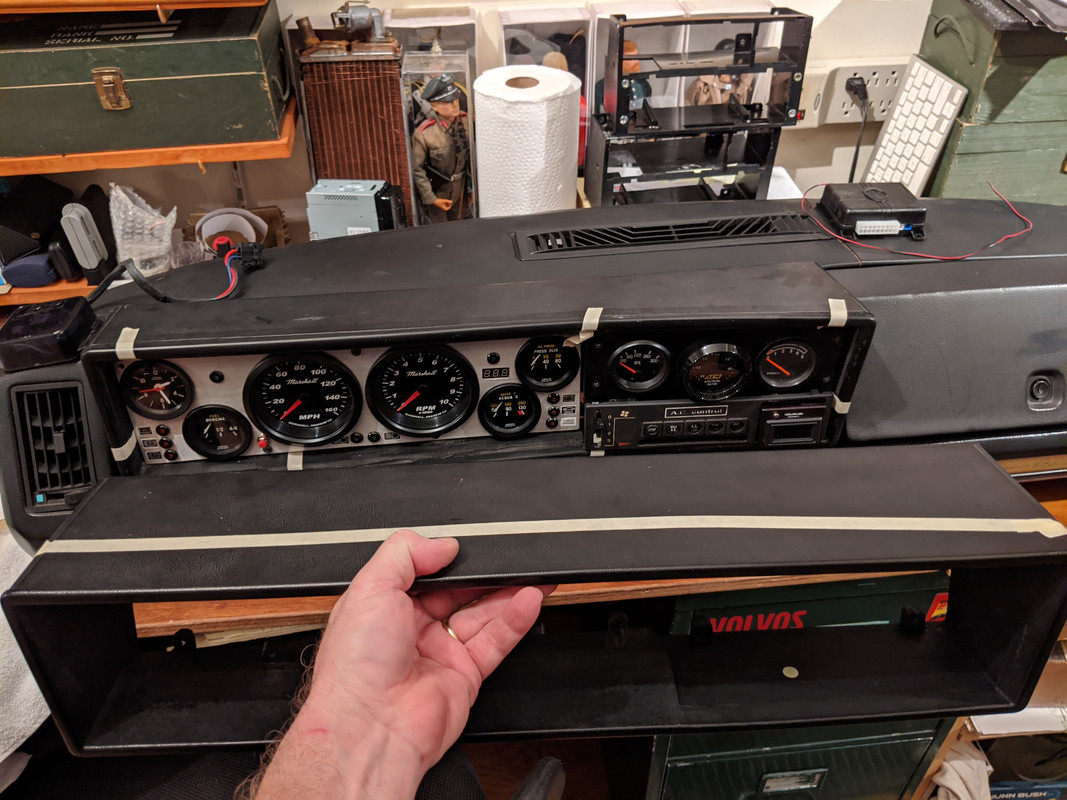
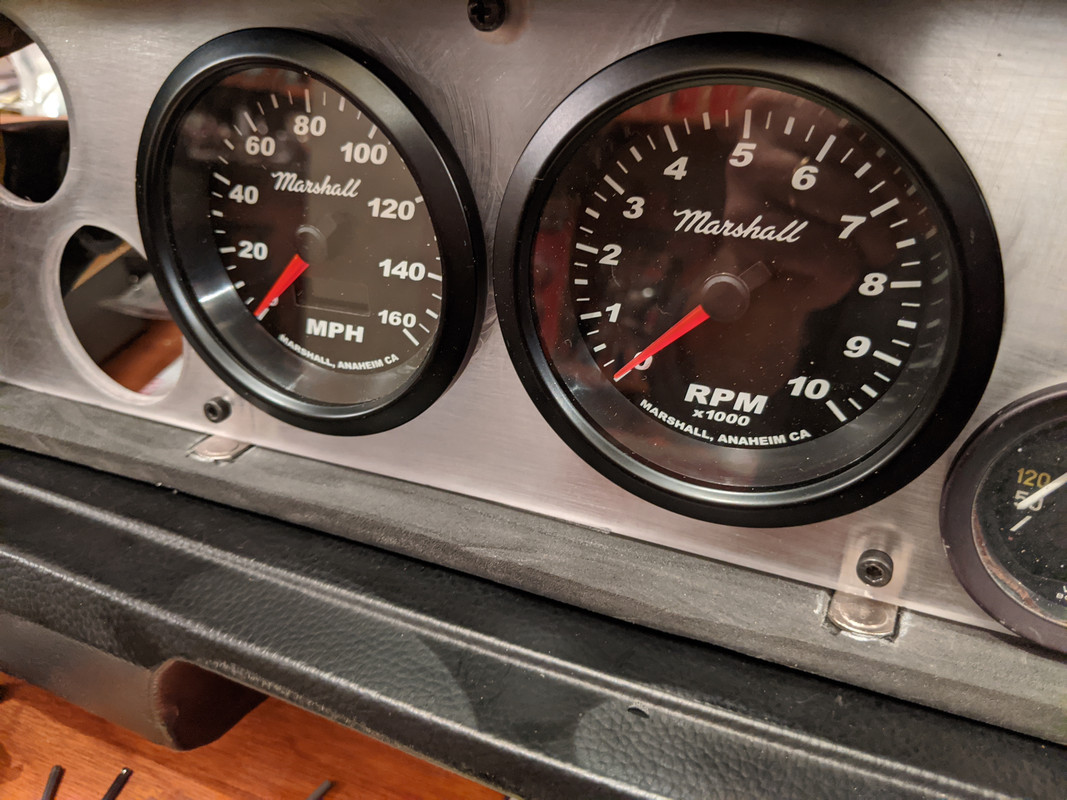
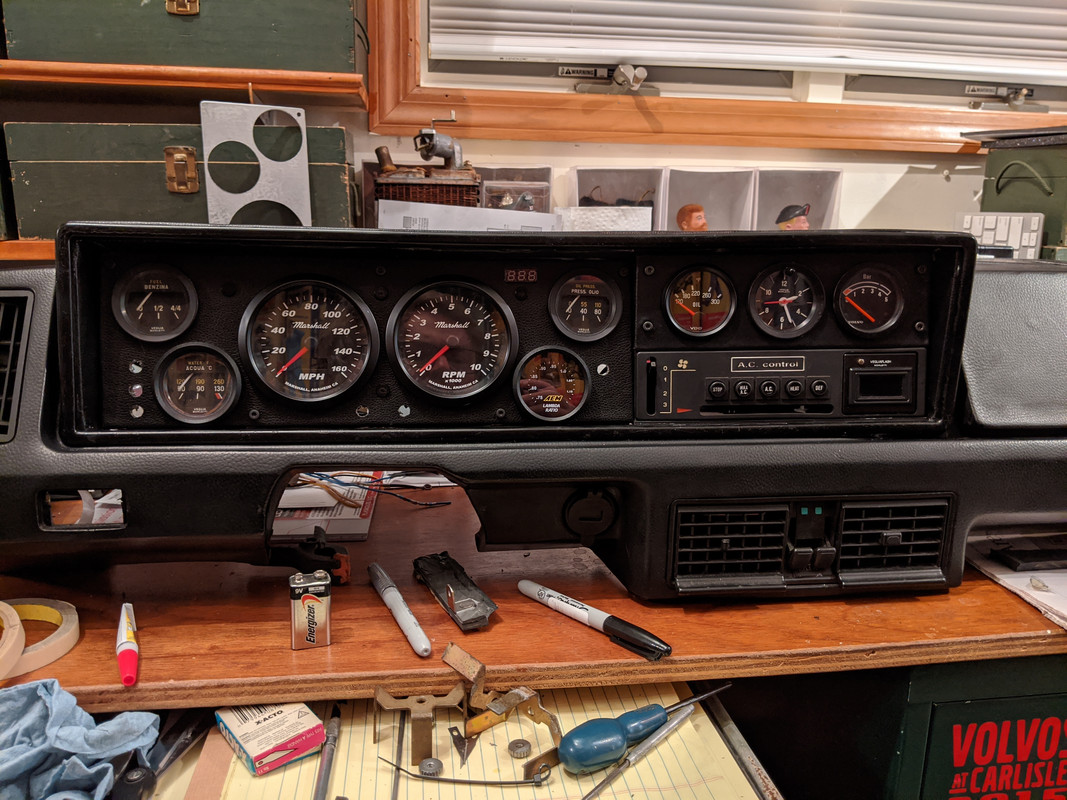
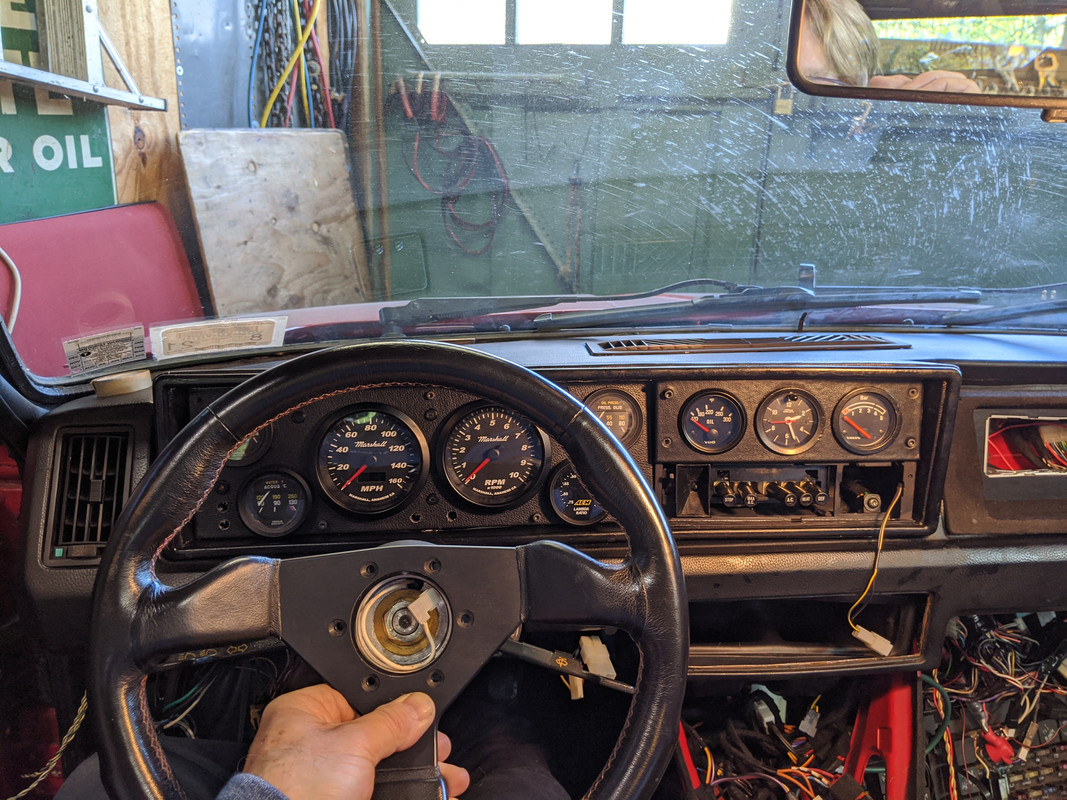
overall layout - moved WBO2 to main cluster, even with a modified VDO bezel, it still protrudes more than the old VDO & Veglia gauges (which I want to keep)
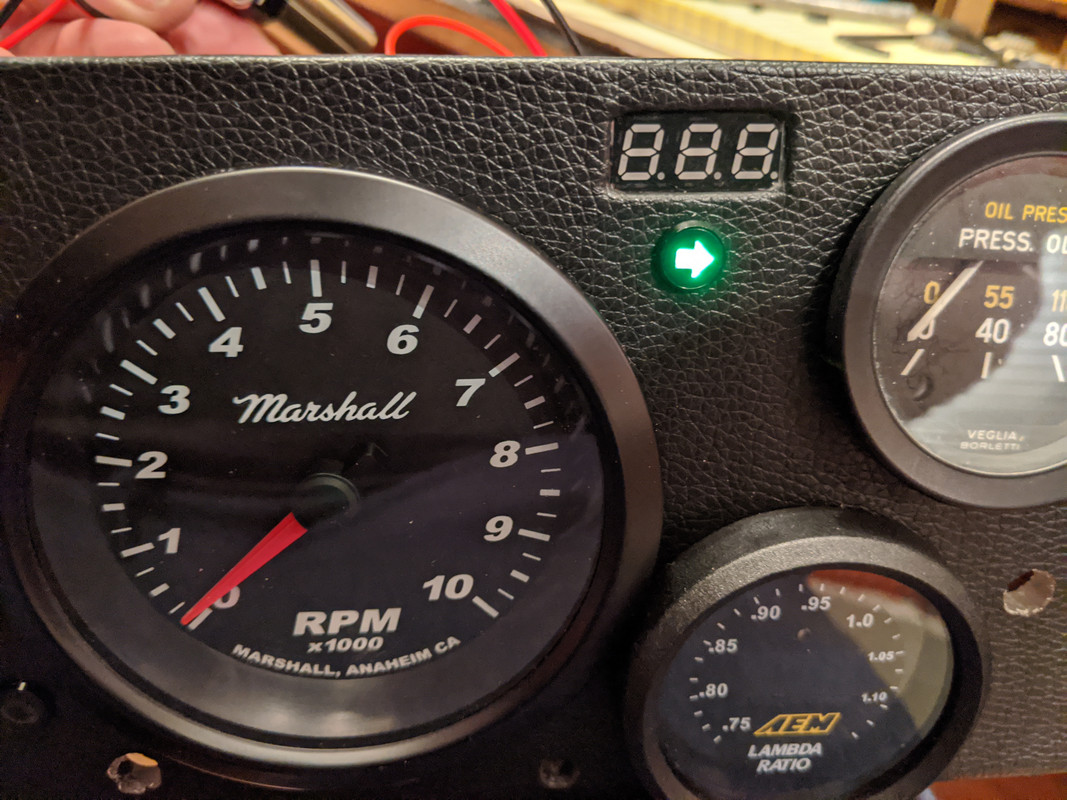
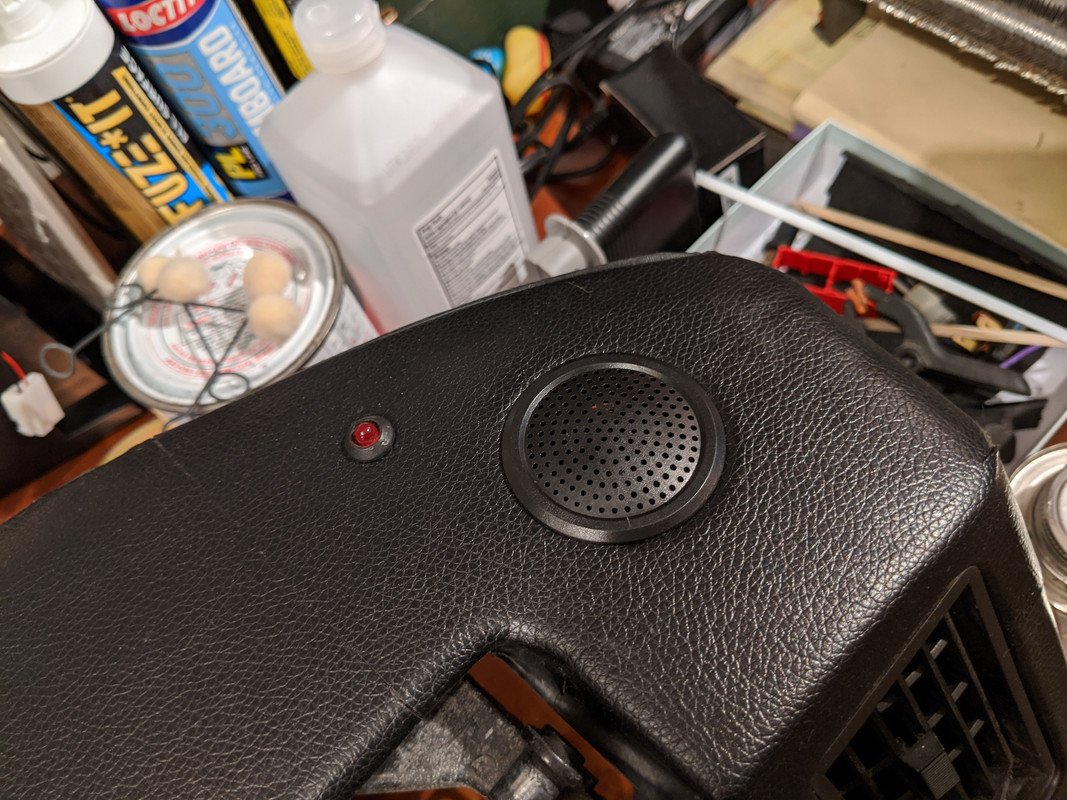
AlpineTech makes nice indicator bulbs, so no need for the descriptor labels I had previously
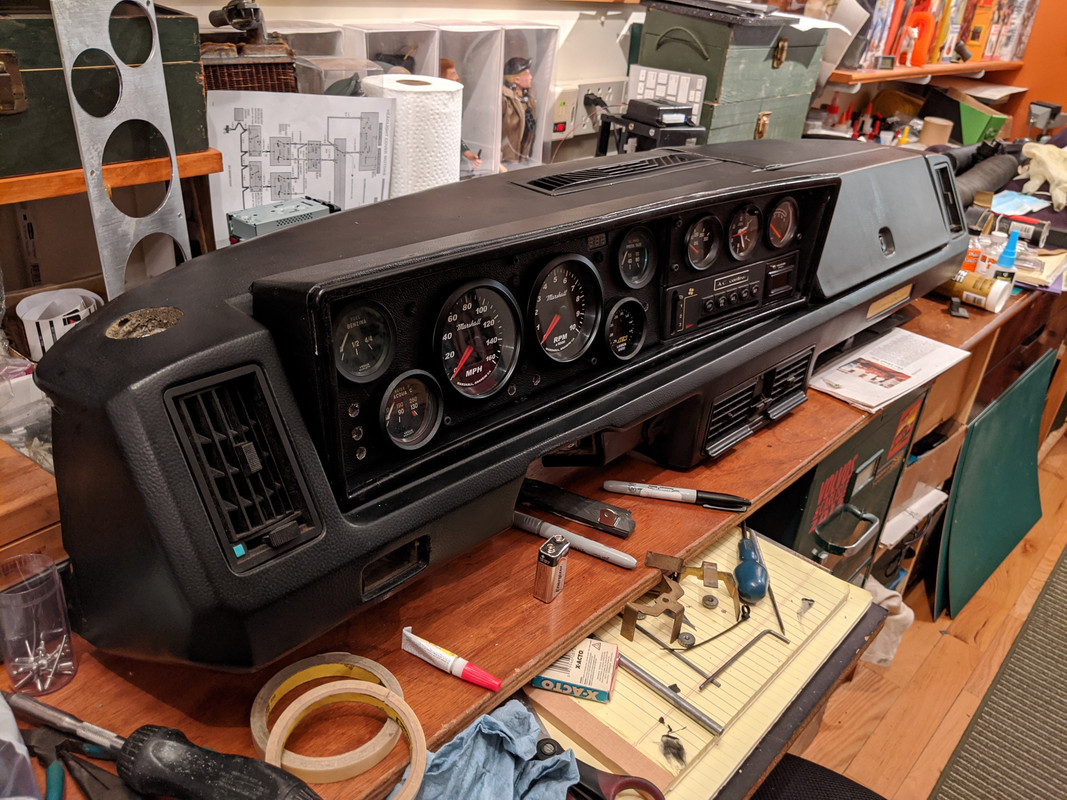
Happy with the overall flow now. I like the setback into the dash compared to the massive overhang of the stock layout.
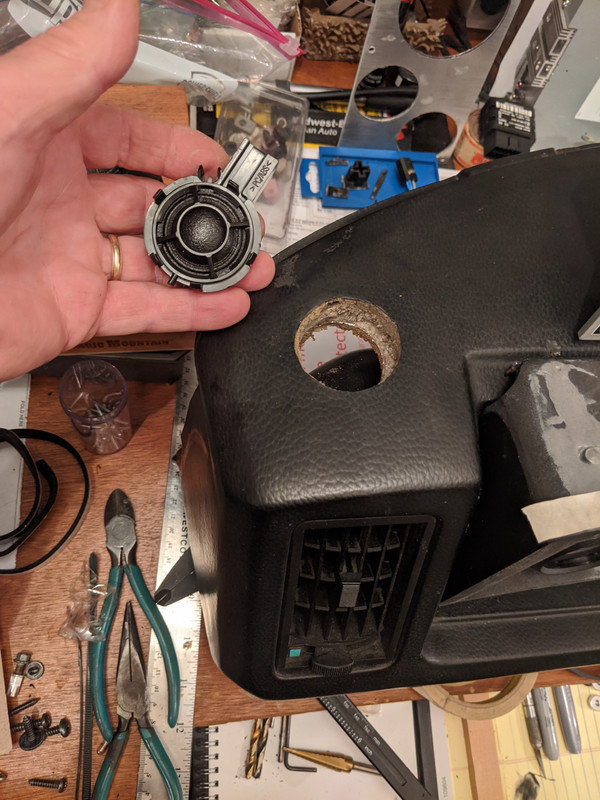
Just have to cut another tweeter hole (using tweeters from the S40 AWD parts car), and repair the one crack by the right of the center vent
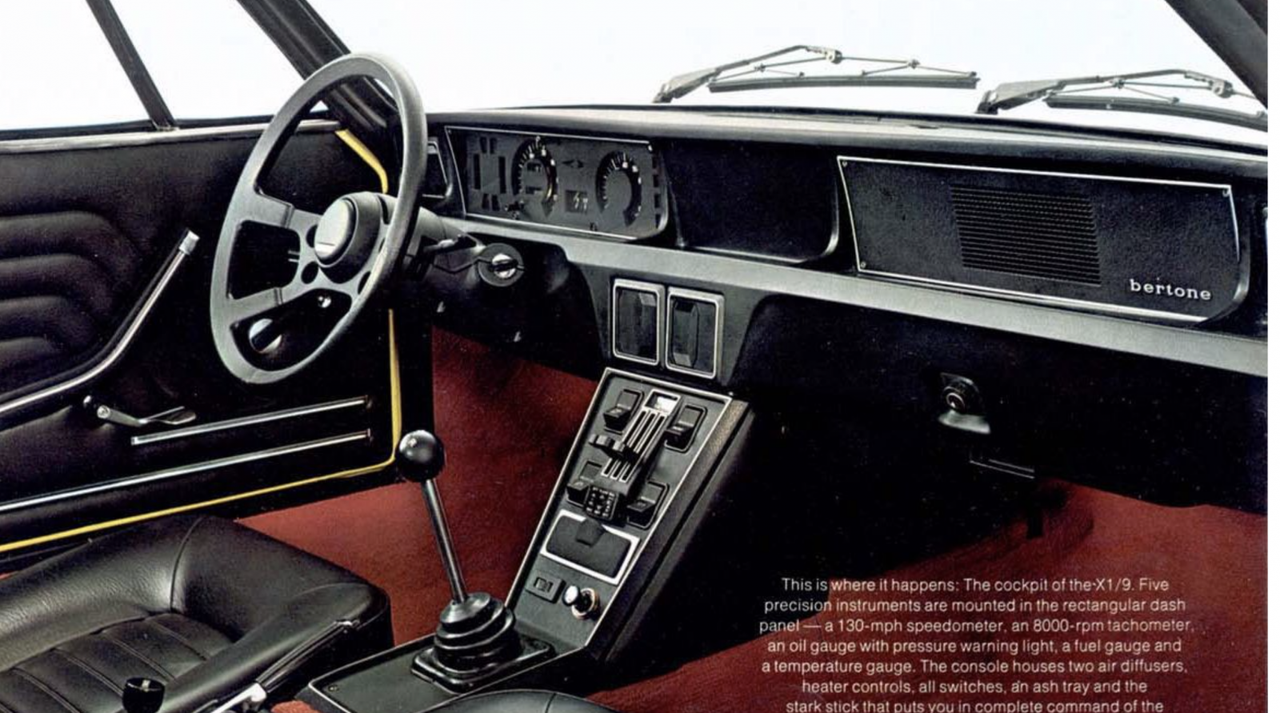
What I was using for comparison (in the setback of the cluster dept.) - the original 70's dash layout -
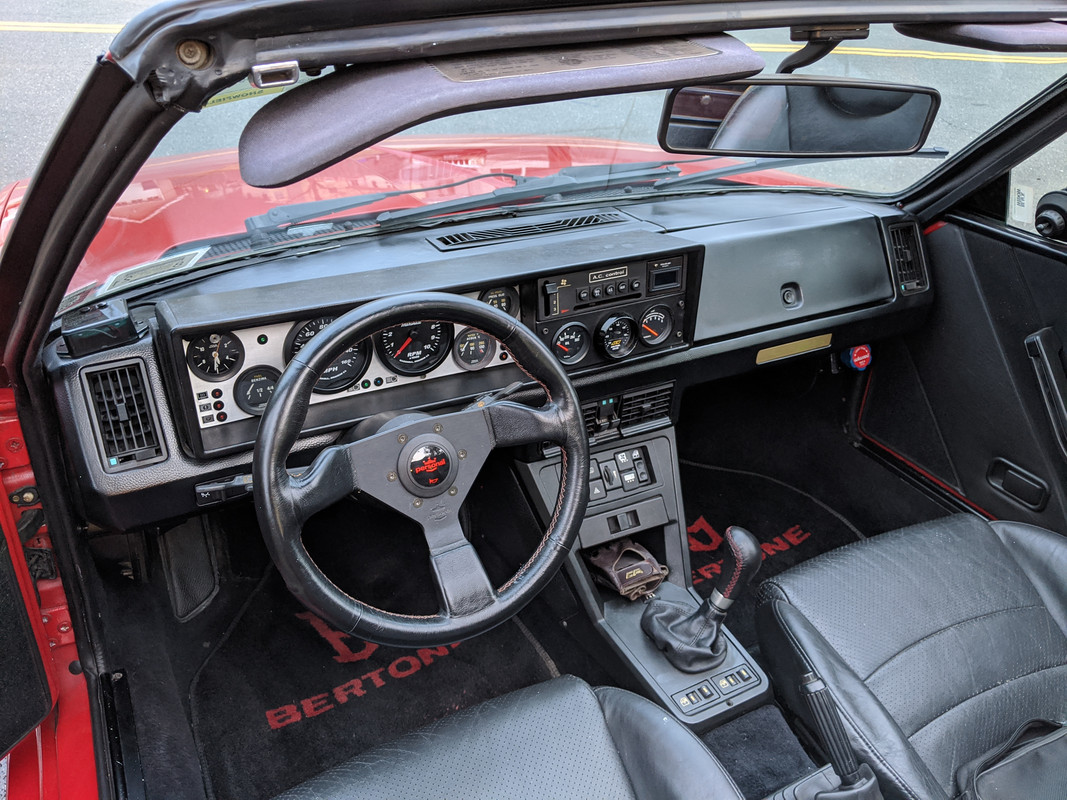
compared to mine ('87) as it was