
alschnertz
Enough already!
- Joined
- Oct 4, 2009
- Location
- CT
Got a clip for you.
Will pm later
Will pm later
Hello Guest, welcome to the initial stages of our new platform!
You can find some additional information about where we are in the process of migrating the board and setting up our new software here
Thank you for being a part of our community!

So my base has only 1 metal rod. Where the heck did the other one go? I don't think it was removed by the original owner.
It arrived in one piece and it was fun tooling around a bit and then the NOS rearview mirror fell off.
The old one popped off and the new one, that looks exactly like the old one, is fighting me to stay on. What is the trick?
I took the base of the rearview mirror off and I think there should be 2 metal rods, one on each side of the bolt hole. They push apart when you tap the mirror in place and the screw on the mirror bottom snaps over the 2 rods holding it in place.
So my base has only 1 metal rod. Where the heck did the other one go? I don't think it was removed by the original owner.
Of course, I could have a totally wrong assumption. If I am correct, does anybody have an extra base?
[/IMG]
Yes, you are missing one of the spring rods.
I discovered years ago on an identical mount on my 1800E that those rods are the exact same diameter as a wire coat hanger! Just snip off a piece the size of the other rod, drop it in, and you're in business.

Looks good. What is with the 4x4 behind the rear wheel - parking brake issues?
Trust me, with a vintage car you are never really done unless you sell it to someone else.
Other random questions if you don't mind; whereabouts was this car found in California, and do you still have the blue & yellow plates?
Looks great with the Panasports, fogs, and roof rack. Perfect level of accessorizing in my opinion. Stay classy, CT.
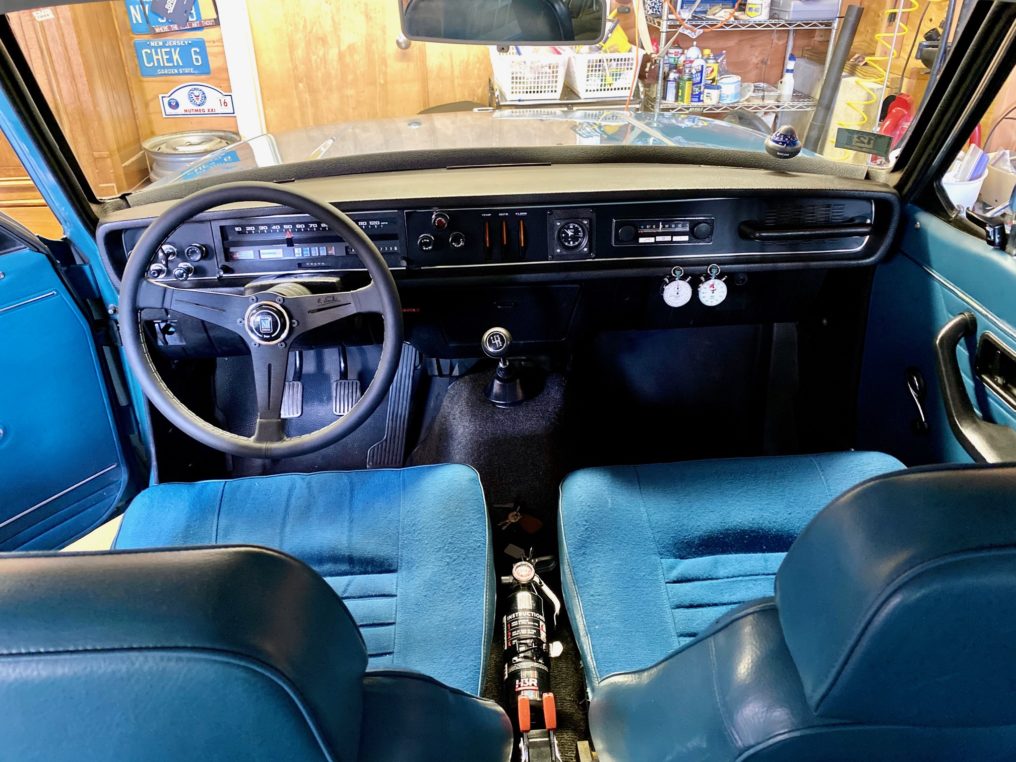
Looking nice. What did you do with your old steering wheel?
In a box. I plan on holding on to it in case...not sure why.